Upcycled Glass Jar Garden Lanterns

Designer: Marcia Izabel Marchiori
YouTube: MarciaBel Vlog
Instagram: @marciabel
---------------------------------------
Level: Beginner

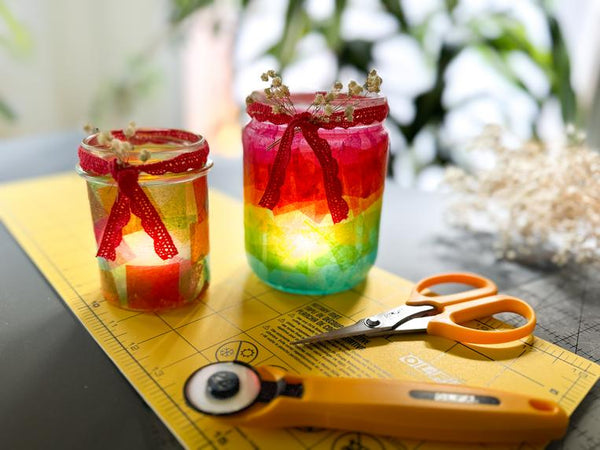
Summer nights are perfect for a touch of magic, whether outdoors or indoors on your table during a family dinner time. There are countless ways to add charm, but today, I’ll show you how to create stunning glass lanterns using basically recycled jars and tissue paper. These delightful lanterns are not only beautiful but also versatile; they can double as charming flower vases!

This DIY project is also a fantastic way to spend a crafty day with the kids during their summer break. From mason jars to baby food jars, these easy-to-make lanterns will truly light up your life and bring joy to your summer evenings.
In addition to the rainbow-colored styles, we'll also create lanterns with hand-drawn cutouts. These lanterns are so simple and fun to make, you'll want to place them all around your home! Let’s get started :-)

Tools & Supplies Needed
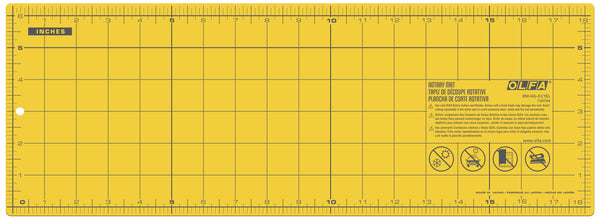
- OLFA RM-HG-01/YEL 6”X18” Double-Sided Self-Healing Rotary Mat, Yellow
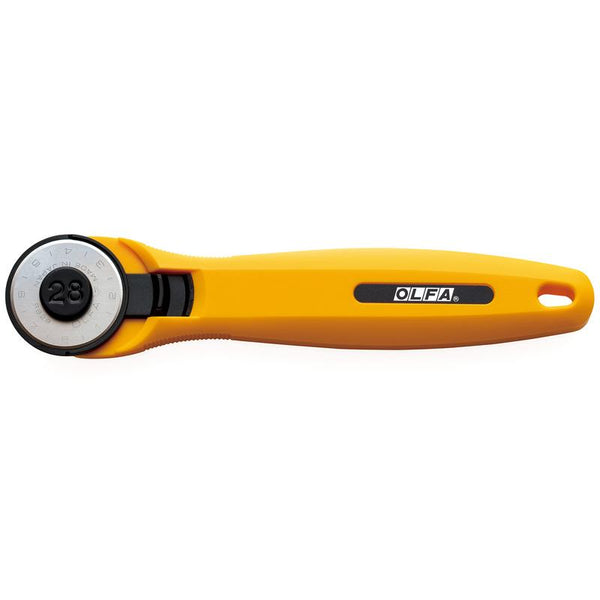
- OLFA 28mm RTY-1/C Quick-Change Rotary Cutter
- OLFA 5-Inch SCS-4 Precision Appliqué Scissors
- Any OLFA Frosted Acrylic Ruler QR-6x24 6" X 24" Frosted Acrylic Ruler
- Recycled cleaned and repurposed jars, assorted sizes
- Mod Podge matte
- Paintbrush
- Tissue Paper, assorted colors
- Embellishments, like ribbons, lace, dried flowers (used: Bee Cute Lace by Lori Holt of Bee in my Bonnet)
- Thread (used: Chunky Thread Cotton Yarn by Lori Holt of Bee in my Bonnet, colors Songbird and Spring Green)
- Battery-powered tea light candles
Instructions:
- First, using an OLFA rotary cutter, cut 1-inch strips from tissue paper in all the colors you want. For a rainbow effect, I used six different colors.

- Next, using OLFA mat as a guide, rotary cutter and acrylic ruler, cut 1-inch squares from the strips you just made.


- Cover a small part of the glass with a thin layer of Mod Podge using a paintbrush. Then, start placing the tissue paper squares from bottom to top. Go over the entire glass, color by color, carefully smoothing out any excess Mod Podge or any wrinkles in the tissue paper.


- Let it dry for approximately 10 minutes (the paper is less fragile if it's allowed to set up a bit), then apply a thin layer of Mod Podge over everything to seal the paper. Let it dry completely and the rainbow option is ready!


- Now let's create lanterns using cutouts: begin by tracing designs onto your tissue paper. For example, I chose to create one with a mushroom theme and another featuring bird silhouettes. I hand-drew these designs freehand, but you can also find and print other references from the internet.

- Using OLFA scissors, cut out each element.

- Just as you did with the rainbow lanterns, use a thin layer of Mod Podge to adhere the cutouts.


- Apply a thin layer of Mod Podge over everything to seal the paper. Let it dry completely.

- Embellish the lanterns however you prefer. Here, I used lace and dried flowers to finalize the rainbow jar design.

- Also, to make some of the lanterns hangable, use this simple technique to create a handle:
And your lanterns are ready!


Don’t forget to tag me @marciabel and @OLFA_craft in your finished projects, we would love to see your creation!
With love,
Marcia


