Upcycled Curtains to New Fall Jacket

Designer: Mary Stanley
Instagram: @whatmommamakesig
-------------------------------------------------
Tools and Supplies Needed:
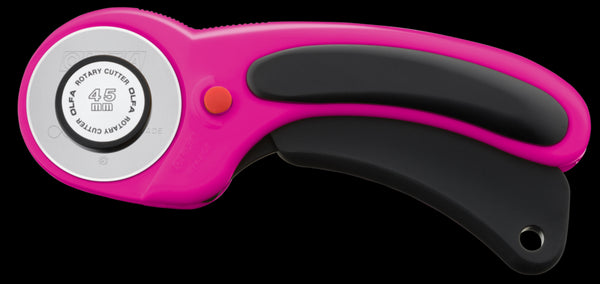
- OLFA RTY-2DX/MAG 45mm Ergonomic Rotary Cutter
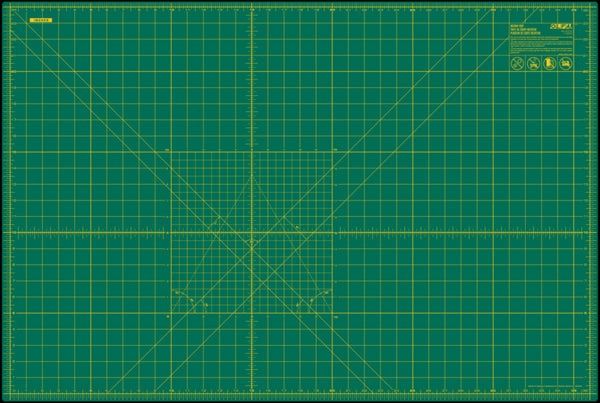
- OLFA RM-MG 24" X 36" Green Double-Sided, Self-Healing Rotary Mat
- OLFA QR-6x24 6" X 24" Frosted Acrylic Ruler
- OLFA 5-Inch SCS-4 Precision Appliqué Scissors
- Valetina Coat Pattern from Violette Field Threads
- Fabric for Jacket – I am using some old valances found at the Goodwill, so this is definitely a fun project to get creative with your fabric
Fall is right around the corner, bringing with it some cooler temps, and I found some old valances at the Goodwill that are really screaming they want a second chance around. So lets upcycle these beauties into a new jacket for my daughter!
The first step in upcycling anything (after washing/drying of course), is to pull apart lining layers from main fabric and open up any seams you want to keep. And these OLFA applique scissors are the absolute best for this!
I used to get so tired of my seam rippers dulling so quickly (since I am upcycling so often) but these applique scissors are not only a quick way to pull apart seams, but they stay so sharp!!
Next, we will be assembling and cutting out the pattern pieces for our new jacket. Now trust me, assembling the pattern is probably my least favorite part of the project, as a nice coat pattern like this one has so many pieces between the bodice, collar, sleeves, skirt and facings…but when you think about how often a coat or jacket is used – the trade off on time is definitely worth it!
Time to cut into our actual fabric – and this is something that goes sooo much quicker with your OLFA rotary cutter and cutting mat!
Did you know the 45mm OLFA rotary cutters can cut through up to 8 layers of cotton? I know I would be struggling cutting through this heavy weight fabric I’m repurposing for this coat if I was trying to use standard scissors. But the rotary cutters glide through this fabric like a breeze.
I’ve now got two separate piles of my pattern pieces – a set to create the shell of my jacket and a set for the lining.
Now the fun part – lets get to sewing! Don’t forget, when sewing with heavier weighted fabrics to change out your needle on your machine for the proper needle size!
First off, we will create our collar. Anytime I’m creating a coat or jacket, I love to add a strip of Satin ribbon to the section where the collar meets the neckline. This step is not in the instructions of the pattern, but since this is possibly the only part of the garment that the child will feel against their skin, adding a soft ribbon there makes the garment more comfortable!
Next we will be sewing the bodice, sleeves and skirt portions of the shell (detailed instructions for this in the pattern tutorial). And then attaching them together at the waistline.
Next we will sew together our Jacket lining.
And now we get to join our jacket shell to our jacket lining!
But wait – what about the sleeves? We are going to attach these next.
Now we will open a section in the sleeve lining where we can pull the entire coat through until it Is finally right side out:
ALMOST FINISHED! At this point you can choose to create button closures or snap closures, or just a belt tie as well – which is how I have chosen to finish off this Jacket:
And Voila! We have turned some old Goodwill Valances into a new fall jacket! What do you think?


