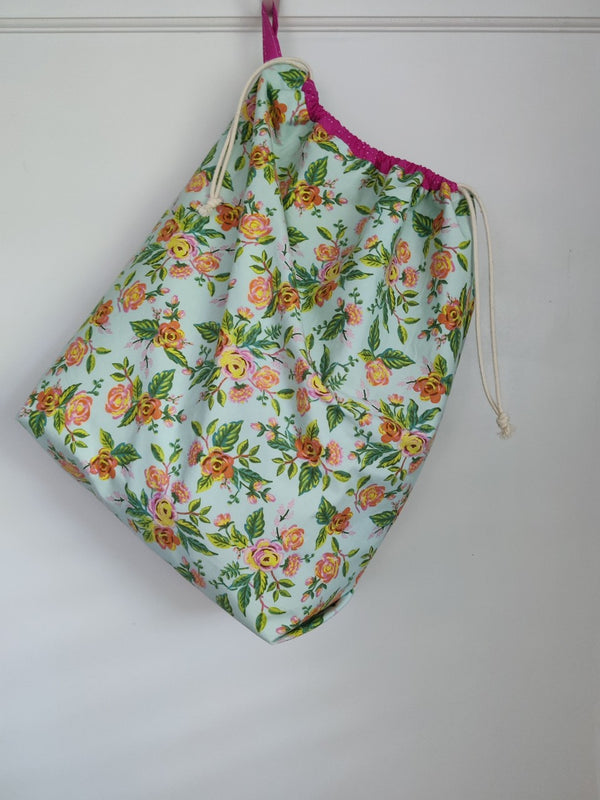
Travel Size Laundry Bag

Designer: Felie Hempfling
-----------------
Skill Level: Beginner
Size and Dimensions: 16.5”x18”x5”
Sew a quick and easy travel size laundry bag.

Tools:
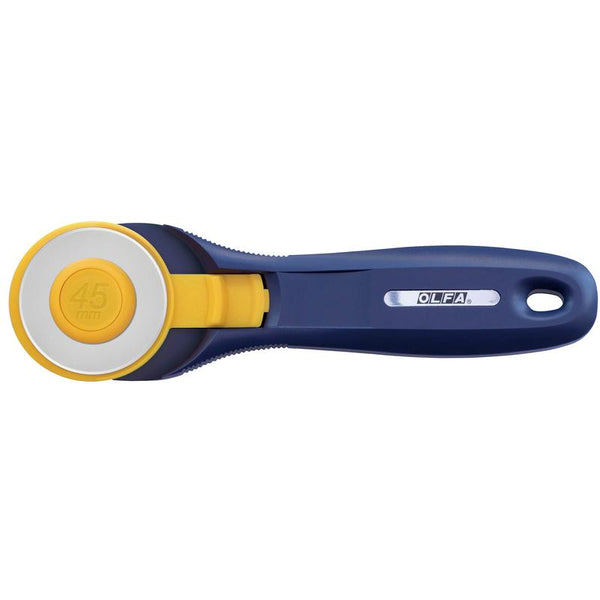
OLFA 45mm RTY-2C/NBL Quick-Change Rotary Cutter, Navy
OLFA QR-6x24 6" X 24" Frosted Acrylic Ruler
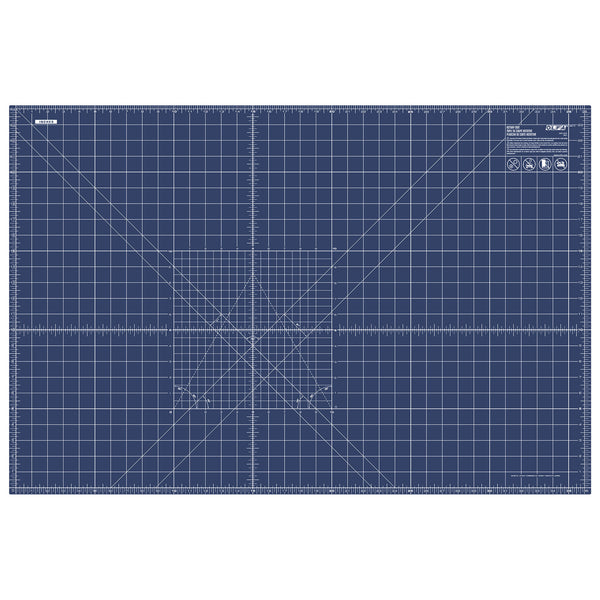
OLFA RM-MG/NBL 24"X36 Double-Sided, Self-Healing Rotary Mat, Navy
OLFA 5-Inch SCS-4 Precision Appliqué Scissors

Project Requirements:
- Exterior Fabric half yard (more if using a directional fabric) of quilting cotton
- Lining fabric: half yard (more if using a directional fabric) of quilting cotton
- 7”x17 ½” Accent Fabric (great chance to tap into your scrap bin) of quilting cotton for casing
- Lightweight Fusible Interfacing (Pellon 906F) half yard
- 92” of cording or ribbon, cut into two 46” pieces
*For less waste my preference is to use non directional fabric

Additional supplies:
Sewing Machine, Thread, Pins or Clips, Bodkin, marking pen
Cut Measurements are width x height
(2) 17 ½” x 20” Main Exterior Fabric
(2) 17 ½” x 20” Lining Fabric
(2) 17 ½” x 2” Accent Fabric strips for drawstring casing
(1) 3”x6” from Accent Fabric hanging tab

*All seam allowances are ¼” unless indicated otherwise.
* Remember to backstitch at all start and stopping points.
Prepping the casing:
- With the wrong sides facing up, fold both short edges ¼” press then fold another ¼” to enclose the raw edges, press and sew.
- Fold in half lengthwise and press. Repeat on the other casing. Set aside.

Preparing the hanging tab:
- With your 3”x6” accent fabric, on the long 6” side, fold in half and iron
- Open the fold
- Fold the raw edges toward the center fold and iron
- Fold in half again and iron, and top stitch.
- Set Aside.

Assembling the exterior fabric:
- Interface the exterior fabric according to manufacturer's directions.
- Now that the exterior fabrics are interfaced, fold the short edge in half to find the center, do the same for the casing by folding the long edge in half.
- With the centers now located, align the raw edges while matching the centers and then baste in place.
-----

* Personally, I baste with the casing on the bottom which helps keep it from shifting

4. Repeat this step for the other exterior panel. *This will be the top of your Travel Size Drawstring bag.
5. Take one of the panels and the hanging loop. Fold the hanging loop in half and pin in place on the left side of the panel about 1.5” from the top edge. Baste in place.

6. Place the two exterior panel's right sides together, align the raw edges and stitch only the bottom edge, press seams open.


Assembling the lining:
Similar in assembly to the exterior fabric
- Place the lining fabric right sides together and sew along the bottom edge. Be sure to leave a large enough opening, 4”-5” in the middle, so that you can turn the laundry bag later.
- Using a fabric marking pen or a harra marker, mark a horizontal line on the wrong side of the exterior panel 2 ½” from the sewn edge. Repeat on the other side of the panel.
- Fold at the 2 ½” marking with right sides together; the bottom seam will now be between the right sides of the exterior panels. Pin or clip along both sides and stitch up. Be sure to back stitch.

Finishing your laundry bag:

3. Turn the bag right side out by pulling the exterior through the opening in the lining.

5. Give the top a very good press and top stitch all the way around for a nice finish.


Give your laundry bag one more good press, and you’re done! Admire your new laundry bag and go plan a trip!