Instagram: @daisitoegel
Website: www.flowersew.com
Size: 6 1/2 W x 36 1/2 in H
------------------------------------------------

Scrappy projects are my favorite, and if you also like the scrappy look you’ll enjoy this tutorial on how to make a tiered wall hanging. For this tutorial let’s make an easy project using raw edge applique and get creative with the flower centers. I am showing you how to repurpose fabric strips from squaring up yardage, but you can make the center using any technique you want. So, let’s dive into making a fun wall hanging for Spring!
Tools Needed:

Fabric Requirements:
Get your scrap fabric basket! The pieces used for this project are 7in fabric squares and smaller, and 7in squares for batting, so this is a good opportunity to use them.
- (4) 7in x 7in fabric squares in assorted colors: main fabric
- (4) 7in x 7in fabric squares: backing fabric (you can go scrappy, or use 1 fat quarter to cut all 4 backing squares)
- (4) 7in x 7in squares: batting
- (5) fabric petals of each from the template, cut the paper petal template and trace on the back of the fabric pieces
- (4) fabric center for the flowers, you can use fabric strips from squaring up yardage
- (see step 3), fabric yo-yos, hexagons, fabric circles and raw edge applique, etc. The approximate diameter is 2 inches.
Binding:
- (8) 6 1/2in x 2 1/2in strips, fold on the long edge wrong sides together and press (as for a regular quilt binding)
- (2) 2 1/2in x WOF (assume 42in) strips; prepare as for regular quilt binding.
Instructions:
1. Prepare the blocks:
q
Play with the combinations and which type of petals will go with each piece of fabric you choose. This is my favorite part, picking colors and prints is a good way to improve color combination skills, enjoy this step! Don’t forget to press each piece of fabric before tracing the templates.

Once you’ve selected the fabric pieces, trace the petal templates (5 each flower) on the back of each piece and cut using scissors or rotary cutter.

Press the main fabric right side up on top of the batting piece (do not include the backing fabric yet). Fold and crease it horizontally and vertically to make a “cross mark” on the center. Mark a dot in the center with an erasable pen, this will help guiding the petals alignment.
Align the petals to form an overall circle on the center of each square. Secure each petal with a pin.
2. Sew the petals:
Start with the petal that has two other petals overlying on each side of it. Lift the edge of the petal on the first side, and start sewing the first petal 1/8in far from the edge.
q
q
As you sew, lift the other petal on the opposite side, so you can finish sewing the first petal entirely. Trim all threads when finished.
q
q
Repeat the steps above to sew all petals. Sew each block in the same manner.
q
q
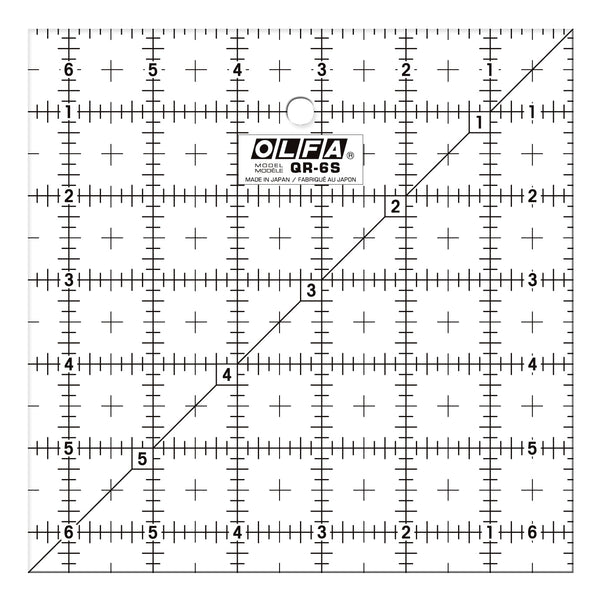
Using the QR-6S 6 1/2" Square Frosted Acrylic Ruler, trim each block to 6 1/2in square. Align the ruler so the same space is left along each side, approximately 1/2 inch.
q
q
3. Sew the center:
q
q
To use fabric strips from trimming fabric yardage, curl as many strips as you like together, making a swirl and tuck the ends under the swirl. Sew a “cross” along the swirl. For my flowers I used approximately 20in strips, and I curled together 2 contrasting colors.
q
q
TIP: To cover the “cross” sewn, sew a button on each center. Sewing a button or a bead on the center of any type of circles will also add more detail to the project, enriching the embellishment.
qq
q
4. Binding:
q
When all blocks are sewn, trim all threads on the back and pin baste or spray baste the backing fabric wrong sides together on the batting. Sew along the edges using a 1/8in seam allowance. Trim the excess fabric around the edges.
q
Rotate the fabric to find the orientation you want the flowers to be at, and bind each top and bottom of each block using the 6 1/2in long strips.
q
q
To sew the main binding, with the top block facing upside down to you, start sewing the side and skip 12 inches over the top to create the hanging loop.
q
q
Add a 1 1/2in space between each block sewn to create the tiers.
q
q
At the bottom of the last block, fold a tip backwards to have an enclosed edge when top stitching.
q
q
With the remaining piece of the binding strip, start at the bottom block in the same way you’ve finished it in the previous step, tip over the back and keep sewing all the way up to meet the beginning tip of the binding.
q
Join the binding together with a straight seam (not on the bias), and topstitch the binding along the entire wall hanging extension.
q
q
***You can definitely sew the binding using your own preferred method, I showed this method dividing the binding into two pieces along the way so the hanging tab would be taken care of first.
q
You’re all done! Happy Spring!!


