The Cutest Tree: Pop-Up Holiday Card

Designer: Marcia Izabel Marchiori of Minois Handmade
Instagram: @marciabel
YouTube: MarciaBel Vlog
-------------------------------
Pop-up cards are among my favorite kinds of greeting cards: they are always so creative, and besides their main purpose of spreading a special message to their recipients, they usually make a beautiful décor piece at our homes as well.
So, get ready for the holiday season preparing a bunch of this cute pop-up tree card, and send them to all of your friends & family, it is very easy & fun to make!
So let’s start!
Tools & Supplies:
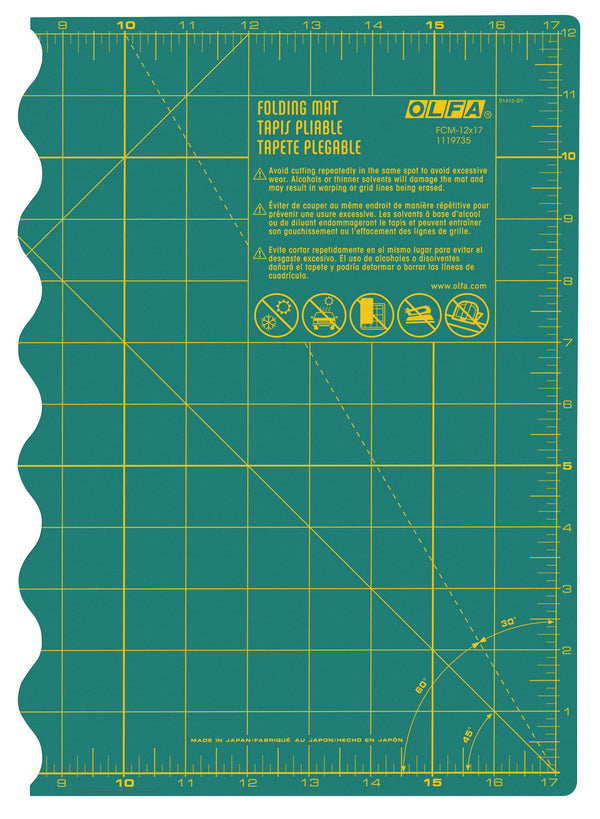
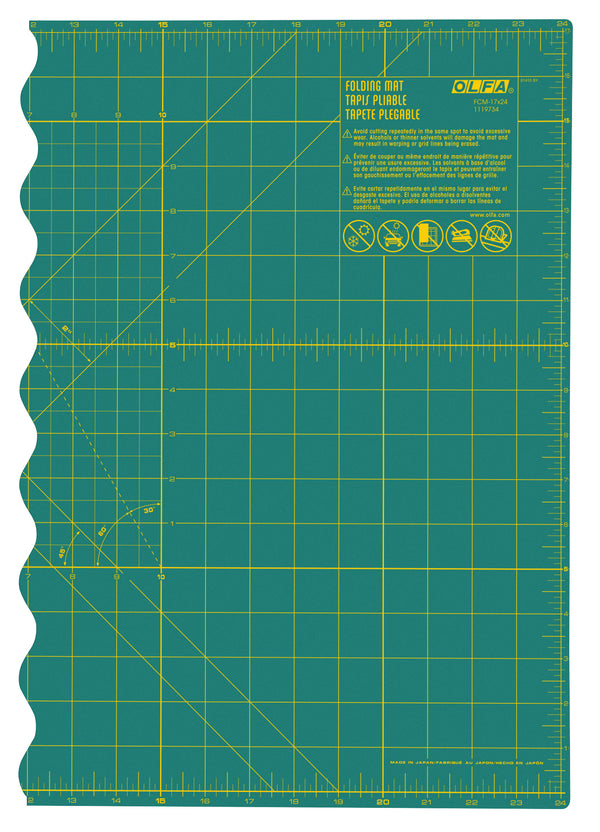
- OLFA FCM-12x17 12" X 17" Folding Cutting Mat or OLFA FCM-17x24 17" X 24" Folding Cutting Mat
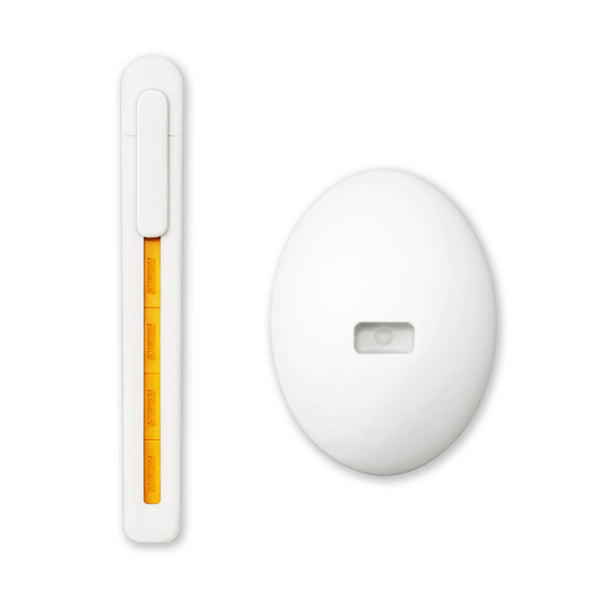
- OLFA ESK-1 Beginner Craft Knife With Stand
- OLFA QR-6x12 6" X 12" Frosted Acrylic Ruler
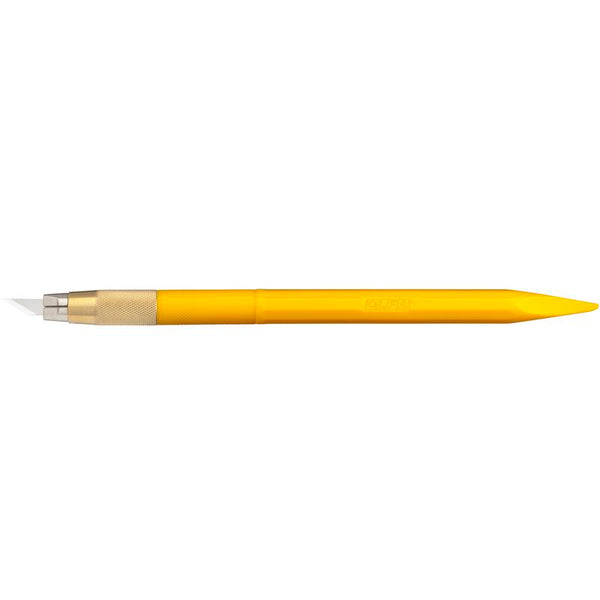
- Optional: AK-5 Designer Graphic Art Knife With 30 Replacement Blades (the tapered base of the handle for scoring, adult use only)
- Kraft paper, letter size
- Patterned paper (here I’ve used old book sheets, to give a vintage look to my card)
- Holiday themed small embellishments (I’ve used gold foil star confetti, assorted sizes)
- Ribbon
- Paper hole punch
- Clear adhesive tape
- Pencil & eraser
Instructions
Start by printing and cutting out the templates, so you can use it for several cards.
Trace main template to the Kraft paper, and the half-trees in the patterned paper.
Using the OLFA Frosted Acrylic Ruler, mark the folding lines with a pencil (to be erased after scoring).
Start cutting out the traced shapes, with the OLFA ESK-1 Beginner Craft Knife, with the guiding of the OLFA Frosted Acrylic Ruler to cut out all the straight lines.
After scoring the traced lines, erase the pencil marks and start folding your card, bringing the two trees towards the center, like this:
Glue the half trees patterned paper on the card, positioning as indicated below.
Inside the card:
Outside the card:
Decorate the card with embellishments.
If you are decorating with star confetti, glue a star on the top of one half of the tree, located on the outer part of the card, so you can make a tree top ornament for your tree!
Trace two aligned dots with a pencil in the middle of your tree, to mark the hole position to insert the ribbon.
Then punch both holes with a hole puncher, as indicated below:
Write down a special message inside your card, then make the bow with a ribbon, passing it through the previously punched holes.
And it's as simple as that!
Please don’t forget to tag me @marciabel and @OLFA_craft on your finished projects, we would love to see your crafts!
Happy Holidays!
Marcia
All activities should be supervised by an adult.


