
Textured 9 Patch Quilt Block

Designer: Amanda Brown
-----------------
Size or dimensions: 13x13” Mini Quilt
Skill level: Confident Beginner
Description: Give your quilting a whole new dimension with textured quilt blocks made using OLFA’s Chenille Cutter! Layer your fabrics, cut, and stitch to create soft, dimensional chenille textures that transform simple quilt blocks into eye-catching tactile designs.

We all love what happens when a quilt gets washed and dried for the first time. That delicious crinkling. That soft, rumpled texture. That irresistible urge to run your hands over every inch of it.
But what if you could build even more texture right into the quilt?
This is tutorial is for all our texture lovers. The people who can’t wait to wash their quilt for the first time to get all that delicious crinkling happening. Imagine the crinkle with a side of fuzzy, textured cotton goodness. That’s where chenille comes in.

Chenille lets you create texture that is soft, dimensional and downright touchable. By layering several pieces of fabric, stitching them together and cutting between the quilting lines, you create channels of fabric that will fluff and bloom into chenille.
The best part? OLFA’s Chenille Cutter makes the cutting part much easier than it sounds.

How Chenille Works
The short rundown is, you layer 4-8 pieces of fabric on top of each other, making sure the bottom layer slightly larger than the rest of the layers. For this project we are using 4 layers. The bottom layer is your base layer you leave uncut. Keeping it larger than the rest allows you to have a place to hold the fabric as you cut through the other layers.
The spacing between your stitched lines determines the width of your chenille channels. You can stitch lines anywhere from 1/8" to 1/2" apart, depending on the look you want. This spacing will also determine which guide you use on the Chenille Cutter. Ideally the guide fills the channel like the photo below.

Here’s where your creativity can kick in. You can layer all the same colour on top each other or you can layer various colours. This can give you an ombre look, make transitional colours or even help achieve the feeling of depth especially if you are strategic with how many layers of fabric you cut each time.
Once the stitched layers are cut between the quilting lines, the raw fabric edges relax, fray and fluff up through washing and drying, creating that soft, dimensional chenille texture.
Choosing Your Chenille Guide
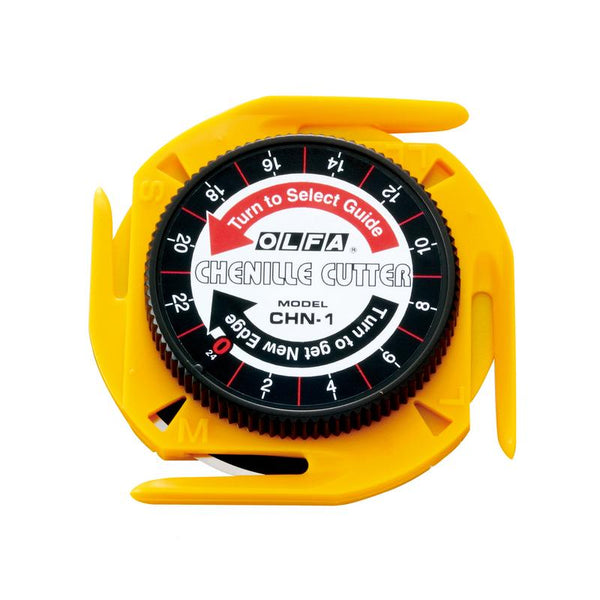
The OLFA Chenille Cutter comes with four guides:
• S: 1/8"
• M: 1/4"
• L: 3/8"
• LL: 1/2"
Choose the guide based on the actual width of the stitched lines. The guide should fit between your sewn lines easily but also be snug enough that the blade is cutting straight up the middle of the space.
You don’t want the cut to be so close to one side that you end up right next to the stitch line.

To select the guide you are going to use, turn the ratchet dial counter clockwise until you see the black blade through the little arrow window at the front of the guide you would like to use.
Unlike traditional rotary cutters the blade in this cutter is fixed. It’s not spinning as you cut. This allows for 24 edges on the blade. That’s a ton of cutting! When you need a new edge simply turn the dial clockwise one click and now you have a new cutting edge.

Cutting the Chenille
You cut the fabric by placing the cutter vertically with the guide in between two stitched lines leaving the bottom larger layer uncut. Then hold the fabric closest to you and slide the cutter away from you. Continue cutting every channel between the stitched lines, leaving the bottom layer intact.

If you are using loosely woven fabrics like linen, you may find that the fibres get stuck close to the blade. You may have to clean these out every few passes. The blade is still nice and sharp.
 This Project
In this tutorial I’m going to show how to use textured elements in a 9 patch block mini quilt. I’m alternating chenille squares with plain squares. This is only a starting point showing you how to incorporate chenille into pieced quilts. This is a past quilt I made with chenille and I have it hung above my computer in my office.
A few tips to keep in mind:
- Increase seam allowances to 1/2” to accommodate the bulk and press your seams open
- Select the Chenille cutter guide based on your actual stitched channel width and don’t be afraid to adjust the guide you are using if you happen to have some varying spacing.
- Since we are piecing these in a quilt beside single layers of fabric stick to 4 layers of fabric
- Select quilting cottons or linens that have a looser weave, they will be fluffier
- Chenille larger pieces and then trim to size, the chenille process can cause distortion
- Resist the urge to fluff up the chenille until after everything is pieced together.

Materials:
- 1/8 yard of background fabric
- Fat Quarter of 3 different co-ordinating feature fabrics
- Fat Quarter backing fabric
- Piece of Quilt Batting
- Thread
Tools:
• OLFA Chenille/Textile Cutter
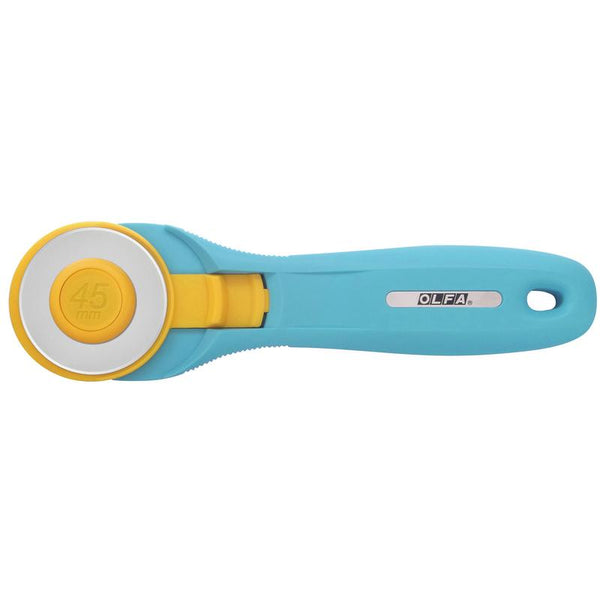
• OLFA 45mm Quick Change Rotary Cutter, Aqua RTY-2/C
• OLFA 6" X 12" Frosted Acrylic Ruler QR-6x12
• OLFA 12 1/2” Square Frosted Acrylic Ruler QR -12S
• OLFA 12" x 18" Double-Sided, Self-Healing Rotary Mat, Gray RM-CG-01/GRY
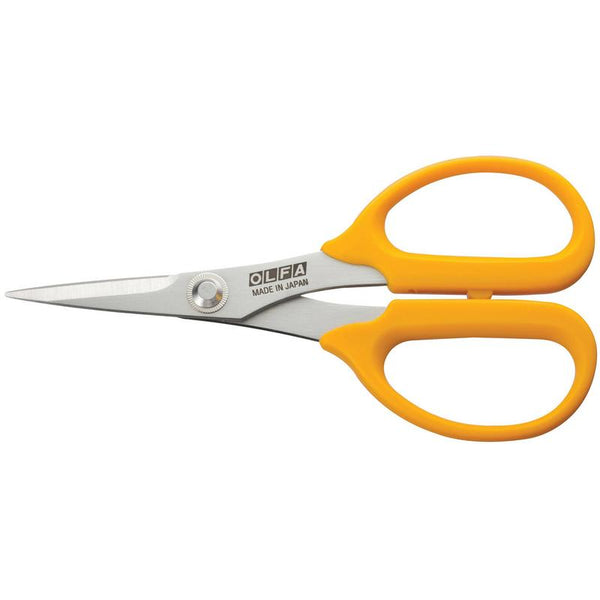
• OLFA 5-Inch Precision Applique Scissors, SCS-4
• Sewing Machine
• Brass bristle brush (optional)
• Clips/Pins
Cutting Instructions:
Background Fabric
- (18) - 3x3” squares

Chenille Fabric
You’ll be making two groups of layered chenille fabric.
For each group:
• From your base-layer fabric, cut one 11" × 11" square
• From each of your three feature fabrics, cut one 10" × 10" square
Repeat to create a second group. I chose to flip the colour ways so I had a light to dark and then a dark to light.
You will have two 11" base squares and six 10" feature-fabric squares total.

Sew Channels (Repeat for both groups of fabrics):
- Layer once of each of 3 feature fabrics together and centre on the base fabric.
- With a marking tool draw a diagonal line across the top square as a guide
- Sew lines 3/8” of an inch apart across the layered square, back stitching at the beginning and end.
* Note: We are using diagonal lines here for max fluff potential.

Chenille fabric
- Select the L guide on the Chenille cutter
- Place the guide under the the top 3 layers and slice through to the end of the line. Take care to not slice the base layer
- Continue until all spaces between the sewn channels have been cut
Cut Chenille squares
- From this larger square cut (9) 3x3”

Piece the 9-Patch Blocks
You’ll make four 3 × 3 blocks using two alternating layouts. In two blocks, the chenille squares are in the corners and centre. In the other two blocks, the background squares are in the corners and centre.
Layout 1:
Chenille | Background | Chenille
Background | Chenille | Background
Chenille | Background | Chenille
Layout 2:
Background | Chenille | Background
Chenille | Background | Chenille
Background | Chenille | Background
Using a 1/2" seam allowance, piece each block together and press the seams open. Then piece all four blocks together.

Finish Quilt
- Layer Quilt backing, batting and finished top and baste using your favourite method
- using a walking foot and a 3.0 stitch length Quilt the layers together but only the background fabric. Do not quilt the chenille. I used diagonal lines to quilt an x pattern in the background square.
- Trim the the layers to the top and square up
- Bind the quilt as desired.

Fluff the Chenille
Now comes the really fun part, time to fluff up the chenille.
There are a few ways of doing this, you could wash and dry the quilt and it will start to fluff up. The more you wash it the fluffier it will get.
Or I like to speed up the process and take a brass bristle brush (located in the paint section of your favourite home improvement store) and I start to ruff up the chenille. You can also use your Appliqué scissors to carefully snip the layers close to where it is pieced in the block beside it.
Then wash and dry to reveal the glorious texture!