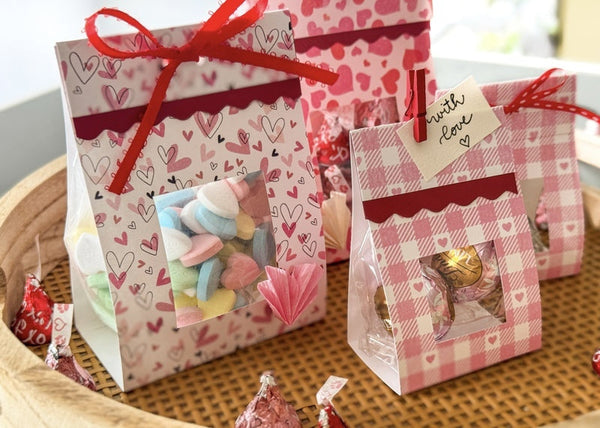
Sweet Love: Easy DIY Candy Gift Box for Valentine's Day

Designer: Marcia Izabel Marchiori
YouTube: MarciaBel Vlog
Instagram: @marciabel
---------------------------------------
 Valentine’s Day has always been one of my favorite times to create little handmade surprises. There’s something so special about gifting something you made with love, it feels more personal and meaningful.
These candy boxes are simple to make and add such a sweet touch to your Valentine’s gifts.
I hope you’ll enjoy making them as much as I did! 💕

Tools & Supplies Needed
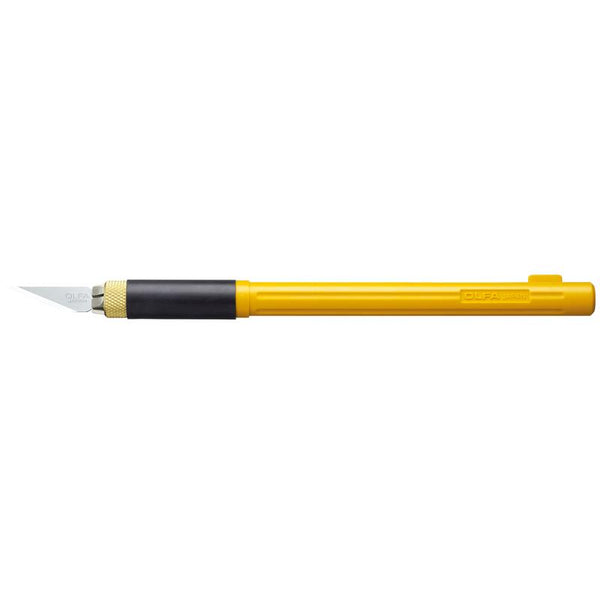
• OLFA AK-5 Designer Graphic Art Knife
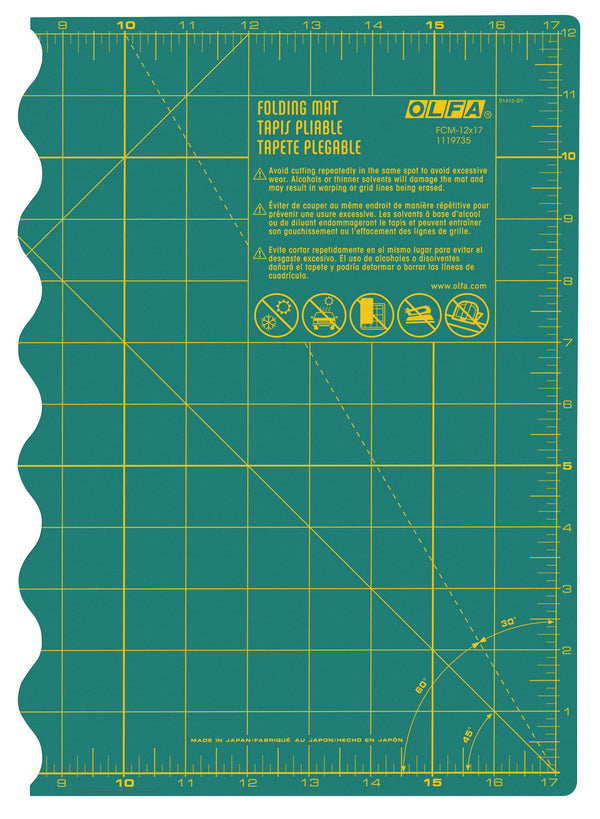
• OLFA FCM-12x17 12" x 17" Folding Cutting Mat
• OLFA QR-1x12 1" x 12" Frosted Acrylic Ruler
• Adhesive tape
• Valentine's Day-themed patterned cardstock, letter-size (printable paper)
• Embellishments: clothespins, ribbon, paper tags, etc
• Assorted Valentine’s Day candies / cello bag
OPTIONAL:
• OLFA RTY-2DX/CPK 45mm Ergonomic Rotary Cutter paired with SCB45-1 Stainless Steel Scallop Blade
• OLFA CMP-3 Rotary Circle Cutter
• Red cardstock
• Hole punch tool
• Crepe paper (for embellishments)
Instructions
Print the box templates (download here) on the blank (back) side of Valentine's Day-themed patterned paper.
Note: Pay close attention to the direction of the pattern! For example, if your paper has tiny hearts, make sure they’re oriented correctly with the box window you’ll cut out later.
Using the tapered side of your OLFA AK-5 Designer Graphic Art Knife and a ruler, score all the indicated lines (marked in bold on the template) where the box will fold.

With the OLFA art knife, mat, and ruler, carefully cut along the continuous lines of the printed template.

Fold along all the scored lines to form the base of your box.

Although the next step is optional, personally, I think it makes a big difference visually and is super easy to do!
Just cut a 1 1/2" strip from contrasting cardstock (I chose red) to create a scalloped edge trim. Use OLFA rotary cutter paired with the scallop blade to trim one edge of the strip lengthwise. If needed, use the ruler to guide your cut, but be careful not to damage the ruler with the scallop blade.

Trim the strip to the correct width by using the box tab as a guide, cutting it to size with the OLFA art knife and ruler.

Use adhesive tape to attach the red cardstock strip to the back of the box tab for a vibrant look.


To create a larger version of the box, follow the same steps above: print the template on the back side of a patterned paper, score the lines, cut out the shape, and fold. The only difference is combining two parts of the printed box template. Apply adhesive tape to the smaller tab on one part, then adhere both parts together.


Optional: For a finishing touch, attach a red cardstock backing to the box tab as you did with the smaller box.


If you’re using a clothespin to secure the top, your boxes are ready to use!

As another option, use ribbon to close the box. Find the center of the box tab, then mark two dots 3/4" apart. Punch two holes at these marks, thread the ribbon through, and tie a bow. You can add the ribbon after filling the box with the candy bag to keep everything secure, using either the clothespin or the bow.


Optional: Add handmade tiny crepe paper heart embellishments for an extra handmade touch! I love how this adds a whimsical feel to the design. You can watch a quick video to see how easy it is to make them here:


And that’s it! These candy boxes are so simple to make, and you can create several in minutes, each with its own unique charm. Perfect for adding a sweet, personal touch to Valentine’s Day gifts!

I hope you have lots of fun making these, and don’t forget to tag me @marciabel and @OLFA_craft in your finished projects, we would love to see your candy boxes!
Happy Valentine’s Day! ❤️
Marcia


