Supply Pouch Mash Up

Designer: Amista Baker
-------------
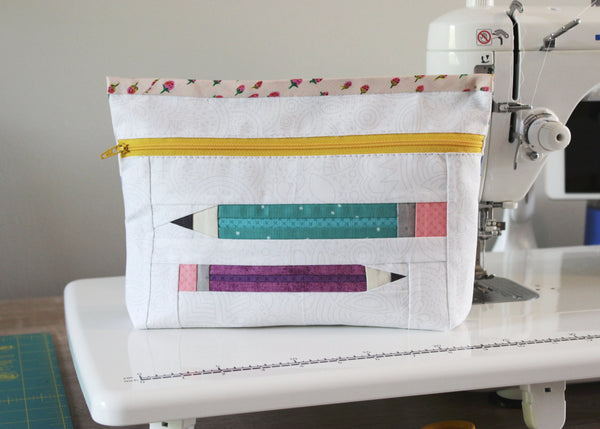
Back to school is a crazy hectic time of year for kids, parents, and teachers alike. I personally love it because I LOVE school supply shopping! I always have and always will. Today I want to show you a generously sized supply pouch that I made for one of my kids.

I'm going to give you the general outline of how I made this pouch including specific fabrics used and where I got the foundation paper pieced pencil pattern. There isn't a "formal" pattern for this EXACT pouch because I made it up as I went along… but if you stick with me you should be able to with what I provide below. If you make it to the end and feel you need visual help, this is similar to my Retreat Pouch Pattern but not exact. However, I feel the pattern will help you if you read it and supplement in the sizes I've used below.

Pouch Details:
This pouch is big, finishing at approx. 10 ½" wide and 7 ½" tall with a boxed bottom for extra room. It came together super quickly, and you could easily substitute the pencils for another FPP block.
- Finished size: approx. 10 ½" wide and 7 ½" tall.
- FPP Pencil Pattern from Happy Sew Lucky Shop - I used the two smallest sizes.
- Retreat Pouch Pattern by Amista Baker - modified in size.
- I boxed the corners 1" on each bottom corner.
Because I’ve used and modified paid versions of patterns, I cannot give full details here, but what I can tell you is that any foundation paper piecing block can be used in combination with the Retreat Pouch pattern - simply do a little math and adjust the size of your exterior, lining, and interfacing pieces accordingly. You can also stick with the original Retreat Pouch size and keep your FPP block to 6” square for the front panel.

Supplies:
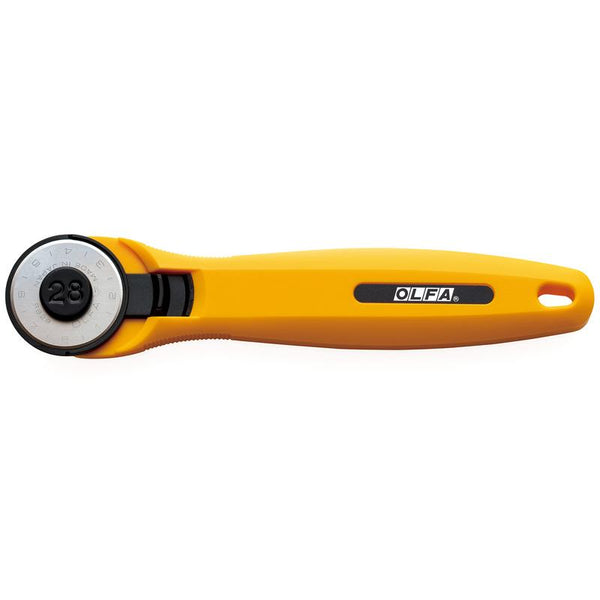
- OLFA 28mm RTY-1/C Quick-Change Rotary Cutter
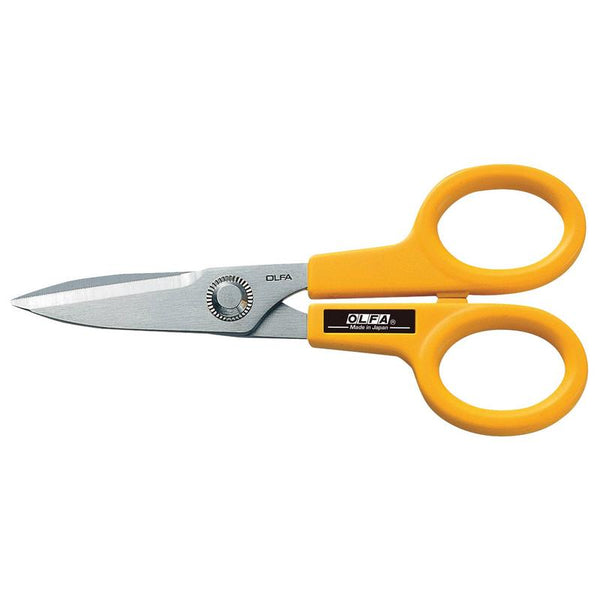
- OLFA 5-Inch SCS-1 Serrated-Edge Stainless Steel Scissors
- OLFA QR-1x12 1" X 12" Frosted Acrylic Ruler
- OLFA TCM-L 24" X 36" 3mm Translucent Double-Sided, Self-Healing Cutting Mat
- 12" nylon zipper
- 12" of double fold bias binding
- FQ lining fabric
- FQ low volume background fabric
- Riley Blake Designs basics for pencils


Making the Pouch:
I started by using my OLFA 1 ½" x 12" Frosted Advantage Ruler to cut strips of fabric from basics for the pencils - this ruler is the *perfect* size for these FPP pencils. I didn't have to think about size, I just cut strips to the exact length and width of this ruler and called it good. It gave me plenty of room to work with on the FPP pattern, including seam allowances.
Also, if you're looking for some great pencil options (eraser, lead, wood, etc) I used the Riley Blake Designs basics shown below. The wood shade I used, Confetti Cottons in Pina Colada, is particularly awesome! It is a near perfect match to the actual pencils I have at my house.

After finishing the FPP pencils, I begin piecing a low volume background onto the pencils to create a panel. There was no exact size I used, I simply pieced using scraps then trimmed the panel down to 6 ½" x 11 ½". I attached a zipper to the top of this panel (and the interior panel of the same size), then added the 2 ½" x 11 ½" exterior and interior strips to the top of the zipper.
I adjusted the measurements of the Retreat Pouch accordingly after this to continue the construction process.

You could easily add a handle to the back of this pouch, before adding binding, to make it even more handy to carry around. It can hold quite a bit of supplies - for school, sewing, or otherwise.
I hope you've enjoyed this little mashup of patterns. I'd love to see what you make by tagging me @amistabaker and/or @olfa_craft on Instagram.


