Spring Themed Diagonal Fold Card

YouTube: MarciaBel Vlog
Instagram: @marciabel
------------------------------------
Spring has officially sprung!
With the arrival of warmer weather, blooming flowers, and longer days, there's no better time to celebrate the season with some beautiful spring-themed DIY projects. And what better way to usher in the season than with a handmade card for your loved ones?
In this tutorial, I'll show you how to create a stunning spring themed diagonal fold card that's perfect for sending your warm wishes and greetings to family and friends. So grab your crafting supplies and let's get started!
Tools & Supplies Needed:
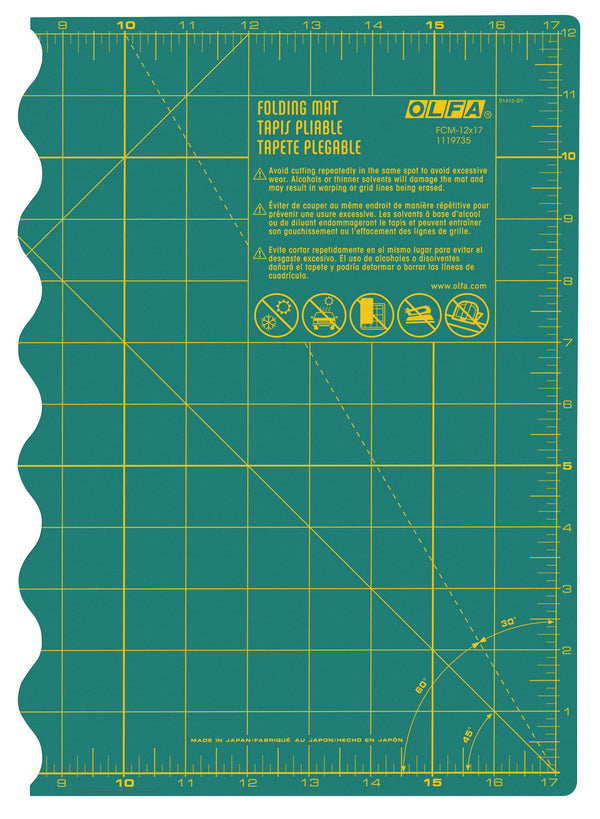
- OLFA FCM-12x17 12" X 17" Folding Cutting Mat
- OLFA QR-6x24 6" X 24" Frosted Acrylic Ruler
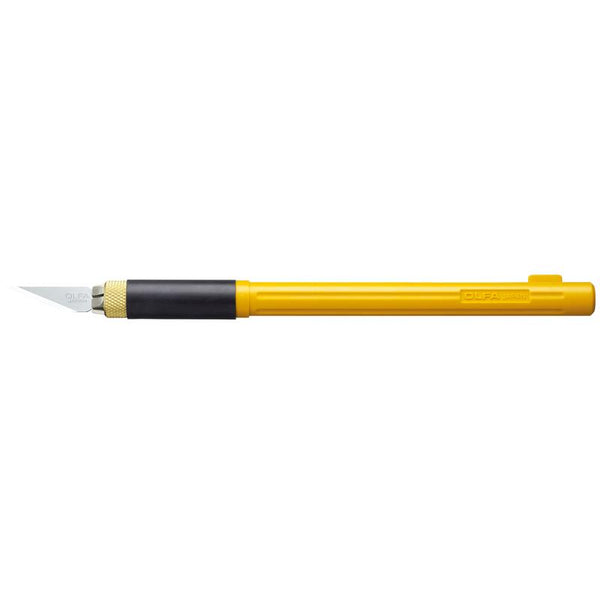
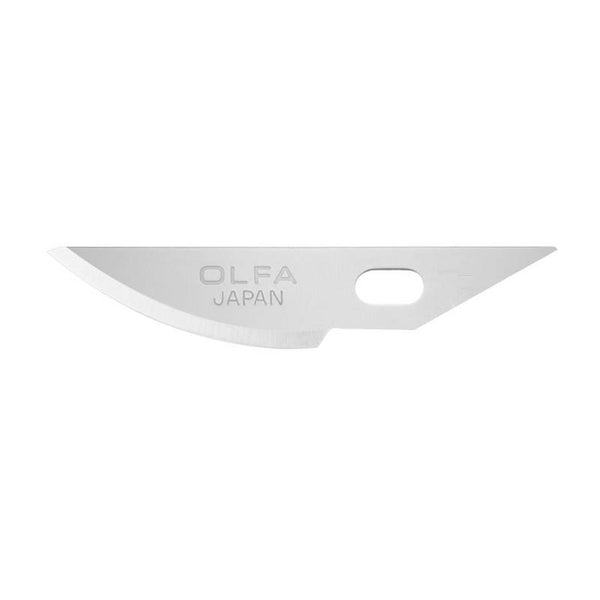
- OLFA AK-4 Cushion Grip Art Knife, paired with OLFA KB4-R/5 Curved Carving Art Blade, 5pk
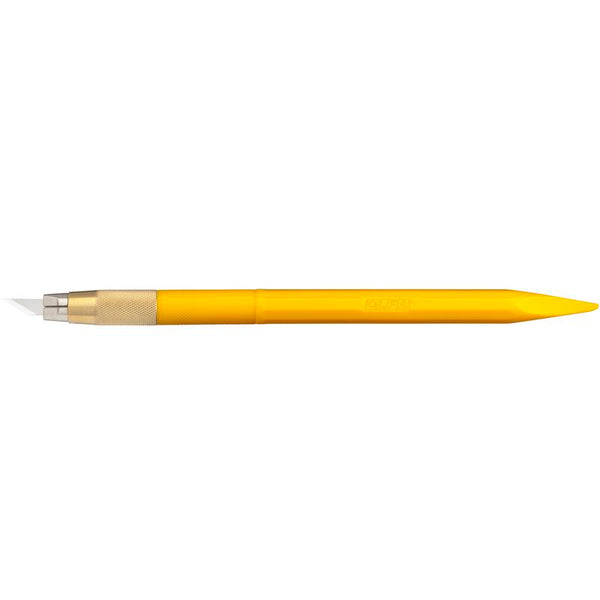
- OLFA AK-5 Designer Graphic Art Knife With 30 Replacement Blades (we’ll use the tapered base side of the handle, for scoring)
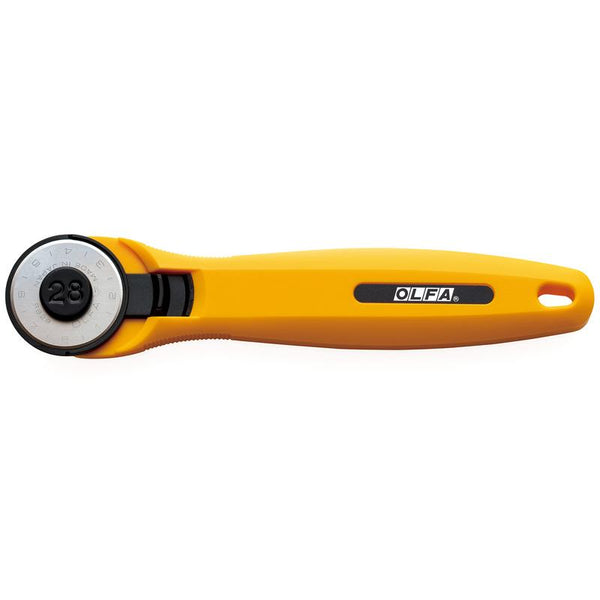
- OLFA 28mm RTY-1/C Quick-Change Rotary Cutter
- Cardstock, letter size in two matching plain colors
- Printing paper (for templates)
- Patterned paper, assorted colors. Pads used in this project:
- Riley Blake Designs Calico Crafting Paper by Lori Holt of Bee in my Bonnet ST-28247
- Riley Blake Designs My Happy Place Crafting Paper Pad by Lori Holt of Bee in my Bonnet ST-22914
- Riley Blake Designs Stitch Crafting Paper Pad by Lori Holt of Bee in my Bonnet ST-23013 - Felt - assorted colors (for flowers, matching papers colors and green for leaves)
- Assorted buttons - used in this project: Riley Blake Designs Stitch by Lori Holt of Bee in my Bonnet Cute Little Buttons
- Embroidery needles (used: Riley Blake Designs Lori Holt Embroidery Nifty Needle) and White Floss (used: Aurifil)
- Thermo O Web iCraft Memory adhesive tape runner
- Pencil, erasable pen (used: Pilot Frixion)
- Glue gun
Instructions
- Print template to scale. Gather all tools and materials.
- Using the OLFA ruler to guide, score cardstock in half vertically and horizontally, using the tapered base of the OLFA AK-5 Art Knife handle, then cut it in half diagonally using OLFA rotary cutter.
The great thing about this card is that you can make two cards out of one sheet of cardstock without any waste!
- Fold all the previously scored parts of the card.
- Using templates, cut two triangles out of two different patterned papers.
- Using template, cut one rectangle out of plain cardstock (matching colors with patterned paper - I used a light pink color for this project).
- Next, using the adhesive tape runner, attach cut pieces to already folded card base:
Cutting felt pieces:
- PETALS: Sketch six petals to felt with a erasable pen, then using OLFA art knife paired with curved carving art blade cut all pieces.
- Make a 1/2” straight cut in the middle of each petal, as shown below. Then, using a glue gun, assemble all petals individually:
- Using the glue gun, assemble all the six petals together in a circle, shaping a flower:
- Leaves: Sketch three leaves to felt with a erasable pen, then using OLFA art knife paired with curved carving art blade cut all pieces.
- Using glue gun, attach button to the flower, then the flower to the card (finishing with the leaves), as show below:
And that’s it, now it’s time to write a cheerful message and send it to your loved ones! I hope you enjoyed this quite simple to make, but fun and unique card!
Don’t forget to tag me @marciabel and @OLFA_craft in your finished cards, we would love to see your piece of art!
Happy Spring!
Marcia


