Spring Birds Paper Mobile

Designer: Marcia Izabel Marchiori
YouTube: MarciaBel Vlog
Instagram: @marciabel
------------------------------------
In this post, you’ll learn how to make a decorative mobile featuring spring birds and hearts made out of beautiful & colorful patterned papers.
Decorative mobiles can add a touch of whimsy and charm to any space, whether it's a nursery, a child's bedroom, or even a living room. Not only does it make for a delightful piece of decor, but it also offers a fun crafting project that you can complete with just a few simple supplies.
So grab your scissors, some paper, and let's get started!
Tools & Supplies Needed:
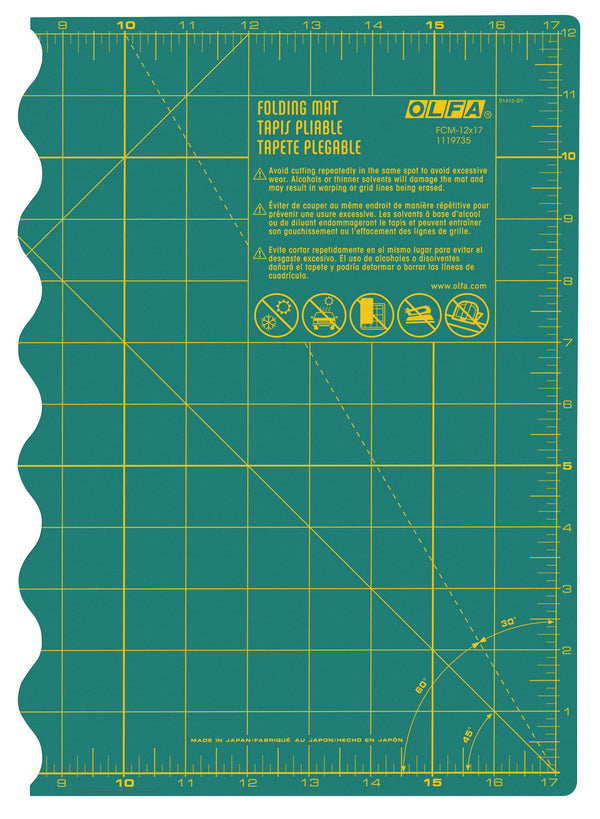
- OLFA FCM-12x17 12" X 17" Folding Cutting Mat
- OLFA QR-6x12 6" X 12" Frosted Acrylic Ruler
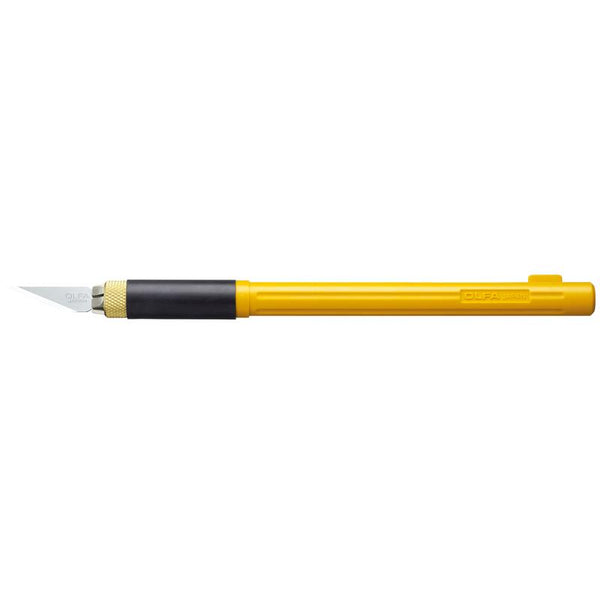
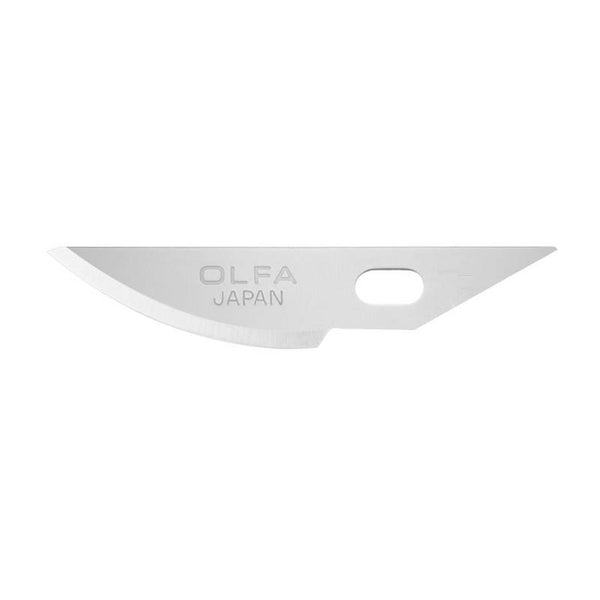
- OLFA AK-4 Cushion Grip Art Knife, paired with OLFA KB4-R/5 Curved Carving Art Blade, 5pk
- OLFA RTY-2C-RED Quick-Change 45mm Red Rotary Cutter Bee in my Bonet by Lori Holt
- OLFA 5-Inch SCS-4 Precision Appliqué Scissors
- Thermo O Web HeatnBond Lite Iron-On Adhesive (enough to make the five birds)
- Patterned paper, assorted colors. Pads used in this project:
- Riley Blake Designs Calico Crafting Paper by Lori Holt of Bee in my Bonnet ST-28247
- Riley Blake Designs My Happy Place Crafting Paper Pad by Lori Holt of Bee in my Bonnet ST-22914
- Riley Blake Designs Stitch Crafting Paper Pad by Lori Holt of Bee in my Bonnet ST-23013 - Assorted buttons: Riley Blake Designs Stitch by Lori Holt of Bee in my Bonnet Cute Little Buttons
- 10” screwless wooden hoop
-
To finish the hoop, one of the following options:
- Option 1: 100% Cotton Chunky Thread by Lori Holt of Bee in my Bonnet, from Riley Blake Designs Aqua STCT-8522 paired with Riley Blake Designs Bias Tape with Crochet Edge, Cottage Tiny Daisy ST-17317 (used in this project)
- Option 2: 100% Cotton Chunky Thread by Lori Holt of Bee in my Bonnet, from Riley Blake Designs Beehive STCT-8520 paired with Riley Blake Designs Bee Cute Lace Color Assortment #2 STVL-3634 (yellow lace) - Thermo O Web iCraft Easy-Tear double-sided Tape, 1/4"
- Pencil, eraser
- Tissue paper (5 different colors, each one complementing patterned papers)
- Riley Blake Designs Nifty Chunky Needle - ST-9438
- White cardstock, to print the template
- Hole puncher
Instructions
- Gather all tools and materials. Print templates to scale and cut out birds individually.
- The first step is to assemble two patterned paper sheets together, so you’ll have a well-structured piece. You can make both sides of the bird with the same pattern, but I prefer to use different but complementary kinds, in order to have an interesting effect. And these paper pads from Riley Blake Designs fits perfectly this purpose, as each sheet totally matches each other, despite having different patterns.
Place interface sheet on the blank side of cardstock (paper liner should face up), Then, place and hold iron on the paper liner for 2 seconds. Repeat until entire surface is bonded. Allow to cool, then peel off paper liner and place second cardstock (right side up) on top of it. Press and hold iron for around 6 seconds on each section until entire piece is bonded.
- Using a pencil and bird templates, sketch each bird to layered patterned papers.
- Using OLFA AK-4 art knife paired with curved carving art blade, cut out the paper birds from the patterned papers.
- Make two holes per bird using the hole puncher (for eye, and to attach thread later), according to template.
- Let’s make the hearts:
Using the rotary cutter, cut out 3/4” strips of assorted single patterned paper. For each heart, cut two of the following lengths: 3”, 3 1/2”, 4”, 4 1/2” and 5” (a total of 5 strips, for each side of the heart).
- Adhere all of the edges together with double-sided tape, creating a teardrop shape.
- Repeat this process, making the two sides of the heart. Add double-sided tape to one side of both pieces and attach each one of them to a separate strip (using layered paper that you prepared in the beginning), forming a heart shape. Using a hole puncher, punch the strip in the middle.
Make four hearts.
- Birds wings: Cut tissue paper rectangles (app. 3” x 12”), one per each color and five in total. Then accordion-fold each rectangle (width should be the same as the birds rectangle slots we made previously, according to templates). Carefully insert the folded tissue paper into these slots:
Assembling the mobile:
- Cut 9 pieces of thread to the desired lengths for your mobile (five for the birds and four for the hearts), doubling each thread.
Insert a thread in each bird making a loop by folding the cord and then pass the loose ends through the bird, and back through the loop you made, as shown below.
- With the help of a Riley Blake Designs Nifty Chunky Needle, insert buttons throughout the doubled threads (both birds and hearts).
- Take the wooden hoop and tie four single strings around it at even intervals. Hold the four strings up to make sure the mobile hangs evenly and then tie them all together in a knot. From this step onwards I like to hang my mobile on a drying rack, making it easier to assemble the birds and hearts while adjusting the balance.
Attach one bird in the center of the mobile on the top, and the rest of the birds and hearts around the hoop circumference alternately, spacing all of them evenly, varying heights and always adjusting balance as you go.
- Using double sided tape, attach Riley Blake Designs Bias Tape with Crochet Edge (or yellow lace) inside and outside the entire edge/circumference of the hoop.
The cutest mobile is ready to hang on the ceiling! :-)
I hope you have lots of fun making this and don’t forget to tag me @marciabel, @OLFA_craft and @rileyblakedesigns in your finished project, we would love to see it in your room.
Happy Spring!
Marcia


