Spooky Sweet Delights: Fun Halloween Candy Wrappers

Designer: Marcia Izabel Marchiori
YouTube: MarciaBel Vlog
Instagram: @marciabel
---------------------------------------
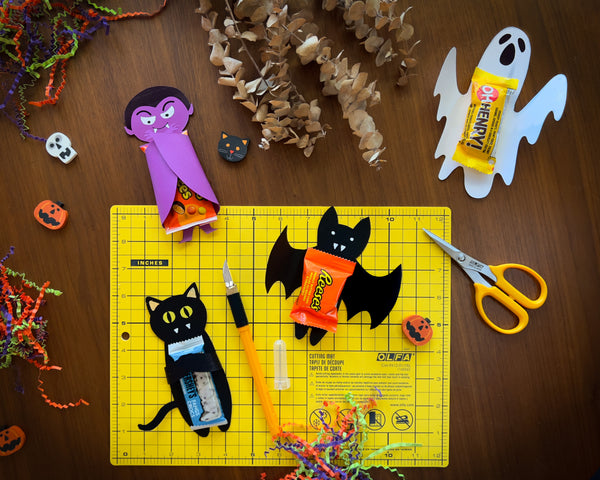
Embracing the Halloween spirit, this creative project will delight your little goblins and ghouls!
These candy wrappers are a playful way to present treats to your kids during this spooky season. Whether you're handing them out at a Halloween party or surprising your kids, these cute characters are sure to bring smiles to everyone's faces.
So, gather your materials, and start crafting this fun and easy Halloween project!
Tools & Supplies Needed
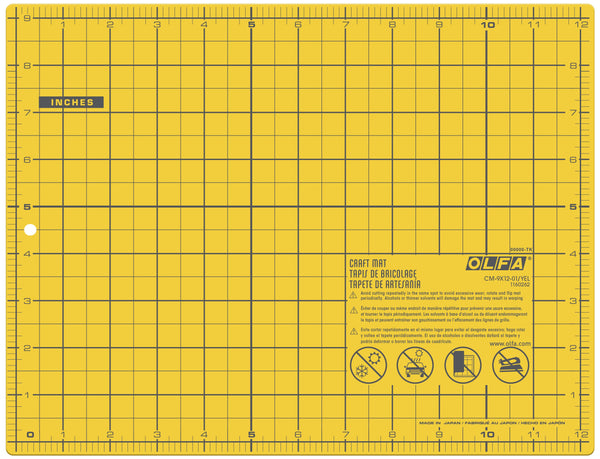
- OLFA CM-9x12-01/YEL Double-Sided Self-Healing Cutting Mat
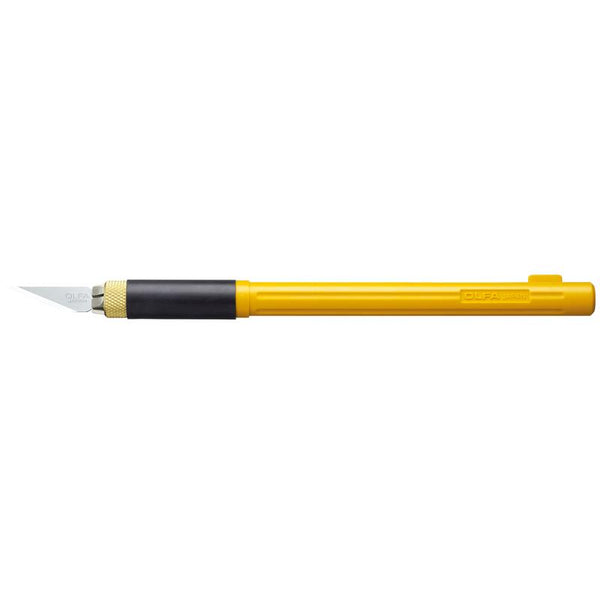
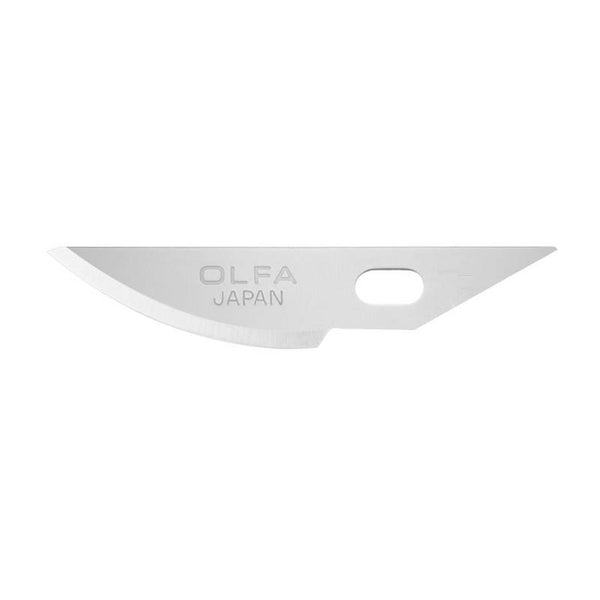
- OLFA AK-4 Cushion Grip Art Knife, paired with KB4-R/5 Curved Carving Art Blade, 5pk
- OLFA 5-Inch SCS-4 Precision Appliqué Scissors
- Plain cardstock letter-size, suitable to printing (suggested colors: black, white and purple)
- Yellow paper scraps (either construction paper or cardstock is fine)
- Therm O Web Zots Removable Clear Adhesive Dots
- Thermo O Web iCraft Memory Adhesive Tape Runner
- White marker (such as Posca). Optional colors: yellow and pink
- Assorted Halloween Candies
Instructions
- Begin by downloading the PDF file with the candy wrapper templates. Make sure to print them to scale (you can adjust the size as needed, but keeping them true to size will yield the best results).
Print the templates according to the following suggested cardstock colors:
Cat and bat: black
Vampire: purple
Ghost: white
- Due to the intricate details of the designs, use OLFA art knife paired with curved blade, for precise cutting. Place the printed sheet on your OLFA mat and carefully cut along the outer edges of each design by hand.
Tip: the best way to cut all the curved lines, work slowing rotating the piece as you go. Take your time to achieve clean lines.
- For the vampire, use white Posca marker to paint the white part of the eyes, and teeth. With a black marker, finish the eyes and mouth:
- For the bat, use the white Posca marker to make the eyes and teeth, following the printed template.
- For the cat, use OLFA art knife paired with curved blade, for precise cutting.
- Use your OLFA precision appliqué scissors to cut two small circles out of a yellow paper, according to template. Attach it to the cat’s face. With a black marker, finish the eyes. With a white marker, trace the teeth, and with a pink one, make the ears.
- For the ghost, simply hand cut the templates using OLFA art knife paired with curved blade, and it’s almost ready!
- With OLFA art knife handle, break the fibres of the paper of each character’s arm, to make it easier to wrap up the candy.
- Place the treats in the center of the candy wrapper, and attach it with Therm O Web iCraft Zots adhesive dots.
- Gently wrap the arms of the candy hugger around the treats, giving the illusion that the monster is hugging them tightly, using Therm O Web iCraft Zots adhesive dots.
Congratulations, your candy wrappers are ready! These charming little monsters will certainly add a special touch to your Halloween festivities :-)
Don’t forget to tag me @marciabel and @OLFA_craft in your finished cards, we would love to see your creations!
Marcia


