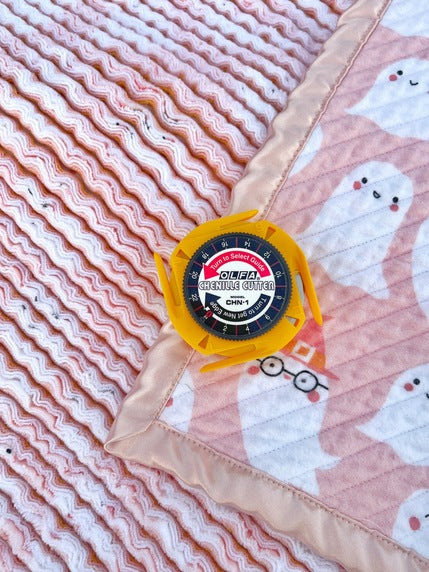
Spooky Chenille Blanket

Designer: Amanda Brown
Instagram: @myfabricheart
----------------------------------------
Size or dimensions:42”x 45”
Skill level: Beginner
Description: Learn how to make a cozy chenille blanket using an OLFA chenille cutter! This tutorial covers everything from fabric selection to chenille cutting techniques.

Materials:
- 1 1/3 to 2 2/3 yards Flannel backing
- (5) 1 1/4 yards Flannel
- 1/2 yard satin or cotton for binding
- Thread
Tools:
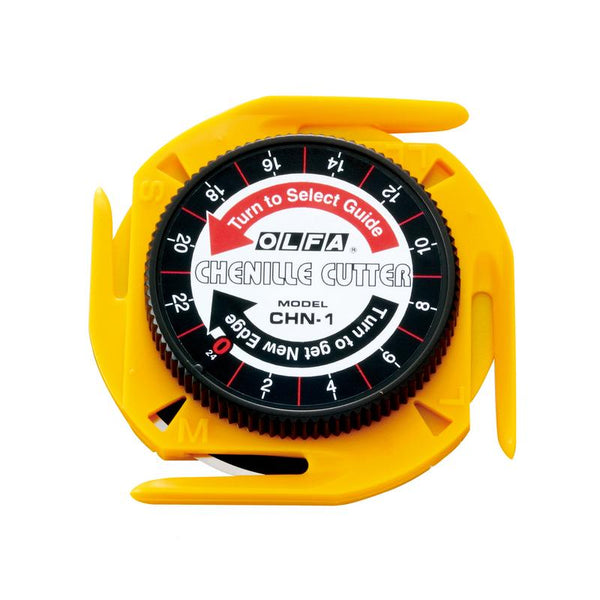
- OLFA CHN-1 Chenille/Textile Cutter
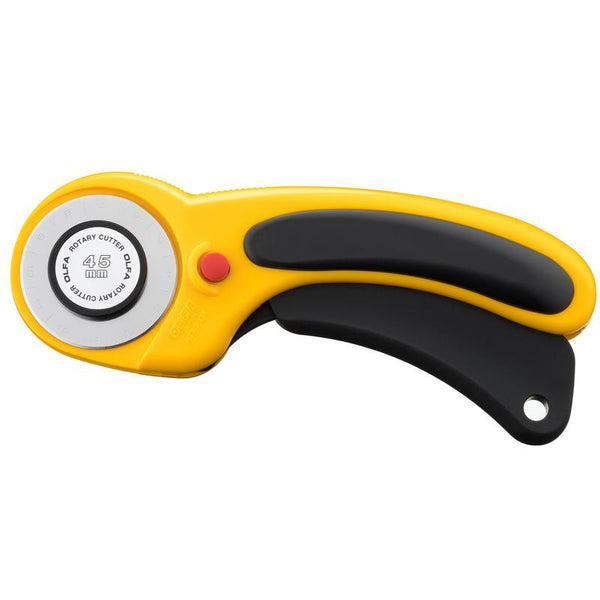
- OLFA RTY-2DX Ergo Rotary Cutter
- OLFA QR-6x12 6”x12” Frosted Acrylic Ruler
- OLFA QR-6x24 6”x24” Frosted Acrylic Ruler
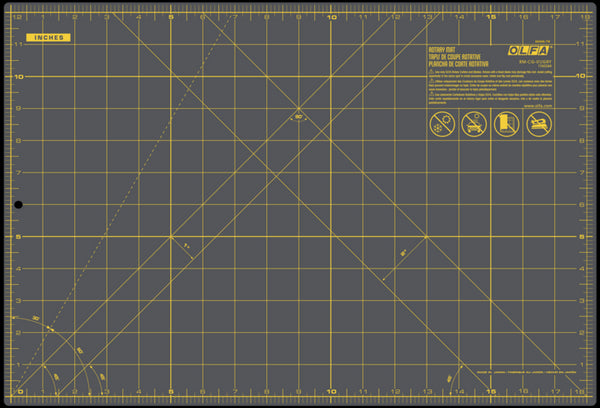
- OLFA RM-CG-01/GRY 12"x18" Double-Sided Self-Healing Cutting Mat
- OLFA 5-Inch SCS-4 Precision Appliqué Scissors
- Marking tool
- Clips/Pins
- Sewing Machine
Key Moments:
(0:52) Tools & Materials
(6:34) Layering
- Trim 1” on each long edge of the layers you will chenille
- Lay 1 1/3 yard fabric face down
- If using 2 pieces layer second piece face up on top of first piece
- Centre remaining fabric face up and pin in place
(9:04) Using OLFA Chenille Cutter
- Set your cutter to LL and make sure you have a fresh blade edge
(10:24) Marking fabric
- Mark first line on 45 degree angle
- Mark additional lines as needed
(12:26) Sewing Lines
- Sew parallel lines 1/2” apart with a shorter stitch length
(15:00) Chenille
- Place guard under top 4 layers of fabric between a row of stitching and slice through the fabric
(17:45) Trim
- Square up blanket
(18:44) Binding
- Using 4” wide strips of satin join 4 WOF strips together and fold in half
- Attach to the blanket
(20:38)Wash and dry blanket
- Make sure to clean out your dryer lint compartment after washing this blanket


