Slice & Stitch: Celebrating Earth & the Holidays

Designer: Marcia Izabel Marchiori
Minois Handmade
IG @marciabel
---------------
OLFA & AURIFIL SLICE AND STITCH CHALLENGE: CELEBRATING EARTH & THE HOLIDAYS WITH EASY TO MAKE LAVENDER SACHETS
Skill Level: Beginner, with basic sewing skills

I am very honored to be part of OLFA + Aurifil Slice & Stitch Challenge this year! Although we are still enjoying the coziness of the Fall season, I have to admit that I’ve already been thinking a lot about my end of the year preparations.
When OLFA and Aurifil invited me to create a “made in a day” kind of project, all my ideas just fell into place! My intention when designing this lavender sachet tutorial was to create a quick and easy to make gift and, in my case, it’ll be the best way to put to use all the dried buds I’ve harvested from the lavender bushes in my backyard this summer! But don’ t worry if you don’t have access to fresh lavender: you can easily buy some at your local health store or even online!
So let’s go to the tutorial!

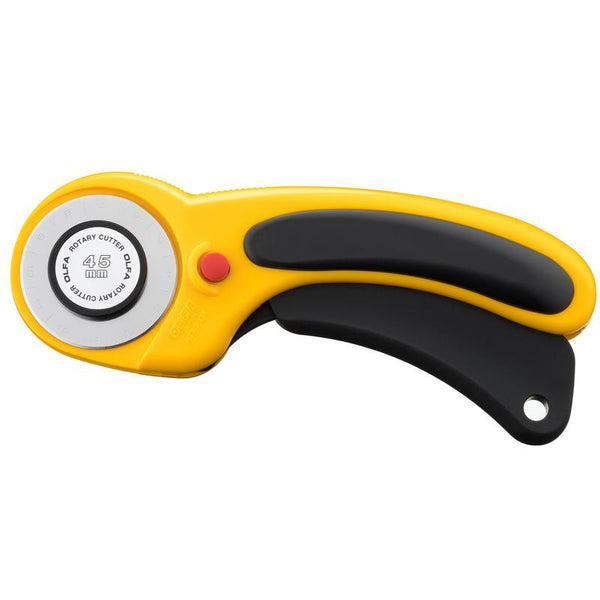
For this challenge, I was given the OLFA Ergonomic Rotary Cutter with three beautiful Specialty Blades, while Aurifil kindly sent me their stunning thread collection Earth Views by Karen Nyberg, and the silkiest sewing thread I’ve ever used, their 50wt white Cotton thread.
Slice And Stitch Challenge Featured Materials:
- OLFA 45mm RTY-2/DX Ergonomic Rotary Cutter
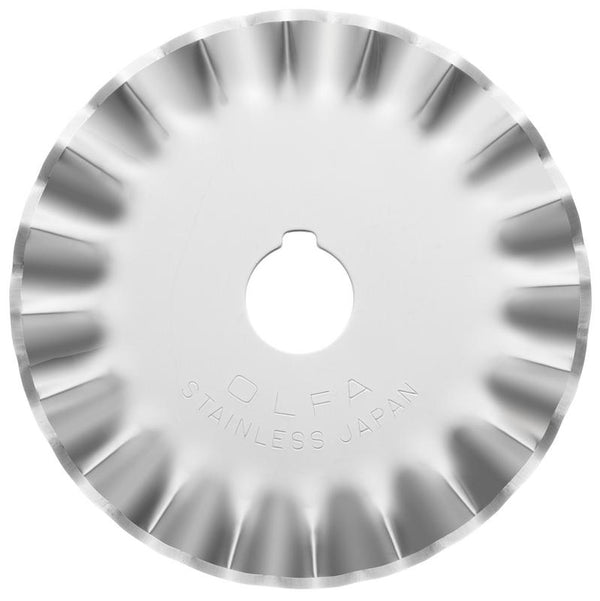
- OLFA PIB45-1 Stainless Steel Pinking Blade, 1pk
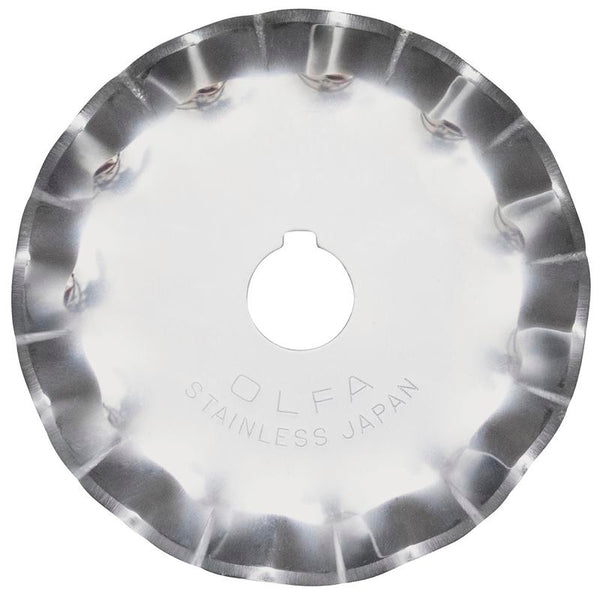
- OLFA SCB45-1 Stainless Steel Scallop Blade, 1pk
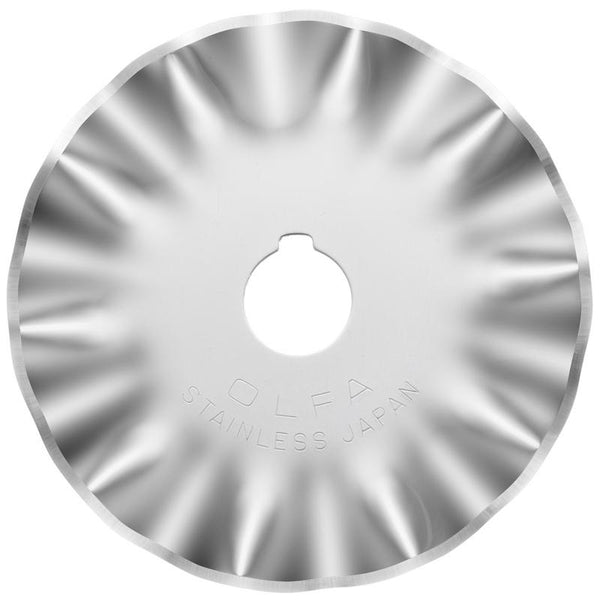
- OLFA WAB45-1 Stainless Steel Wave Blade, 1pk
- Aurifil EARTH VIEWS thread collection by Karen Nyberg
- Aurifil 50wt white Cotton thread - large spool

Other Tools and Supplies Needed:
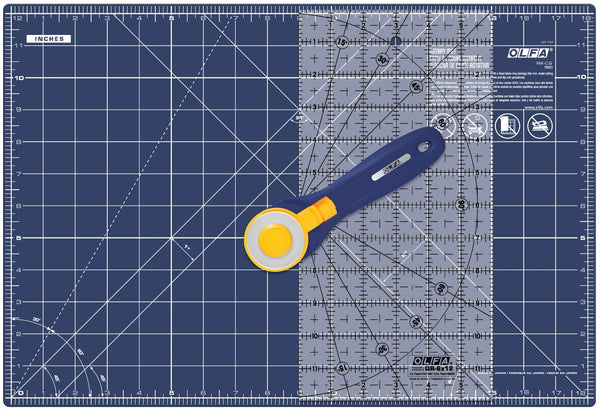
- OLFA 12”x18” Double-Sided, Self-Healing navy rotary mat (found only in RTY-2C/STQR NBL Quilting/Sewing Kit)
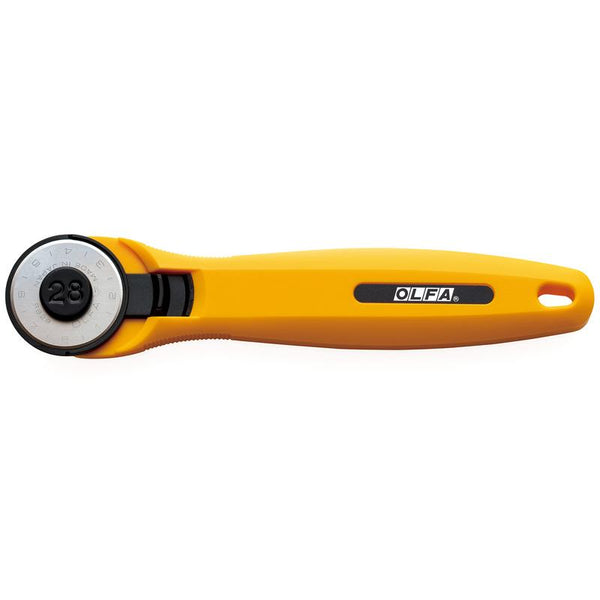
- OLFA 28mm RTY-1/C Quick Change Rotary Cutter
- OLFA 5-Inch SCS-4 Precision Appliqué Scissors
- OLFA QR-1x12 1”x12” Frosted Acrylic Ruler
- Small squares of lightweight fabric - assorted colors (each piece has to measure at least 3 1/4” x 3 1/4”)
- Dried Lavender Buds
- Straight pins, sewing needles and a sewing machine
- Fabric glue
- Erasable fabric pen (such as Pilot FriXion)
- Lace or satin ribbon (optional)
- Mini buttons (black, heart shaped - optional)
With this amazing color palette, my intention was to create a theme that will give you all the Holiday & Winter feels, while celebrating inspiring creatures from our beloved planet Earth. It is truly a quick project, all you need is basic sewing skills and the right tools!

Instructions:
1. Print templates to scale.2. Gather tools and materials.

3. Using the patterns, cut out the background fabric (as many pieces as needed - there are four different designs available in the PDF), and the felt squares (two squares of each color per sachet). For the felt squares, I used the OLFA 28mm rotary cutter for the edges and the OLFA appliqué scissors to cut out the window.
4. Using the patterns (deer, fox, penguin and bear), cut out all the felt pieces according to chosen colors, using appliqué scissors. Glue their parts together to make it easier later, when hand stitching them to the felt squares.

5. Pin (if needed) the felt square with background fabric positioned in the open window and stitch them together (1/16” from the window edge) with Aurifil 50wt white Cotton thread.

6. Position and glue the character to the fabric and start to hand stitch the edges and details of each color, using the corresponding Aurifil thread.

7. With the provided paper guide, mark stitches position with an erasable pen, and stitch only three sides of the sachet, using Aurifil white thread, leaving the top open.

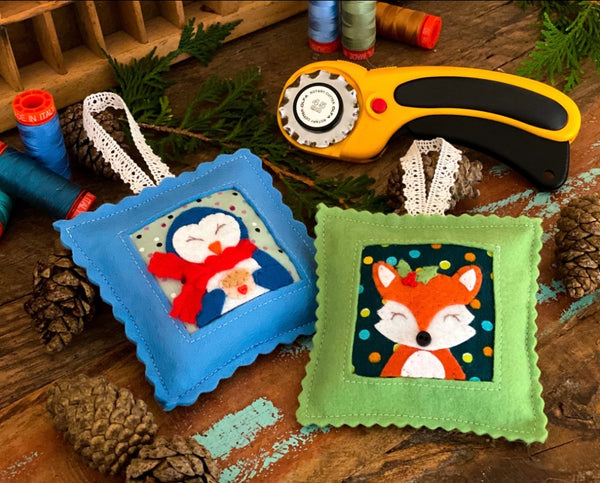
8. After that, using OLFA rotary cutter with specialty blades, cut the felt square edges (all four sides). I used the Scallop Blade for the aqua (peak side) and blue (wave side) felt squares, the Pinking Blade for the green, and the Wave Blade for the red one.

9. Now it’s time to fill the sachet up with lavender buds and to position lace or ribbon to the open side in case you are making sachets to hang (if they are only to put in drawers, skip the lace/ribbon step). Cut the lace/ribbon of 9” length, pin the ends of it together in the middle of the open side of the square, as shown in the picture below.
Tip: your sachet will look better if it is well filled. If you don’t have too many lavender buds to spare, you can mix it with polyester or cotton stuffing.

10. Stitch the top to close the sachet.
11. Repeat this process for each design. And voilà!

Oh! And here’s an extra little surprise for you: a printable “Happy Holidays” Gift Tag PDF here, so you can complete the festive look of your gift ;-) I hope you have lots of fun making these and don’t forget to tag me @marciabel , @OLFA_craft and @aurifilthread in your finished projects, we would love to see your creations!

Happy Crafting!
Marcia
______
Be sure to head over to the Aurifil blog to see how Aurifil Artesian, Porfiria Gomez @mrsporfiria, used her assigned products to create this beautiful throw pillow.


