Sewalong to the Reine Sweatshirt by Styla Patterns

Designer: Catherine Holbrook
YouTube: @bringingsewingback
-----------------------------------------------
Size or Dimensions: reference fabric requirements chart for the exact yardage needed for your size
Skill Level: Confident Beginner

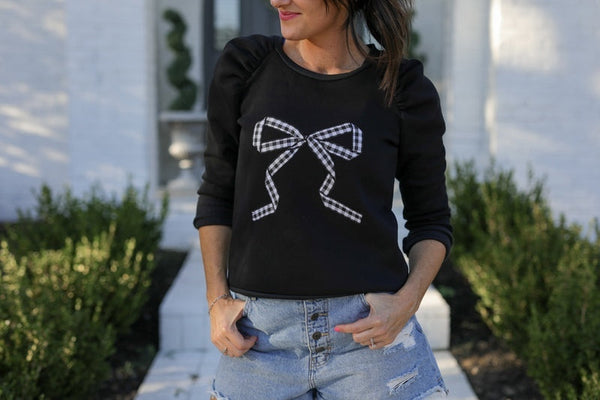
Description: Bows have been THE fashion icon this year, and if you’re like me, you’ve seen them placed on just about everything under the sun. But, have you ever considered embellishing something with a bow yourself? It’s actually a pretty simple thing to do. Just grab your sewing machine and some ribbon, and I’ll show you how!
In this tutorial, I’ll walk you through how to sew up the FREE Reine Sweatshirt pattern from Styla Patterns, focusing on how to add a ribbon bow to the front bodice. Using your OLFA 18mm quick-change rotary cutter and 5-inch precision appliqué scissors makes this process a total breeze! Once you learn this technique, you can add a bow to any type of garment, in 1,000 different ways. Grab your OLFA tools and let’s get started!

Tool & Supplies needed:

OLFA Products:
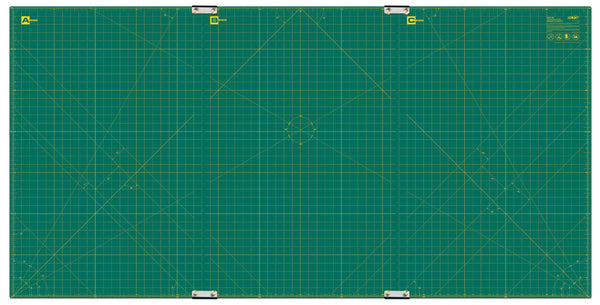
RM-CLIPS/3-01 35” x 70” Continuous Grid, Double-Sided, Self-Healing Rotary Mat Set
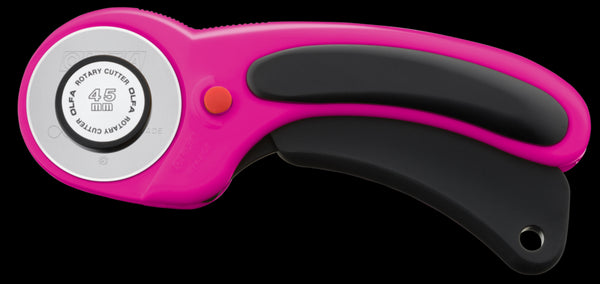
RTY-2DX/MAG 45mm Ergonomic Rotary Cutter
5-Inch SCS-4 Precision Appliqué Scissors
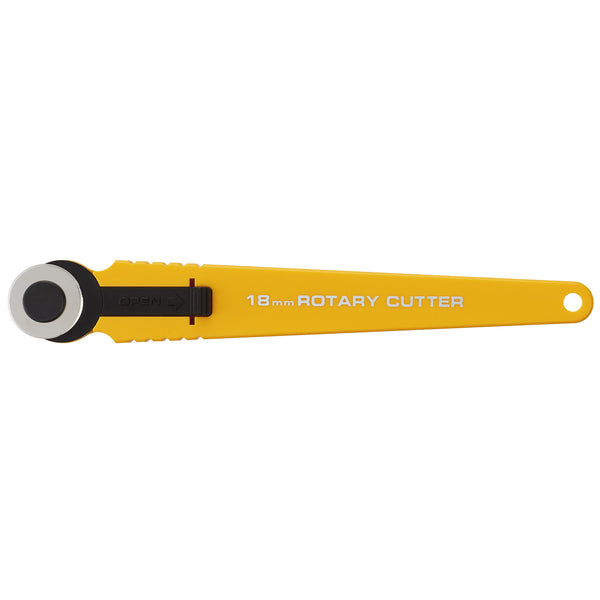
18mm RTY-4 Quick-Change Rotary Cutter
QR-6x12 6" X 12" Frosted Acrylic Ruler
Other
Marking Pen/Chalk
Ribbon of choice (I used 1” thick ribbon)
Fabric:
Approximately 2 yards (see fabric requirements for your size!) of medium weight knit fabrics with at least 30% horizontal stretch. Ideal fabrics would be: French Terry or Sweatshirt Fleece. If wanting to use ribbed knit for the bands and cuffs, you will also need a 1/3 yard of ribbed knit fabric.
Sewing Pattern: The FREE Reine Raglan Top pattern by Styla Patterns can be downloaded here.
For this project, cut the following pattern pieces:
Front Bodice Piece (cut 1 on the fold - 1 Main)
Back Bodice (cut 1 on the fold - 1 Main)
Sleeves (cut 2 as a mirror image set - 1 set Main)
Neck Band (cut 1 - 1 Main/Ribbed Knit)
Hem Band (cut 2 - 2 Main/Ribbed Knit)
Sleeve Cuffs (cut 2 - 2 Main/Ribbed Knit)


Preparing the Pieces:
Ensure all markings/notches have been transferred to the pattern pieces. Locate the front bodice piece. It is much easier to maneuver the front bodice piece at the sewing machine *before* it is attached to the rest of the sweatshirt, so we will begin this tutorial by embellishing the bow on the front bodice piece.

Fold the front bodice in half, wrong sides together, to find the center point.

Using your Frosted Acrylic Ruler, measure down from the center neckline 6 inches and make a mark with your marking pen/chalk. This mark will indicate where to place the knot of the bow.


Locate your ribbon. Cut a piece of ribbon 40 inches long. (If you want a smaller bow, cut a shorter length. If you want a larger bow, cut a longer length).

We will be using the following Youtube Tutorial to tie the bow.
Grabbing the ribbon about 1/3 of the way from the left hand end, create one loop (bunny ear), and secure at the base with your left hand.


With your right hand, grab the longer ribbon strand and loosely wrap the ribbon around the loop you just created, bringing the string around back to the front.


Roughly 8 inches down, pinch the ribbon together to make another loop. Push this loop through the opening at the center.


Using both hands, pull the two loops taut, creating a bow. You may need to finagle the loops until the strands become even in length.


Place the knot of the bow onto of the mark you made on the front bodice. Pin in place.

Pin the rest of the ribbon in place creating whatever type of bow design you’d like! I prefer to have the strands fold over on themselves to give more of a swirly tail effect.


Using a small zig zag stitch, sew the ribbon in place around the edges, removing the pins as you sew.

Your front bodice is now ready to complete the remainder of the steps!

Attaching the Sleeves:
Locate the sleeves. Sew a gathering stitch between the two markings on the sleeves. This tutorial will vary from the pattern directions, as it will use a ruffler foot to gather.


Locate the front bodice. Place the sleeve right sides together with the front bodice, aligning the markings, and pin together.

Ease in the gathered portion of the sleeve to fit between the two markings on the front bodice. Ensure the gathers are distributed evenly.

Sew to attach the sleeve to the bodice with a stretch stitch or serger and a 3/8” seam allowance.

Repeat with the remaining sleeve on the opposite side of the front bodice.

Locate the back bodice. Place the back bodice right sides together with one of the sleeves, aligning the markings. Pin in place.

Sew to attach with a stretch stitch or serger and a 3/8” seam allowance. Don’t forget to clip your serger tails with your Precision Applique Scissors!


Repeat with the remaining sleeve.


With the sleeves attached, we will now sew the side seams. Fold the front bodice over the back bodice, right sides together. Align the sides and pin into place.

Sew to attach with a stretch stitch or serger and a 3/8” seam allowance.

Attaching the Bands and Cuffs:
Locate the two hem band pieces. With right sides together, align the short edges and sew to attach with a stretch stitch or serger and a 3/8” seam allowance. You will now have one long circle of fabric.


Fold the hem band in half, wrong sides together. Mark the quarter points with clips.
Turn the sweatshirt wrong side out. With the hem band right sides out, slide the hem band into the sweatshirt.


Match the side seams and quarter points, and pin together. Note: the hem band will be slightly smaller than the sweatshirt opening.

Sew to attach with a stretch stitch or serger and a 3/8” seam allowance, slightly stretching the hem band while sewing.

Repeat these steps for attaching the neckband and sleeve cuffs, and you’ve got yourself the most adorable bow sweatshirt to wear all season!


