
Sewalong to the Elliot top by Cool Stitches

Designer: Catherine Holbrook
YouTube: @bringingsewingback
-----------------------------------------------
Project Name:
Category: Sewing
Size or Dimensions: 1-2 yards of fabric
Skill Level: Confident Beginner


DESCRIPTION: After a long cold winter, there’s nothing better than stepping outside to a 75 degree sunny day! The sun shining on your skin, the fresh breeze in the air, the vitamin D nourishing the soul: it feels like a part of ourselves awakens again come Springtime. Which is the perfect excuse to whip up something new to wear! Insert the Elliot Top Pattern.

Despite being Cool Stitches’ first sewing pattern, this top brings with it some pretty unique design details. Cropped with a plunging v-neck, the Elliott top is the perfect mix between mature and whimsical. The poofy sleeves and bow ties at the center front give this top a feminine element. It can be sewed up in just a few hours and does not require any buttons or zippers. A win in my book! Grab your Olfa Tools and we will get started.
TOOL & SUPPLIES NEEDED:
OLFA Products:
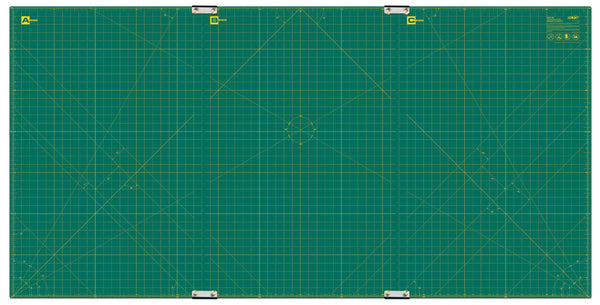
OLFA RM-CLIPS/3-01 35” x 70” Continuous Grid, Double-Sided, Self-Healing Rotary Mat Set
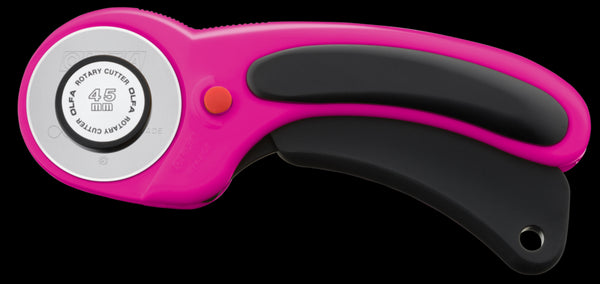
OLFA RTY-2DX/MAG 45mm Ergonomic Rotary Cutter
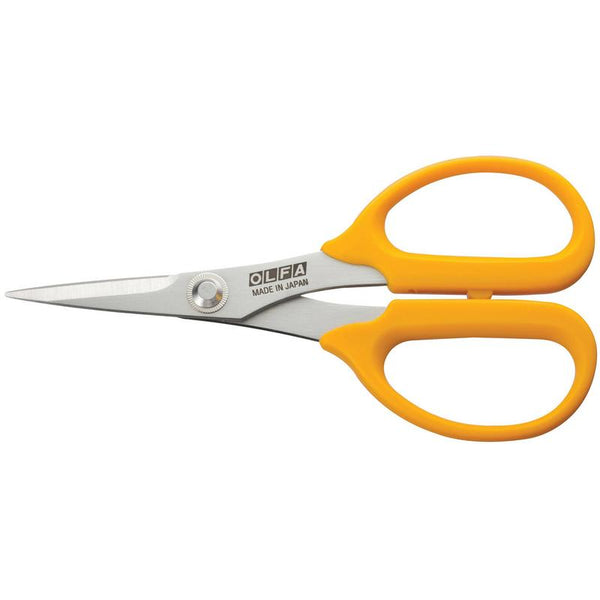
OLFA 5-Inch SCS-4 Precision Appliqué Scissors
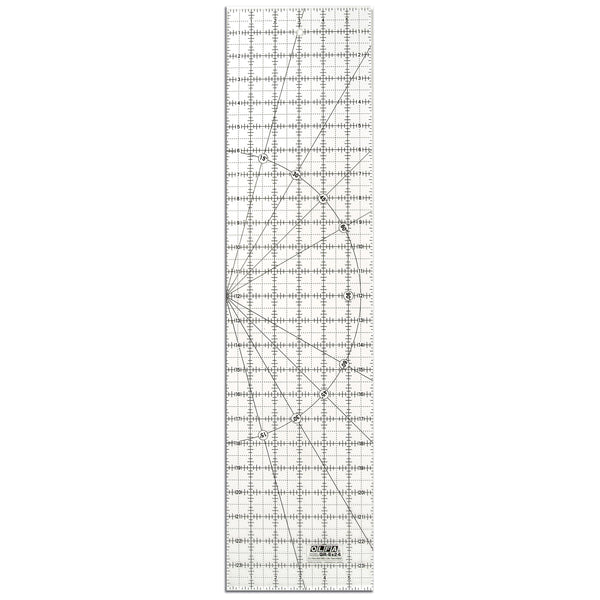
OLFA QR-6x24 6" x 24" Frosted Acrylic Ruler
Notions:
1/4” Elastic
Marking Pen/Chalk
Optional: Bias Tape for the Ties and Tie Channels
Fabric:
The Elliott Top is designed for light to medium weight woven fabrics. For a more structured fit, look for cotton variations: cotton poplin, cotton pique, oxford, denim, linen, etc.
Pattern:
You can find the free Elliot Top by Cool Stitches here! It is a “Name Your Price” pattern, so you can set the payment to $0, or you can add a few dollars as a tip to the creator. Whatever your preference.
Sizing:
Due to this being the designer’s first pattern release, the Elliot top only comes in sizes Small, Medium and Large. See below for the size chart.

Seam Allowance: this pattern includes a 3/8” seam allowance.
Video Tutorial: While the pattern can be downloaded on the designer’s website, the tutorial can only be viewed on the designer’s YouTube channel here. Thankfully for you, I will be creating written instructions to follow below!
SEWING TUTORIAL:
We will begin by printing and assembling the pattern in the chosen size. This tutorial will be creating a size Small/Medium.

Next, we will cut the fabric. The 45mm Ergonomic Rotary cutter makes this a breeze!

Cut the Following Pieces of Fabric:
Front Bodice - Cut 2 as a mirror image set
Back Bodice - Cut 1 on the fold
Sleeves - Cut 2 as a mirror image set
Ties - Cut 2
Ties Channel - Cut 2
*if using bias tape, you do not need to cut the ties or tie channels
Tie Measurements:
Ties: Waist measurement + 15 inches x 1.5 inches
Tie Channels: 40 inches x 1.5 inches

Don’t forget to transfer all of the markings to the pattern pieces with a marking pen! If needed, a bust adjustment can be made at this point. This is a great video tutorial on how to complete one.


Folding the fabric right sides together, align the dart legs on the front bodice main pieces. Press.

Starting at the bottom of the dart, sew inward and upward toward the dart apex. Do not backstitch at the dart apex. This will create a possible pucker and unneeded extra stitches. When the dart apex is reached, sew off of the fabric and leave a thread tail.

Tie the thread tails in an overhand knot to secure the stitching at the apex. Snip off excess thread using the Precision Appliqué Scissors.


Press the dart downwards toward the bottom of the bodice. Baste in place.


With your serger or zig zag stitch, finish the shoulder and side edges on the front and back bodice pieces.

Place the front and back bodice pieces right sides together, and sew to attach at the shoulders with a 3/8” seam allowance. Press the seams open.


Press the seams open.

Locate the sleeves pieces. Sew a gathering stitch between the two markings at a 1/4” seam allowance, shrinking the fabric to fit the opening of the armscye.


Finish the sides of the sleeves.

With the front and back bodice opened right sides up, pin the sleeves to the armscye opening, right sides together. Adjust the gatherings if needed to the correct size.

Sew to attach the sleeves to the bodice with a 3/8” seam allowance.

With your serger or zig zag stitch, finish the armscye edges and press towards the bodice.

Flip the front bodice over the back bodice, aligning the side seams.


Using a 3/8” seam allowance, sew to attach starting at the sleeves and ending at the hemline. Press seams open.


We will now hem the entire neckline. Fold the neckline to the wrong side of the fabric 1/4” and press.

Fold again 1/4” and press. Topstitch in place.


Locate the bias tape or the channel strips of fabric. If using your own channel strips, fold each long side in to meet at the middle.

This next step requires a little trial and error as there are no guidelines to follow. We will be creating two channels that center around the waist. Open the bodice and lay it wrong sides up.

Locate one channel piece and lay it right sides up, so that the folded sides are sandwiched between the channel and bodice. For me, I placed my first channel 2 inches above the hemline. Adjust to your personal preference here! Pins will help hold this channel in place.

At each channel end, fold the raw edge to the inside so there is a clean folded edge at each channel end.


Pin the channel to the bodice.

Place the second channel directly above the first at the center back, and repeat the same steps. However, when you get to the front bodice, curve the channel up to end 1 3/4” above the first channel. This will allow for more closure at the bust.

Sew to attach both channels 1/8” away from the folded edge.


Locate the bias tape or ties. If creating your own ties, fold the fabric right sides together. Sew down the short and long edges with a 1/4” seam allowance, leaving a 2” opening at the center.

Clip the corners and turn right sides out through the 2” opening. Sew the opening closed.

Using a bodkin or safety pin, feed the ties through the channel openings. These will be tied in a bow once the top is put on.


Hem the bottom of the top by folding to the wrong side 1/4”. Press. Fold another 1/4” and press.

Topstitch to secure.

We will now create a channel at the end of both sleeves to feed elastic through. Fold the sleeve hem to the wrong side 1/4”. Press.

Fold the hem again 1” to the wrong side and press.

Leaving a two inch opening, topstitch 1/8” from the folded edge to secure.

Sew another line all the way around the sleeve, 3/8” away from the last sewn line (between the first line and the sleeve hem).

This creates a channel to insert your 1/4” elastic into. To cut the sleeve elastic to the correct length, measure your bicep and subtract an inch from that measurement. (Ex: Bicep measures 11”. Elastic is cut at 10”). Cut two elastic pieces.

Using a bodkin or safety pin, guide the elastic through the sleeve channels. Overlap the ends by 1/2” and sew to secure.


Stitch the 2” opening closed.

You now have the most adorable Elliot Top that is perfect for the warmer weather months. You can pair it with shorts, jeans, skirts, you name it!

If more coverage across the front is desired, a modesty insert can be created and attached to the neckline hem! Or you can throw on a tank underneath, as shown here!

If you make your own Elliot Top, be sure to tag OLFA!