Scalloped Edge Tank Top Tutorial
Designer: Catherine Holbrook
---------------------------------------------
Category: Sewing
Skill Level: Beginner
Read our interview with Catherine here.

Description: Scalloped edges have been all the rage recently! But, sewing them can often become challenging and time consuming. The Olfa scallop rotary blade makes it super simple to achieve this look on knit fabric! Follow along on this tutorial as I show you how you can make your very own scalloped edge tank top in less than an hour.
There are two different methods for finishing off the neckline and armscyes with the scallop blade. The first is to cut the pattern pieces out with the scallop blade *before* sewing the pattern pieces together. The second is to construct the tank top first, and then *finish* the neckline and armscyes with the scallop blade. Though the first method is preferred, both methods have been included below!
Tool & Supplies needed:

Non-fraying knit fabric such as swim, interlock, double knit, ribbed knit, and stretch faux leather. (Yardage based on size, see pattern)
Simple tank top pattern without neck or arm bands. The Sofia Sweetheart Sleeveless Top Pattern by Staystitch Pattern Company is recommended and will be used for this tutorial. Find pattern here.
OLFA RTY-2DX/MAG 45mm Ergonomic Rotary Cutter
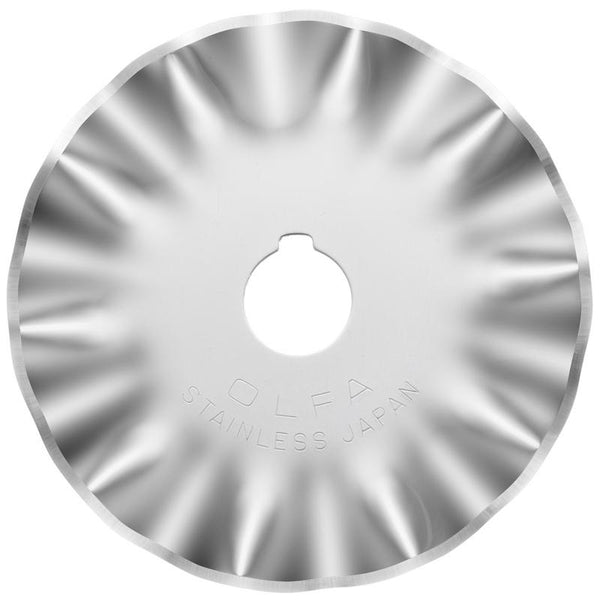
OLFA SCB45-1 Stainless Steel Scallop Blade, 1pk
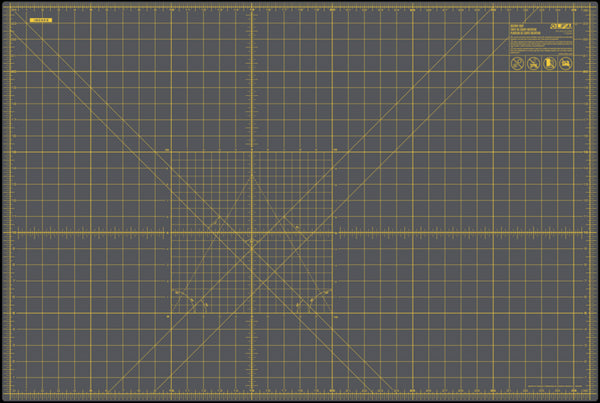
RM-MG-01/GRY 24”X36” Double-Sided Self-Healing Rotary Mat, Gray
OLFA RM-MG-01/GRY 24”x36” Double-Sided Self-Healing Rotary Mat, Gray
OLFA 5-Inch SCS-4 Precision Appliqué Scissors
Prep:
We will begin by printing and assembling the Sophia Sweetheart Sleeveless Top pattern (view B) or downloading the Projector File. For this project, you will cut 1 Bodice Front and 1 Bodice Back. The lining and interfacing pieces are not needed.

First Method: (Cutting the pattern pieces with the scallop blade)
*A projector file is used for this tutorial.
Using the Tungsten Steel rotary blade, cut out the front bodice pattern piece on the hemline, side seams, and shoulder seams.


Switch the blade to the scallop blade.

Finding the center point of the front bodice neckline, it is recommended to begin cutting the fabric at the peak of the scallop so that when unfolded the scallop is seamless. At the allotted seam allowance, cut upwards towards the shoulder.


Repeat for the armscye beginning at the bottom and cutting upwards to the shoulder.

Repeat for the back bodice.

Place the front bodice on top of the back bodice, right sides together, aligning the side and shoulder seams. Pin/clip.


Sew or serge the side seams and shoulder seams at the allotted seam allowance. Using your preferred method, hem the bottom of the tank with the allotted hem allowance.

Using your Precision Scissors, snip off any threads.

Press the neck and side seam allowances towards the back bodice. If using a serger, thread serger tails through the backside of the seam allowance.


Topstitch the neck and side seam allowances to the back bodice.


Using your Precision Scissors, snip off any threads and clean up the shoulder seams to continue the scalloped edge seamlessly.


You’re done!


Though the suggested fabrics should not fray, it is recommended that a delicate wash cycle and hang drying is used for cleaning.
Second Method: (Constructing the pattern and then finishing with the scallop blade)
*A projector file is used for this tutorial.
Using the Tungsten Steel rotary blade, cut out the front and back bodice pieces.


Place the front bodice on top of the back bodice, right sides together, aligning the side and shoulder seams. Pin/clip.

Sew or serge the side seams and shoulder seams at the allotted seam allowance. Using your preferred method, hem the bottom of the tank with the allotted hem allowance.

Press the neck and side seam allowances towards the back bodice. If using a serger, thread serger tails through the backside of the seam allowance. Baste in place.


Switch the rotary cutter blade to the scallop blade.

Starting at one shoulder seam, cut across the neckline at the allotted seam allowance. Make sure each time you begin cutting, the scalloped edge is aligned to the previous cut point. This will create one seamless scallop edge.


Repeat for the armscye beginning at the side seam.


Following the basting stitches, topstitch the neck and side seam allowances to the back bodice. Using your Precision Scissors, snip off any threads.


You’re done!


Though the suggested fabrics should not fray, it is recommended that a delicate wash cycle and hang drying is used for cleaning.