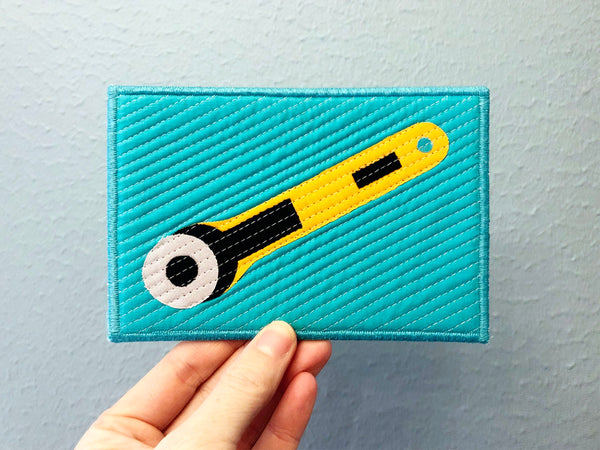
Rotary Cutter Postcard
By Sarah Ruiz
IG: @saroy
Web: sarahruiz.com
Hello! My name is Sarah Ruiz and I’m happy to be here today with a tutorial for a cute rotary cutter fabric postcard. Last year, I did a 100 day project where I made (and mailed) one postcard every day – and I enjoyed it so much that I blew right past 100 and have now made more than 170! Make your own to bring a smile to friends and family with a bit of happy mail.
Link to 100 Days of Postcards
You can find my previous quilted fabric postcard tutorial on the OLFA Craft blog, and there are additional tips and tricks on my blog. When they asked me to make another one featuring one of their products, the 28mm rotary cutter was an easy choice! I’ve used this rotary cutter in my own sewing room for more than 3 years, and while I have both smaller and larger cutters, something about the 28mm size just works for me. This is the rotary cutter I reach for over and over! Read on to make your own postcard.
Materials:
- Fabric scraps in yellow, black, and silver/gray
- 5” x 7” piece of background fabric
- 5” x 7” piece of quilt batting
- 5” x 7” piece of heavyweight double-sided fusible interfacing (I use Pellon 72F)
- 5” x 7” piece of cardstock or light-colored solid fabric
- Coordinating thread (I used Aurifil 80 wt cotton here)
- Paper-backed fusible web (I used HeatnBond Lite)
- Applique template sheet printed 100% or “Actual Size”
- OLFA 5-Inch SCS-4 Straight-Edge Stainless Steel Precision Scissors
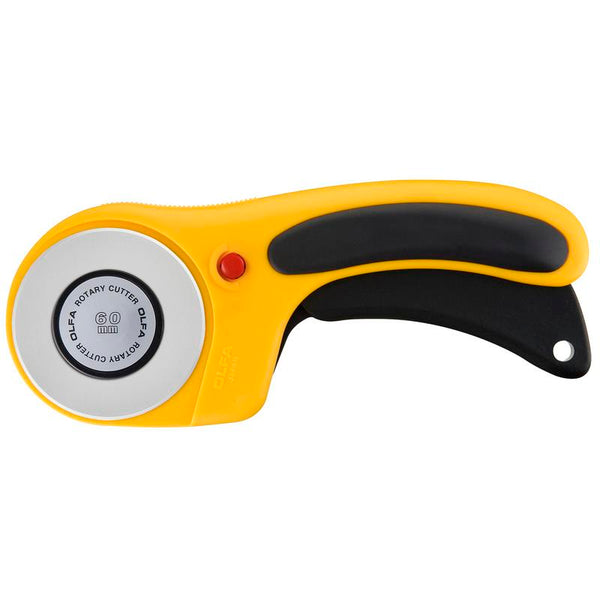
- OLFA 60mm RTY-3/DX Ergonomic Rotary Cutter
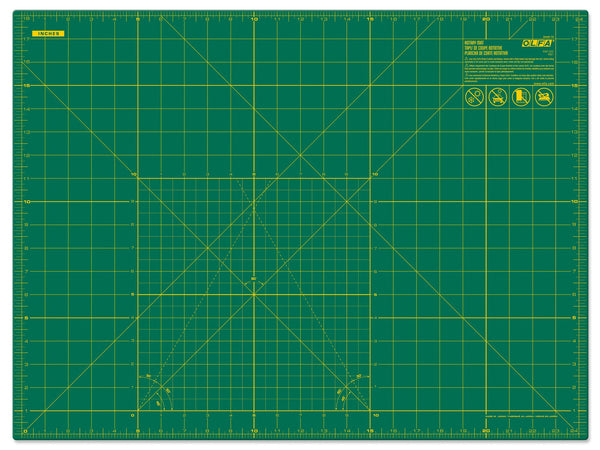
- OLFA RM-SG 18" X 24" Green Double-Sided, Self-Healing Rotary Mat
- OLFA QR-6x12 6" X 12" Frosted Acrylic Ruler
The rotary cutter is constructed using a raw edge fusible applique technique. Start by tracing each of the 6 shapes on the paper side of a piece of paper-backed fusible web. Cut roughly apart, and follow the manufacturer’s instructions to fuse each piece to the wrong side of your yellow, black, and gray/silver fabric scraps. Note that Piece 6 is optional, and represents the hole in the rotary cutter’s handle; it should be fused to a tiny scrap that matches your postcard background color.
Use a small pair of sharp scissors to cut out each applique piece.
Starting with Piece 1 (cutter body), remove the paper backing and position the applique piece, fusible side down, on the 5” x 7” background fabric. Use your iron to fuse in place according to the manufacturer’s instructions.
Layer Piece 2 (blade cover), Piece 5 (handle label) and Piece 6 (hole) on top of the cutter body and fuse in place. Note that you can position the blade cover like mine to show the cutter open and ready to cut, or shift it a bit to the left to show the cutter safely closed. Add Piece 3 (blade), and finish with Piece 4 (screw nut).
To quilt your postcard, layer the quilt block on top of the 5” x 7” piece of quilt batting and quilt as desired. I find that basting usually isn’t necessary for such a small piece, but you can use a few pins or a spritz of basting spray if needed. You can quilt with the exposed batting on the back, or add a thin piece of backing fabric; this back will not be visible on the finished card. The applique pieces should be held securely by the fusible web, but I recommend using a fairly dense quilting motif to keep things firmly in place for the long run.
To construct your postcard, layer the card stock backing (face down if applicable), fusible interfacing, and quilted card top face up. Fuse the sandwich together with an iron according to the manufacturer’s instructions for your interfacing. You may need to press from both front and back to make sure the double-sided fusible sticks fully on both sides. Once your postcard sandwich is secure, use your ruler and rotary cutter to trim to 4" x 6".
To finish the edges of your card, I recommend a satin stitch/very tight zig zag stitch to frame the design and keep any loose threads in place. Select the zig zag stitch on your sewing machine and lower the stitch length to 0.5-0.7. Stitch around the entire perimeter of the card twice to get full stitch coverage, and backstitch at the end to secure. I used Aurifil 50 wt cotton thread in a matching shade of aqua for my version.
Your rotary cutter postcard is ready to send! I mail each fabric postcard in a size A6 (~5” x 7”) envelope to ensure it arrives undamaged. It can be mailed “naked” like a traditional postcard, but if you choose to do this you may need to have the stamp hand-cancelled at the post office. No matter which option you choose, you must use a regular 55-cent US first class mail “forever” stamp; the 35-cent postcard stamp is not enough to cover postage for this heavier, thicker postcard. To send internationally from the US, you’ll need a $1.20 global “forever” stamp.


