Quilted Mug Cozy
By Erin Kroeker of The Blanket Statement
Finished Size: 2.75” x 10.5”
Skill Level: Confident Beginner
Also be sure to check out Erin's Interview, Here!
--------------------------------------------

Hi, I’m Erin! Often known on the internet as The Blanket Statement.
I’m a modern quilter, pattern designer and fibre artist from Winnipeg, Manitoba... and let me tell you, winter here is COLD. I’m talking regularly having days of -40°C (which is also -40°F, by the way)! Plus, we get an average of four feet of snow every year. There is a reason the city is jokingly (but not jokingly) nicknamed “Winterpeg”!

So, I know a thing or two about how to survive the long, dark, frigid winter. Especially how to make it a little bit nicer and a little bit warmer!
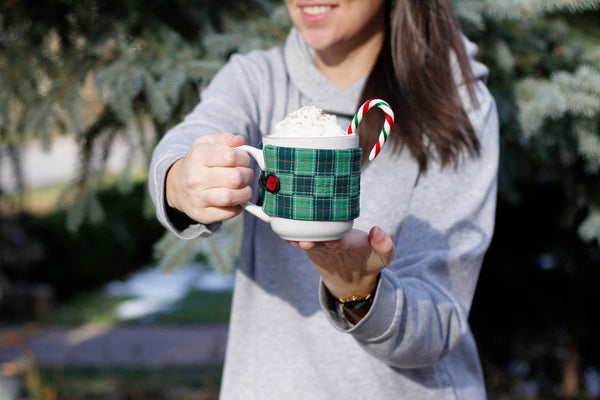
Meet the Quilted Cozy – your mug's new BFF! This handmade cutie is all about adding a pop of personality to your sipping sessions.

Picture this: your favorite mug, decked out in a snug, colorful quilted embrace. Whether you're enjoying a steaming cup of morning coffee, a calming herbal tea in the afternoon, or a comforting hot chocolate in the evening, this cozy keeps your drink hot, hands warm and looks cute to boot!
Easy to pop on and off with a button closure, this cozy is a tiny, handmade hug that makes for a perfect gift that’s easy to personalize with fabric and embellishments! Seriously, it’s a great scrap busting project!

Tools Needed:
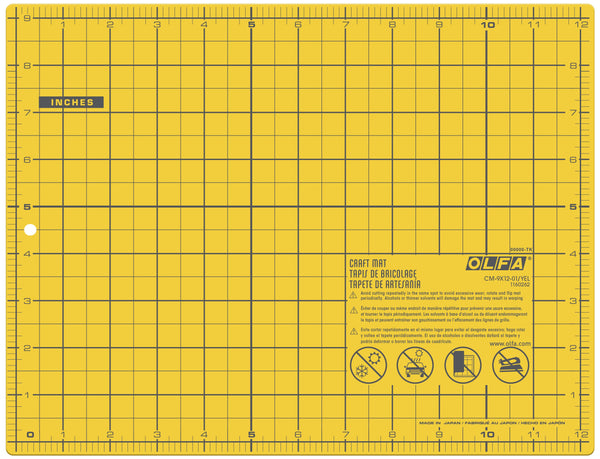
- OLFA CM-9x12-01/YEL Double-Sided Self-Healing Cutting Mat
- OLFA RM-MG; RM-MG-01 24" X 36" Green Double-Sided, Self-Healing Rotary Mat
- OLFA 45mm RTY-2/DX Ergonomic Rotary Cutter
- OLFA 45mm Tungsten Steel Endurance Rotary Blade, 1 Or 2 Pack
- OLFA QR-6x12 6" X 12" Frosted Acrylic Ruler
- OLFA QR-6x24 6" X 24" Frosted Acrylic Ruler
- OLFA 5-Inch SCS-4 Precision Appliqué Scissors
Fabric & Supplies Needed:
- Main Fabric
- (1) 1.25” x 31”
- (1) 3.25” x 11”
- Accent Fabric
- (1) 1.25” x 31”
- Lining Fabric (won’t be seen)
- 3.75” x 11.5”
- (1) 3.5” x 11.25” piece of batting
- (1) 5” piece of elastic cord
- (1) button
Instructions
- Cut all pieces according to the Fabric & Supplies chart listed above.
TIP! The 6”x24” Frosted Ruler is great for long cuts.

- Place the (2) 1.25” x 31” strips right sides together. Sew along the long edge using a ¼" seam allowance. Press seam open.

- Sub-cut into (7) 4.25” segments.
TIP! I like to use the 6”x12” Frosted Ruler for sub-cutting. Additionally, I like to place the 9”x12” Double-Sided, Self-Healing mat right beside my machine for easy access.

- Sew the rows together, RST, alternating the main fabric with the accent fabric.

- Press seams open.

- Sub-cut 1.5” in from each long side.


- Rotate the centre strip to create an alternating, checkered effect.


- Sew centre strip to one side strip, RST, with ¼" seam allowance. Take your time to carefully pin and line up the seams. Press open.
- Sew the remaining side strip, RST, in the same manner. Press open.


- Layer your Lining fabric (right side down), then batting, then pieced top (right side up). Baste together using your method of choice.
TIP! I like to use spray baste, but pin basting is also a great option.

- Quilt as desired!
TIP! I used two different colours of thread to create a plaid inspired look!


- Sew 1/8” seam around the edge of your quilted panel to secure the quilting.
- Trim off excess backing and batting. (Piece should measure 3.25” x 11”)

- Cut a 5” piece of elastic (or corresponding length for your mug).

- Forming a loop, place the elastic on a short edge of quilted panel. Ensure the elastic is sitting on top of the panel, with the cut edges protruding from the edge (approx. ¼").
- Baste the elastic in place, 1/8” from the edge.

- Place the remaining piece of the Main Fabric (3.25” x 11”), RST, with the quilted panel. Pin in place leaving a 3” opening on a long side. This is how you will turn the cozy right side out.


- Stitch a ¼" seam allowance around the perimeter, starting and stopping on the long side, leaving the 3” opening. Remember to backstitch! It’s also good idea to backstitch over the elastic 3-4 times for strength!

- Snip off the corners to reduce the bulk once turned right side out. Make sure you don’t cut through your stitches!

- Now turn the cozy right side out, through the opening. You can use a point turner (or end of a pencil) to push out the points to achieve crisp corners.

- Press the entire cozy, especially around the edge seams. When you reach the opening, press the seam allowance on the quilt top and the backing to the inside by a ¼" to create a seam allowance.

- Pin the opening closed.

- Top stitch 1/8” around the entire perimeter of the cozy. Ensure your stitches capture the quilt top and backing to secure the opening is closed.

- Test the cozy around your favourite mug. Determine and mark the best location for the button.
- Sew button in place with your method of choice.

- Now give yourself a pat on the back and enjoy your favourite hot beverage because you did it! I would LOVE to see your Quilted Cozy, so when you make one, make sure to tag me @theblanketstatement!