
Quilted Lunch Bag

Designer: Daisi Toegel
Website: www.flowersew.com
----------------------------------------------
Category: Personal accessories
Size or dimensions: 9 ½” L x 3” x W 9 ½” H
Skill level: Intermediate

Tools needed:
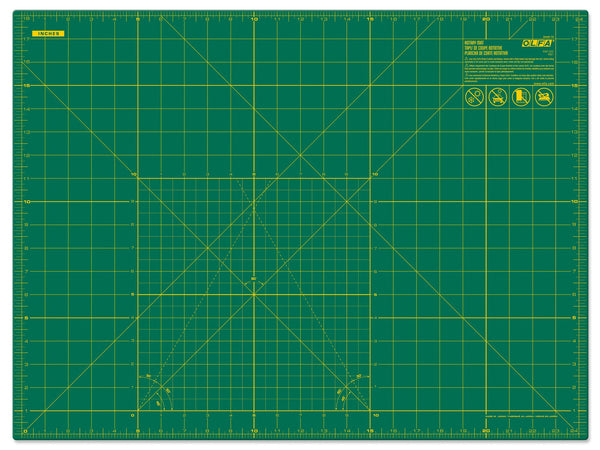
OLFA RM-SG-01 18" x 24" Green Double-Sided, Self-Healing Rotary Mat
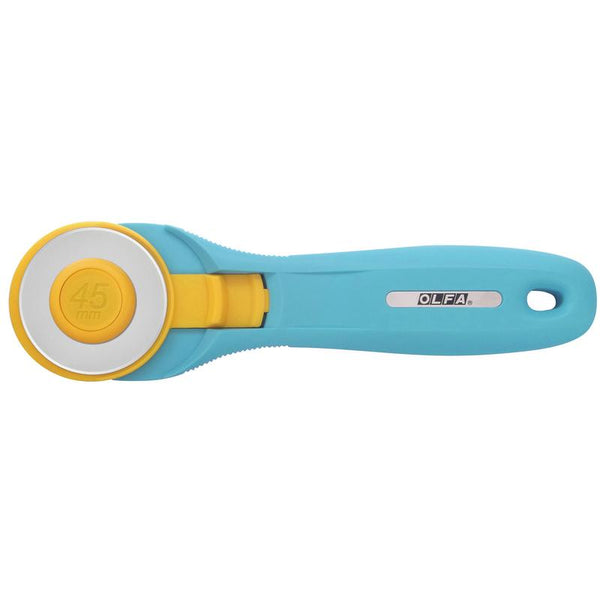
OLFA RTY-2C/YEL 45MM Rotary Cutter
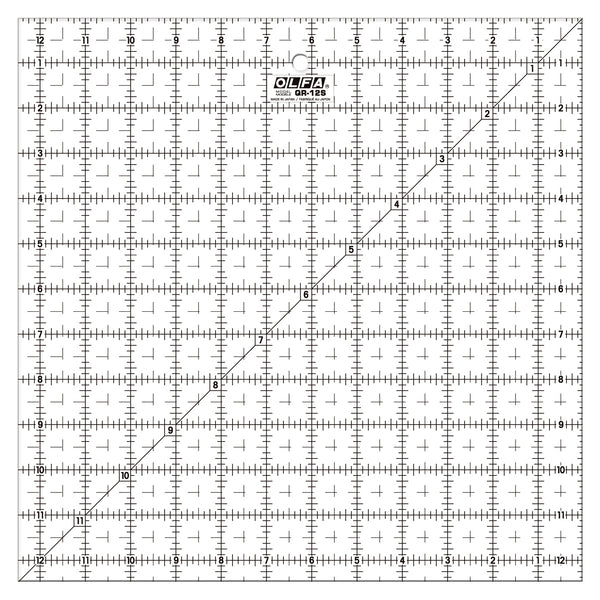
OLFA QR-12S 12 1/2" Square Frosted Acrylic Ruler
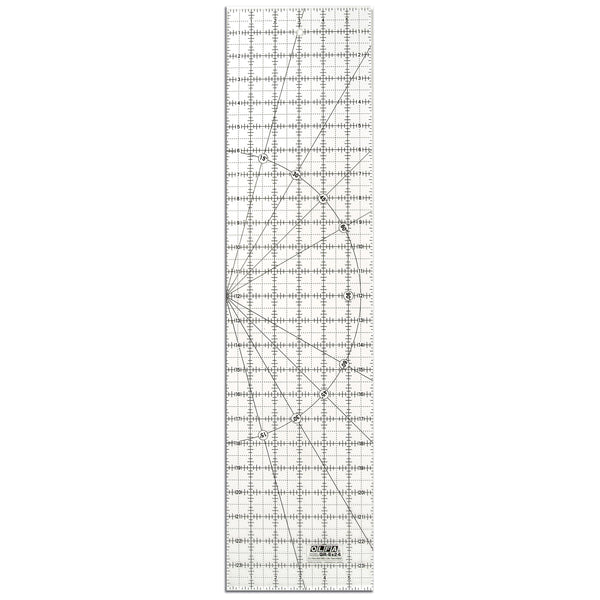
OLFA QR-6x24 6”x24” Frosted Acrylic Ruler
OLFA QR-1x12 1" x 12" Frosted Acrylic Ruler
OLFA 5-Inch SCS-1 Serrated-Edge Stainless Steel Scissors

Fabric requirements and cutting instructions:
From fabric scraps (or piece together to reach the required piece sizes) cut,
(1) 24”x 10” (main fabric) – body
(2) 3 1/2” x 8 1/2" (main fabric) – sides
(1) 4” x 9 1/2" (main fabric) – handle
(1) 24”x 10” (lining fabric) – body
(2) 3 1/2” x 8 1/2" (lining fabric) – sides
(2) 2 1/2" x WOF strips (assume 42”) – join both strips on the 45-degree angle, press lengthwise with right sides out and set it aside - binding
From batting (or the stabilizer of your preference) cut,
(1) 24” x 10” - body
(2) 3 1/2” x 8 1/2" – sides
(1) 1” x 9 1/2" - handle
Extra items, choose from the method of closure of your preference, examples:
*Snap buttons (use 2 sets)
*Velcro set (use 9 inches)
***CONSIDERATION: This versatile lunch bag can be made with PUL fabric, or you can apply Thermoweb Liquid Vinyl to make it water proof or you can make it with fabric, like in this tutorial. Check the washing/cleaning orientation from the manufacturer of the material you choose to use. If made with fabric the project is fully machine washable.
1) Prepare the body and sides:

Make three sandwiches with the side pieces and body (main fabric + stabilizer + lining) and quilt using the method of your preference.
Trim the main body to measure 23” x 9 1/2".
Do not trim the sides, they should measure 3 1/2" x 8 1/2". (smaller pieces when quilted shrink less, so these pieces were previously cut in the exact size)
2) Prepare the handle:

To make the handle, press the main fabric 4” x 9 1/2" piece in half lengthwise with right side out to crease the center, open and align the stabilizer 1” x 9 1/2" piece beside the crease. Fold the fabric sides to meet the center crease covering the stabilizer. Fold again so both sides join. Sew on both sides to close and topstitch. Trim threads on each end.
And now also, have the binding in hand for the next step.

3) Constructing the bag:
***attention to fabric print orientation if it applies to your project
First, bind each side piece on one of the short sides.
Then, bind the entire body part, but don’t topstitch.

Align the handle on the short side of the body of your preference and position it 1 1/2" from the bottom of the short side, and 1” from the long side folding the ends of the handle strip under the strip by 1 inch. Sew it in place making a square and an X to secure.
Repeat the process on each side of the handle strip.

4) Binding:
On the opposite short side of the bag, topstitch the binding only on the short part and straight as in the photo below.

Align one of the side parts with its binding touching right below the body topstitched binding part from the previous step. Clip the side part in place.

Continue clipping the entire side to secure for sewing.

Carefully sew using 1/4" seam allowance and topstitching at the beginning and end of the seam.

Repeat the process for the other side part.
After sewing the sides in place, fold the entire binding to cover the raw edges and clip it to secure before sewing.

This tutorial used hand sewing to finish the binding, but you can use the method of your preference.

5) Finish the bag:
When done with the binding, crease each bottom of the bag (front and back sides) and sew an 8” line, this will help the base of the bag to lay flat so the bag can stand firmly.

Install the closure method of your preference. This tutorial used snap buttons.

You’re all done!