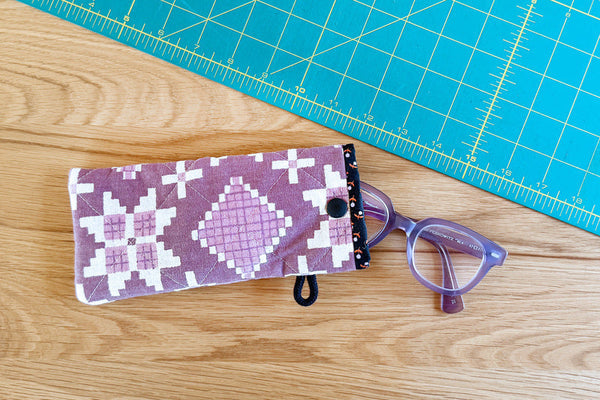
Quilted Glasses Pouch

Designer: Erin Kroeker
Website: www.theblanketstatement.ca
Instagram: @theblanketstatement
------------------------------------------------------
Finished Size: 8” x 4
Skill Level: Beginner

If you’re anything like me, your glasses are always floating around the house... on the nightstand, in a tote bag, or buried under a pile of fabric. This easy, quilted glasses pouch is the perfect little project to keep them safe (and stylish). It’s quick to sew, great for using up scraps, and makes a thoughtful handmade gift too. Whether you’re making one for yourself or a few for friends, these soft, padded pouches are as practical as they are pretty.

Tools Needed:
OLFA 24” x 36” Self-Healing Rotary Mat
OLFA 45mm Ergonomic Rotary Cutter
OLFA 45mm Endurance Blades
OLFA 12.5” x 12.5" Frosted Acrylic Ruler
OLFA 5” Precision Appliqué Scissors
Fabric & Supplies:
(1) 8” x 8” Exterior Fabric
(1) 8” x 8.5” Lining Fabric
(2) 8” x 8” Quilt Batting
Optional:
(1) 2.5” Piece of rope, shoelace, twill tape or ribbon (for hanging loop)
(1) Snap for closure
Thread
Sewing Machine
Iron and Ironing Board
Pins or Clips


Place both layers of batting on the wrong side of the exterior fabric square. Baste in place and then quilt as desired.


With right sides together (RST), align the top edge of the quilted exterior panel with the 8” edge of the lining fabric.
TIP! The lining fabric is slightly longer than the quilted panel, this is intentional! That extra bit will create a nice contrast detail at the opening.

Pin or clip in place, then sew along the top edge using a ¼" seam allowance.

Open and press the seam towards the lining fabric.

If adding the optional hanging loop, measure about 1 ½" down from the top edge of the quilted panel. Place your folded rope (or whatever you’re using for the loop) with raw edges aligned with the side and loop pointing inward.

Stitch in place using an 1/8” seam allowance. Sew back and forth a few times to secure it well.

Fold in half lengthwise, RST, aligning the corners and raw edges. Clip or pin around the edge to hold everything in place.

Sew around the top, side, and bottom edges with a ¼" seam allowance, leaving a 2–3" opening along the lining side for turning right side out.


Snip the corners carefully to reduce bulk, making sure leave the stitches intact.

Before turning right side out, it helps to press the seam of the lining fabric open on both sides. This makes it easier to sew the gap closed neatly.

Turn the pouch right side out through the opening. Use a point turner, knitting needle or chopstick to gently push out corners.

Tuck the raw edges of the turning gap to the inside, maintaining the ¼" seam allowance. Clip or pin in place, then sew the opening closed with an 1/8” seam allowance, or as close to the edge as you can manage!


Push the lining down into the pouch. Thanks to the extra ½" of length on the lining fabric, a ¼" of the lining will fold over the top edge, creating a nice contrast detail. Press well to define the shape.


If you’re adding the optional snap closure, measure to find the center of your pouch and mark a spot about ½" down from the top edge. Attach the snap following the manufacturer’s instructions.


That’s it! A quick and satisfying project! Make one to match every bag, gift them to friends, or just enjoy having your glasses tucked safely away in something handmade. Happy Quilting!