Quilt Binding Techniques: Self-Bound Quilt Method

Cindy Staub
------
Let us talk about binding! Your quilt is pieced, quilted and now it’s time to finish it with a lovely strip of binding. Binding a quilt is my least favorite part of the process but in an odd sense, the most satisfying part of the process when it is all done.
In a series of blogs, I will be showing you a few different variations on straight cut binding (fabric cut with the straight of the grain). It is easy and great for the beginner quilter to make. I consider this type of binding the most popular binding for a quilt. Straight of the grain binding will not work for a quilt with curved corners or a wavy/scalloped edge.
Read here to learn how to prepare your binding for a quilt.
Tools:
OLFA 5-Inch SCS-4 Straight-Edge Stainless Steel Precision Scissors
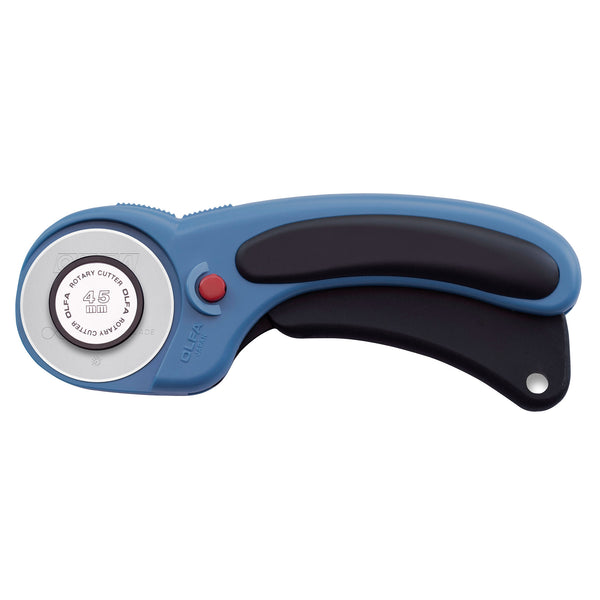
OLFA 45mm RTY-2DX/PBL Ergonomic Rotary Cutter, Pacific Blue
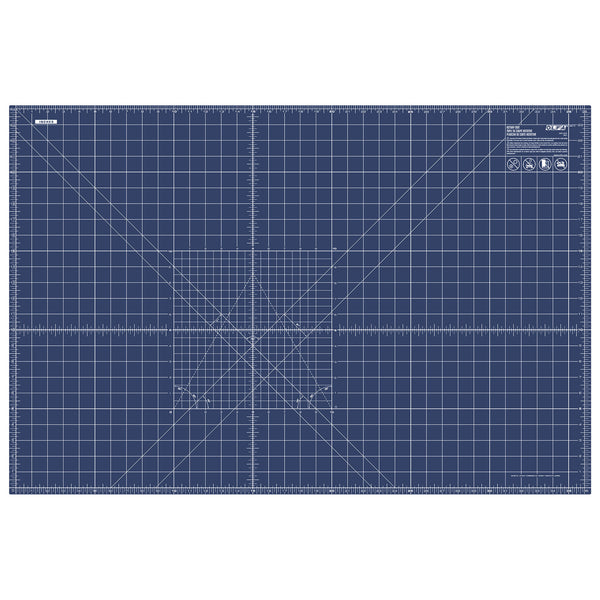
OLFA RM-MG 24" x 36" Green Double-Sided, Self-Healing Rotary Mat
OLFA QR-6x12 6" x 12" Frosted Acrylic Ruler (My ruler of choice for binding.)
Wonder Clips
Fabric
Self-Bound Quilt Method:
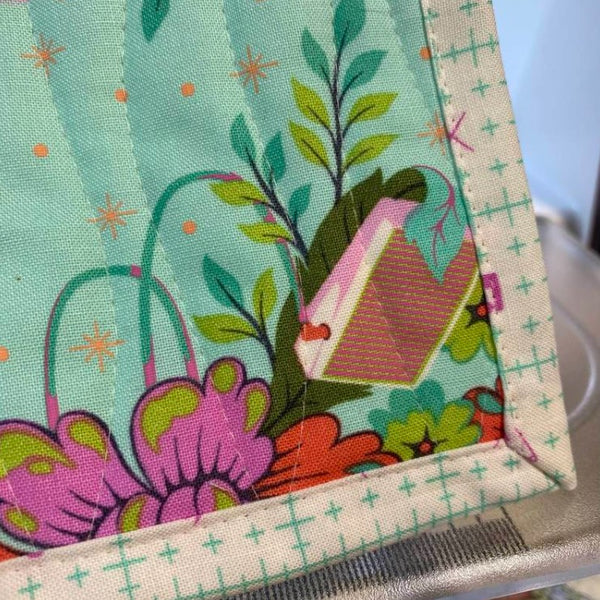
One other binding technique I would like to show you is the self-binding quilt edge. A self-bound quilt uses the backing of the quilt to form the binding. This is a great finish if the quilt is not going to be used a lot, or to be used as a wall hanging. This method will look like you attached binding, but it is a time saver. I like to use this method when I make placemats or mug rugs.
1. When you layer your backing, batting and quilt top together you need to make sure that your backing matches your quilt top and also is at least 3” wider and longer than the quilt top. Quilt as desired.
2. Carefully trim away any extra batting all the way around the quilt so that the batting is even with the edge of the quilt top.

3. Use a rotary cutter and trim the backing fabric so there is a 1” edge of backing all the way around your quilt.

4. Fold the backing fabric up so the raw edge is up against the edge of the quilt top. Fold the edge again to form the binding on the quilt top. Hold in place with Wonder Clips.

5. To form the corner, fold the binding into a triangle.

6. Clip the binding in place all the way around your quilt.

7. Top stitch the folded binding to the quilt top an 1/8” from the folded edge.


Try one of these binding finishing methods when you bind your quilt the traditional way.