Quilt Binding Techniques: Mitered Corners + Joining Binding Ends

Cindy Staub
-----
Let us talk about binding! Your quilt is pieced, quilted and now it’s time to finish it with a lovely strip of binding. Binding a quilt is my least favorite part of the process but in an odd sense, the most satisfying part of the process when it is all done.
In a series of blogs, I will be showing you a few different variations on straight cut binding (fabric cut with the straight of the grain). It is easy and great for the beginner quilter to make. I consider this type of binding the most popular binding for a quilt. Straight of the grain binding will not work for a quilt with curved corners or a wavy/scalloped edge.
Read here to learn how to prepare your binding.
Tools:
OLFA 5-Inch SCS-4 Straight-Edge Stainless Steel Precision Scissors
OLFA 45mm RTY-2/NS Quick-Change Rotary Cutter
OLFA RM-MG 24" x 36" Green Double-Sided, Self-Healing Rotary Mat
OLFA QR-6x12 6" x 12" Frosted Acrylic Ruler (My ruler of choice for binding.)
Wonder Clips
Fabric for binding
Mitering corner:
1. Stitch until you are a ¼” from the corner. Stitch a few back stitches. Trim thread and remove from your machine.
2. Fold the binding up, away from the quilt at a 90-degree angle.
3. Fold the binding back down onto your quilt, lining up the raw edges of the binding and quilt.
4. Continue to sew a ¼” seam until you reach the next corner.
Joining binding ends
1. Continue sewing the binding on your quilt top until you reach your beginning point, stopping your stitching 6-8” from end of binding tail. It is easier to sew the ends together with more space if your quilt allows it. For something small like a table runner or mug rug, this technique is a little trickier.
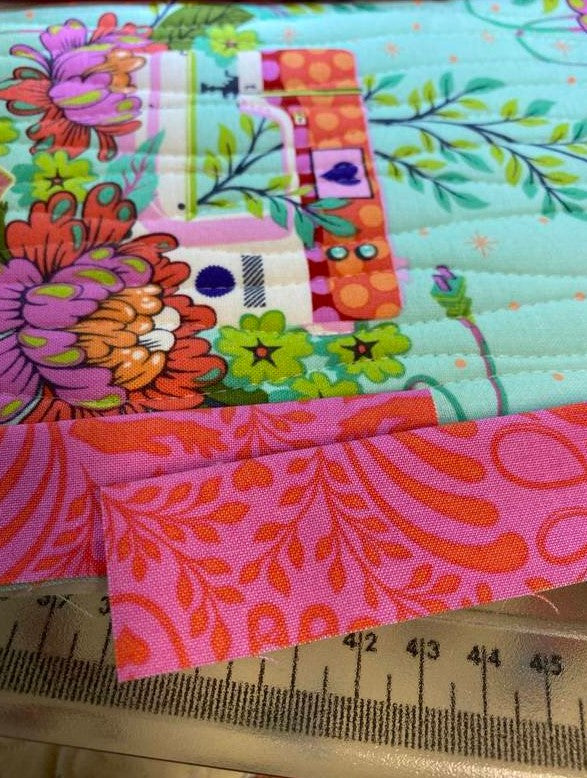
2. Fold the ends so that they meet in the middle and finger press to form a crease. Cut only one on the crease. Lay the other end of the binding on top of the cut piece and trim to the width of the measurement of the binding open. Example, did you begin with 2 ½” strips? Then you will cut 2 ½” overlap.
3. Open the ‘top’ binding and lay the bottom binding open on top right sides together at a 90-degree angle.
4. Pin the seam corner to corner.
5. Sew from corner to corner. Check the seam for fit before trimming and adjust if needed.
6. Trim the diagonal seam to ¼”. Finger press open and finish attaching the binding to the quilt with a ¼” seam.
Next week read about five methods for finishing your binding edge.


