Quilt Binding Techniques: Preparing Binding + Binding Math Formula

Cindy Staub
-----
Let us talk about binding! Your quilt is pieced, quilted and now it’s time to finish it with a lovely strip of binding. Binding a quilt is my least favorite part of the process but in an odd sense, the most satisfying part of the process when it is all done.
In a series of blogs, I will be showing you a few different variations on straight cut binding (fabric cut with the straight of the grain). It is easy and great for the beginner quilter to make. I consider this type of binding the most popular binding for a quilt. Straight of the grain binding will not work for a quilt with curved corners or a wavy/scalloped edge.
Tools:
OLFA 5-Inch SCS-4 Straight-Edge Stainless Steel Precision Scissors
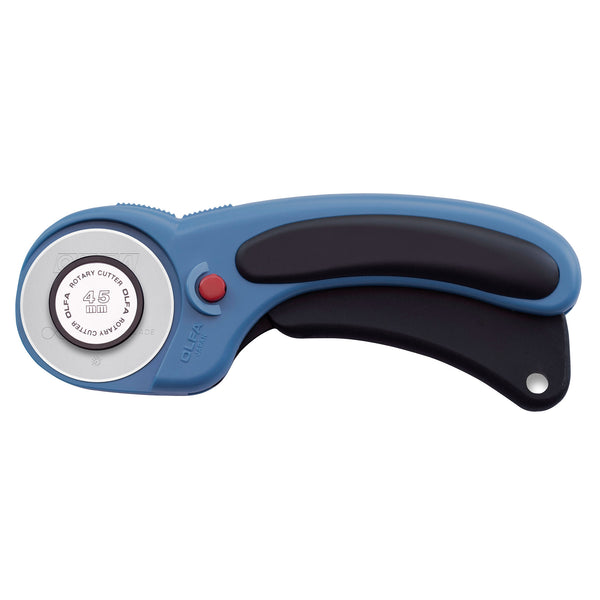
45mm RTY-2DX/PBL Ergonomic Rotary Cutter, Pacific Blue
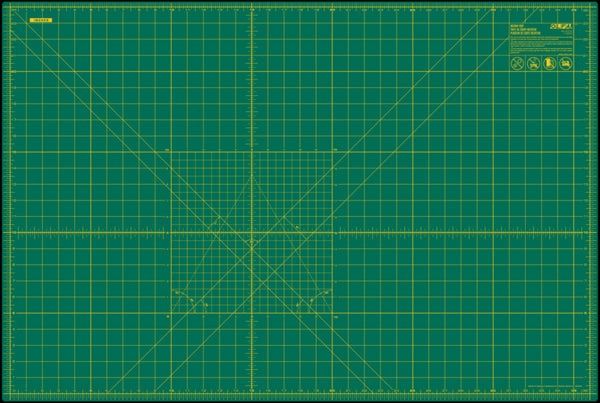
OLFA RM-MG 24" x 36" Green Double-Sided, Self-Healing Rotary Mat
OLFA QR-6x12 6" x 12" Frosted Acrylic Ruler (My ruler of choice for binding.)
Wonder Clips
Fabric for binding
Squaring the quilt top:
To begin, square your quilt top. Straighten the edges by cutting off any excess batting and backing using your rotary cutter and ruler. Square up your corners. I also like to sew a scant ¼” seam along the quilt edge.
Preparing the binding:
It’s time to decide how wide to make your binding. I like to cut my strips 2 ¼” wide, this will give me a double binding that is about 3/8” wide when finished. For a ½” binding cut your strips 2 ½” wide. For a ¾” binding cut your strips 3 ½” wide. The width of your binding is personal preference.
Next, it’s time to measure your quilt top to determine how much binding you will need to make. For example if your quilt measures 60” x 70” use the binding formula below.
130” x 2 = 260”
260” +10= 270”
(Let’s estimate that the width of fabric is 40” - this can range from 40” to 45” on average.)
270” divided by 40” = 6.75 strips
You will cut 7 strips by the desired binding width by the width of the fabric from selvage to selvage.
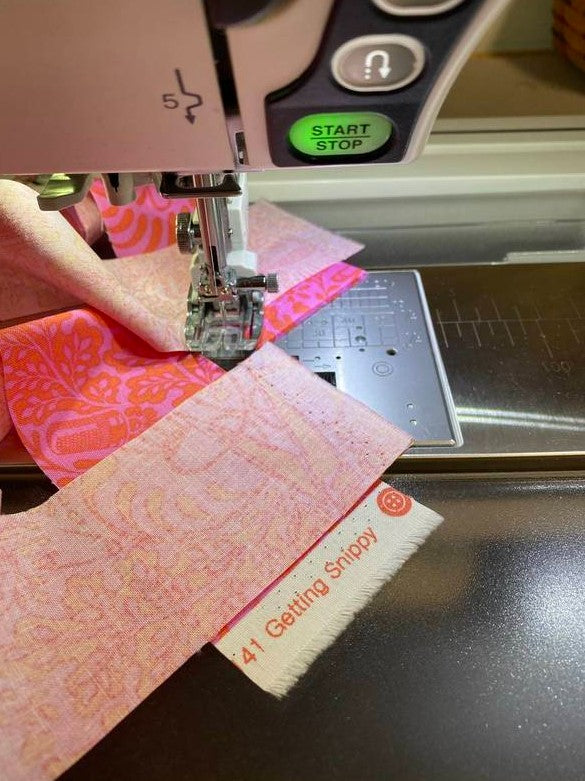
Sew the strips together, right sides together, end to end with bias seams.
Trim the excess fabric leaving a ¼” seam allowance. Press the seams open. Fold the binding in half lengthwise, wrong sides together, press.
Sewing the binding to the quilt top:
Starting at the bottom center of your quilt, attach the double folded binding on the top of your quilt lining up the raw edges of your quilt top with the raw edge of your binding leaving a 3-4” tail. Sew binding onto your quilt using a ¼” seam.
Next week - learn how to miter the corners as you sew the binding.


