Quilt Binding Techniques: Binding Finishes

Cindy Staub
-----
Let us talk about binding! Your quilt is pieced, quilted and now it’s time to finish it with a lovely strip of binding. Binding a quilt is my least favorite part of the process but in an odd sense, the most satisfying part of the process when it is all done.
In a series of blogs, I will be showing you a few different variations on straight cut binding (fabric cut with the straight of the grain). It is easy and great for the beginner quilter to make. I consider this type of binding the most popular binding for a quilt. Straight of the grain binding will not work for a quilt with curved corners or a wavy/scalloped edge.
Read here to learn how to prepare your binding.
Tools:
OLFA 5-Inch SCS-4 Straight-Edge Stainless Steel Precision Scissors
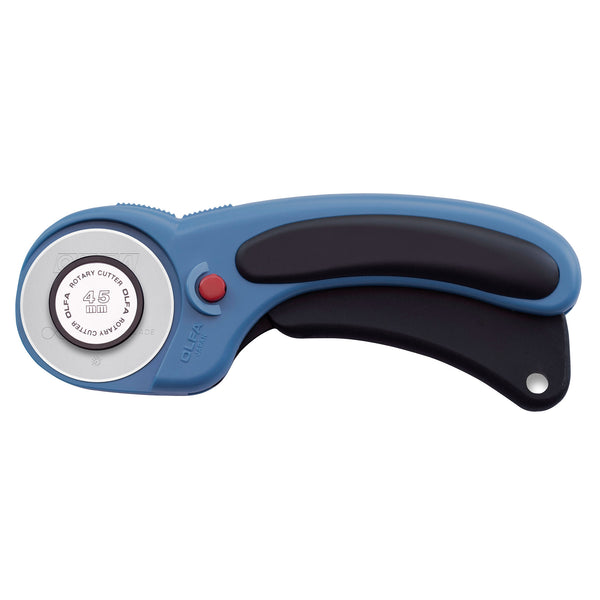
OLFA 45mm RTY-2DX/PBL Ergonomic Rotary Cutter, Pacific Blue
OLFA RM-MG 24" x 36" Green Double-Sided, Self-Healing Rotary Mat
OLFA QR-6x12 6" x 12" Frosted Acrylic Ruler (My ruler of choice for binding.)
Wonder Clips
Fabric for binding
Binding finishing methods:
1. Hand bind to backing: Fold the binding to the back of your quilt and clip in place with Wonder Clips. Remember to miter the corners. Using a matching thread, whip stitch binding in place. Hand binding to the back of the quilt is a relaxing process. Grab a cup of coffee and watch your favorite movie as you finish hand stitching your binding.


2. Machine bind to the backing: Fold the binding to the back of your quilt and clip in place with Wonder Clips making sure binding extends beyond your ¼” seam. Remember to miter the corners.

From the top, machine stitch in the ditch using a thread to match your quilt.

Your seam will only be visible from the back side. Machine sewing your binding is the way to go if you are short on time.

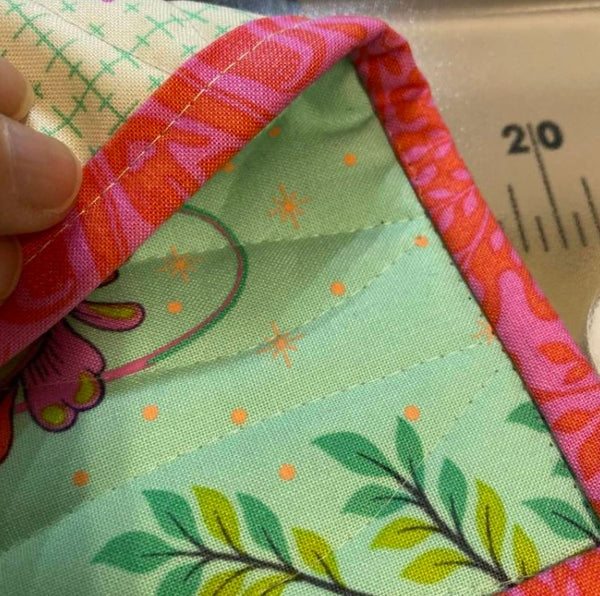
3. Machine binding from the back to front: Repeat the same steps above except, attach your binding to the back of your quilt instead of the front. Then fold the binding to the front of your quilt and clip in place with Wonder Clips making sure binding covers your ¼” seam. Remember to miter the corners. Topstitch an 1/8” from the binding edge.

This is another quick finish if you are short on time for binding a quilt. I like this binding method for binding mug rugs.

4. Decorative Binding: Repeat the same steps for binding your quilt as for machine binding from the back to front of the quilt. But instead of stitching a topstitch, pick out a pretty stitch such as a serpentine stitch from the stitch selection on your sewing machine. This adds a fun touch to your finished quilt.

5. Scrappy Binding: This is a great way to use up all your bits and pieces left from your quilt. You will start out by cutting all your scraps into strips until you have enough to go around your quilt.

Then sew all the strips together end to end.

Then you will continue making your double binding. Scrappy binding is one of my favorite finishes!

No time for traditional binding? Next week try Cindy's method for a self-bound quilt here.