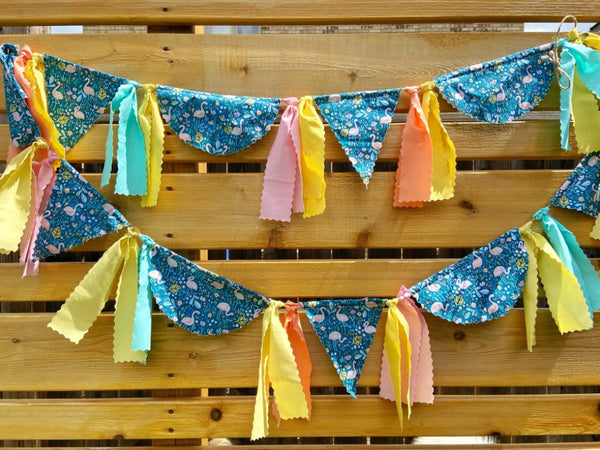
Quick and Fun Summer Bunting

Designer: Amanda Brown
@myfabricheart
---------
Skill level: Beginner
I love to decorate outdoor spaces with quick and easy projects that I can change out every year. The sun, rain and wind can take it’s toll on my fabric creations so the key for me is they need to be quick so I don’t feel like my time is going to waste. So if you are low on time but want something cute to spruce up your outdoor space I’ve got the project for you, Summer Bunting!

I love using bunting on our patio. I also take it camping to decorate our campsite. It is great for any event where you want a pop of colour.

My favourite part of this bunting is that you only have to sew a couple lines. If your fabric isn’t directional you can even cut this amount of sewing in half! The star of this bunting is OLFA’s scallop rotary blade. It finishes the edges to prevent fraying. You can quickly put this project together in under 2 hours.

Materials:
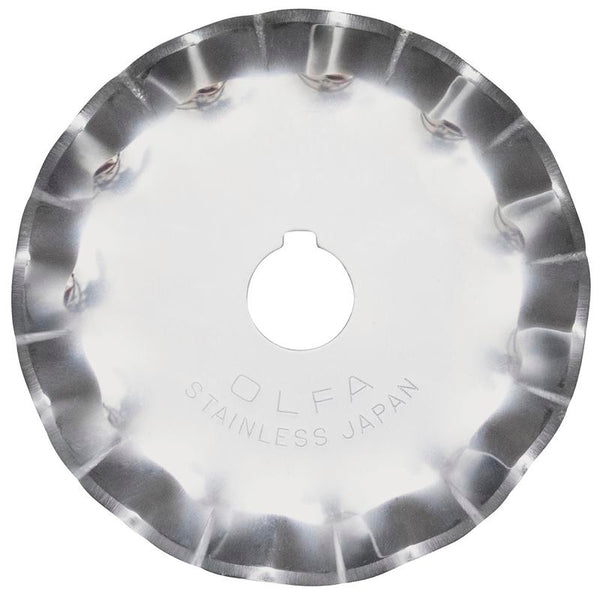
OLFA SCB45-1 Stainless Steel Scallop Blade
OLFA 45mm RTY-2DX/PBL Ergonomic Rotary Cutter, Pacific Blue
OLFA QR-6x12 6" x 12" Frosted Acrylic Ruler
OLFA QR-6x24 6" x 24" Frosted Acrylic Ruler
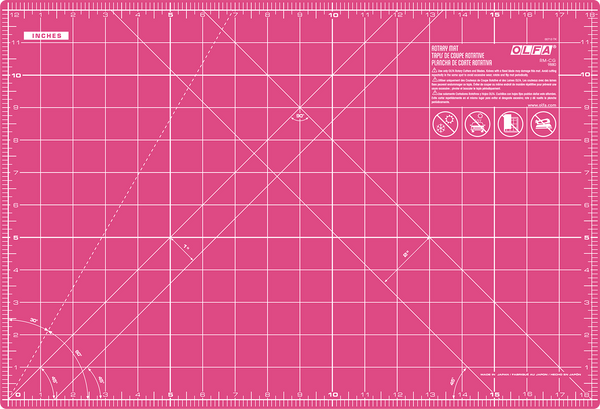
OLFA RM-CG/PIK 12" x 18" Double-Sided, Self-Healing Rotary Mat, Pink
1 yard - main fabric
3/4 yard total of accent fabrics
3 yards of Twine
Large-eyed craft needle
Triangle and Scallop Templates (download)

Steps:
Rotary Cutter Setup
Let’s get your OLFA Scallop Blade on to your 45mm Ergo Rotary Handle.
OLFA’s decorative blades only work on the 45mm Ergo Handles.The set up for adding in the blade is a little different than with a regular rotary blade. The plastic washer moves between the blade and the handle to allow clearance for the scallops. See the picture below for the setup.

Triangle and semi-circle flags:
If your fabric is directional and you want both sides of the flags to face the same direction follow these steps:
1. Cut 4 -7.5” width of fabric strips
2. With right sides facing put 2 strips together with the tops matching along the top edge
3. Using a 1/4” seam allowance join these 2 pieces along the top
4. Open up and press the seam flat with wrong sides facing
5. Along the join you just created sew a line 1/2” from the edge to create a casing for your twine
6. Repeat with the other 2 pieces

If your fabric isn’t directional follow these steps:
1.Cut 215” width of fabric strips
2. Fold each in half along narrow edge with wrong sides facing and press. Your folded pieces will measure approx. 7.5” x width of fabric
3. Along the folded edge of each piece sew a line 1/2” from the edge to create a casing for your twine
Cutting flags:
1. Cut out templates
2. You will be cutting 5 of each shape
3. Line the templates up along the folded edge that you created the casing on and cut out
4. For the triangle shapes I use a Frosted Advantage 6”x12” ruler to keep everything nice and straight
5. When using your scallop blade with a ruler you want to angle your handle slightly away from the ruler for smoother cutting
6. When cutting the semi-circles apply even pressure and try to make a nice smooth cut. This project doesn’t require the circles to be exactly the same size and is a good practice project for learning to cut curves with your rotary cutter.

Accent strips:
1. Using your 6”x24” ruler and your scallop rotary blade cut 2” width of fabric strips
2. Sub-cut these strips into 18” pieces

Assemble bunting:
1. Using a large-eyed craft needle, thread triangles and semi-circles on to your twine.
2. Attach 2 accent strips before and after each flag either by tying them in a knot or looping them around the twine
3. Even out all the flags and accent strips so they are nicely spaced on your twine.
You are all done!!