Quarter-inching Your Way to a Perfect Seam Allowance
If you’re frustrated by how your quilt blocks turn out, the solution might be as simple as checking your ¼” seam allowance. These three steps will get you on the right track!
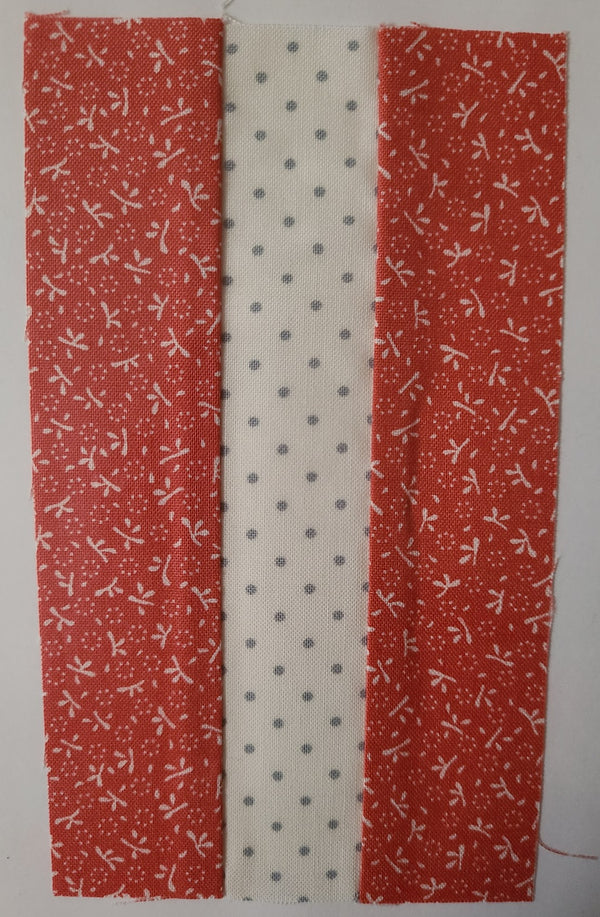
Gather scraps of fabric – one dark and one light. Cut two dark strips 1 ½” x 6” and one light strip 1 ½” x 6”.

Right sides together, sew the dark strips to opposite long sides of the light strip, using a ¼” seam allowance.

Press seam allowances toward the dark strips. Measure the center strip from seam to seam. It should be 1” wide. If the measurement is less than 1” wide, your seam allowance is too wide. If the measurement is more than 1" wide, your seam allowance is too narrow.

What should you do if your seam allowance isn’t 1” wide? You need to adjust your seam allowance width and continue testing to get the perfect ¼” on your machine.
It helps to have a ¼” quilting foot that is appropriate for your machine. You can find one at your sewing machine center. The edge of your cut fabric runs along the flange on the foot. If you find that your seam allowance is still too large and you are able to adjust your machine needle, move your needle to the right until you get the correct seam allowance. (It helps to write the numbers from your machine on a small paper and either tape it to your machine or stick it on your pincushion. You’ll probably need to reset to that number each time you begin sewing.)
If you aren’t able to get a quilting foot, measure ¼” to the right from the center of your needle and use a piece of painter’s tape to act as a guide. You may have to move it a few times until you get the correct ¼”. Once you have that, add several more pieces of tape on top until you have made a small ridge for the fabric edge to butt up to.
Every now and then, do the strip test to make sure you’re still getting the right seam allowance. From this point on, it should be smooth sewing of your quilt blocks!
