Precision Appliqué Scissors Pouch

Designer: Jessica R. Lawson
-----------------
Skill level: Beginner- Intermediate

Looking for a quick project to test out your Precision Appliqué Scissors? I’ve got just the project for you, using felt scraps you can make a personalized protective pouch for your sharp scissors. I even made a pattern for you! You’ll need...

Materials:
OLFA 5-Inch SCS-4 Precision Appliqué Scissors
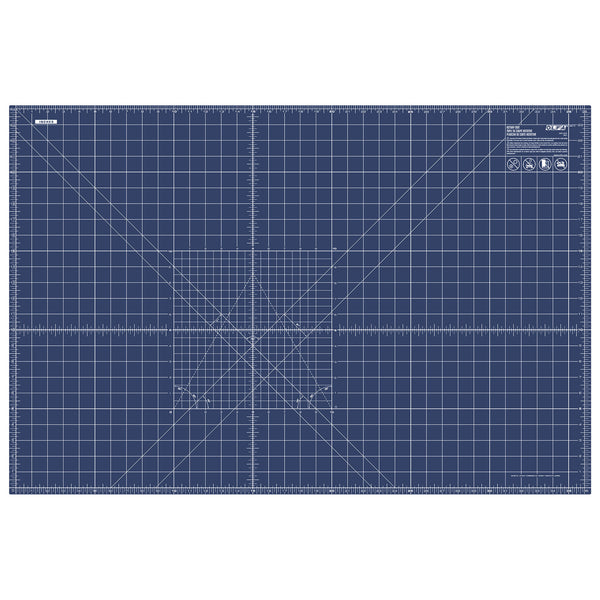
OLFA RM-MG/NBL 24"X36 Double-Sided, Self-Healing Rotary Mat, Navy
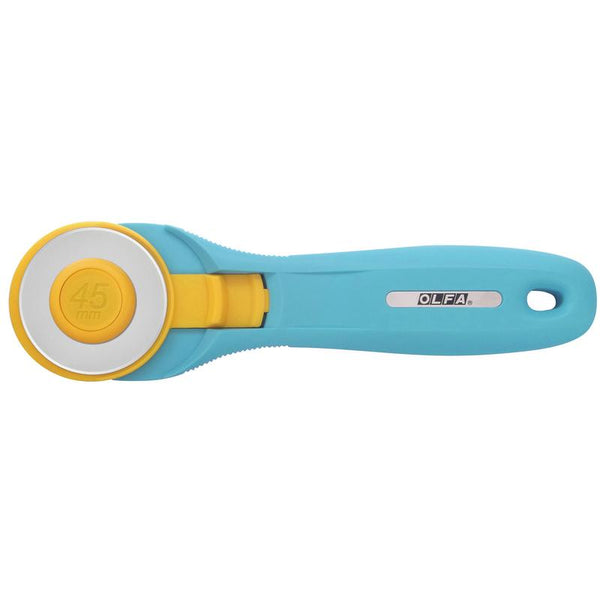
OLFA 45mm RTY-2/C Quick-Change Rotary Cutter, Aqua
Felt (I’m using 100% wool)
Embroidery floss
Needle
Pins
Thimble

Step one:
Using your printed pattern, cut two pouch shapes in your main felt color.

Step two: Time to decorate! Grab your handy Precision Appliqué Scissors to cut out the decorations for the front of your pouch. I’m using wool felt scraps, I save the little leftovers from projects for things like this. Pin down your design and carefully sew it down.

An important tip- you want to hide your knots between the two layers of felt, so it doesn’t get caught on the scissors when you put them in the pouch. You also want to make very small stiches on the underside of your fabric (that’s the inside of the pouch) for the same reason, plus stitches may get torn over time by putting the scissors in and out of the pouch. So tiny stitches on the back side, no matter the size of your stitch on the top!

Step Three: Once you have your decoration on its time to sew the pouch together. With the wrong sides facing on another, pin the pouch together and sew a blanket stitch around it. Be sure to leave the top open! I also recommend making your stitches a bit close together at the bottom of the pouch, where the tip of the scissors will rest.

That’s it! If you want to wear your Precision Appliqué Scissors pouch, add some ribbon on cord to the top corners to make it a long necklace. I hope you had fun, tag me @JessicaSews and @OLFACraft in your finished projects—I can’t wait to see what you make!
-Jessica


