Placemat and Napkin Set

Designer: Daisi Toegel
Instagram: @daisitoegel
Website: www.flowersew.com
------------------------------------------------------------
Have you tried raw edge applique before? If you’re looking for a modern, quick and easy project to make, or a fashionable placemat set with napkin to sew for your home, this tutorial is for you! Using a few strips of fabric (great scrap buster project!) and free-hand wave cutting, we’ll make a raw edge applique placemat and napkin, and oh I almost forgot, this project also includes a bit of quilt-as-you-go. You’ll want to make it!!
Let’s get started.
Tools needed:
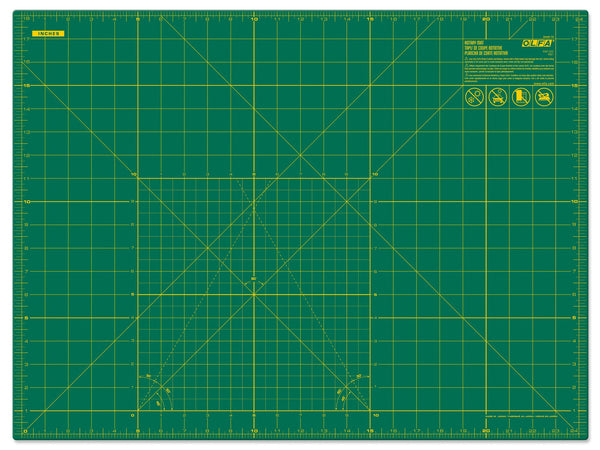
- OLFA RM-SG 18" X 24" Green Double-Sided, Self-Healing Rotary Mat
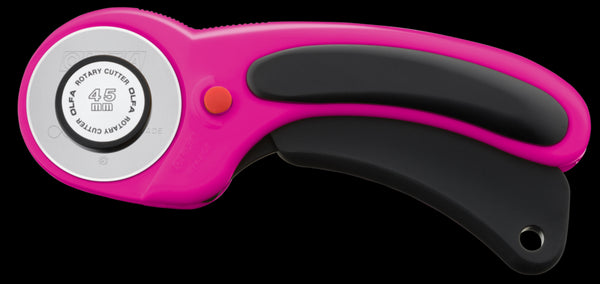
- OLFA RTY-2DX/MAG 45mm Ergonomic Rotary Cutter
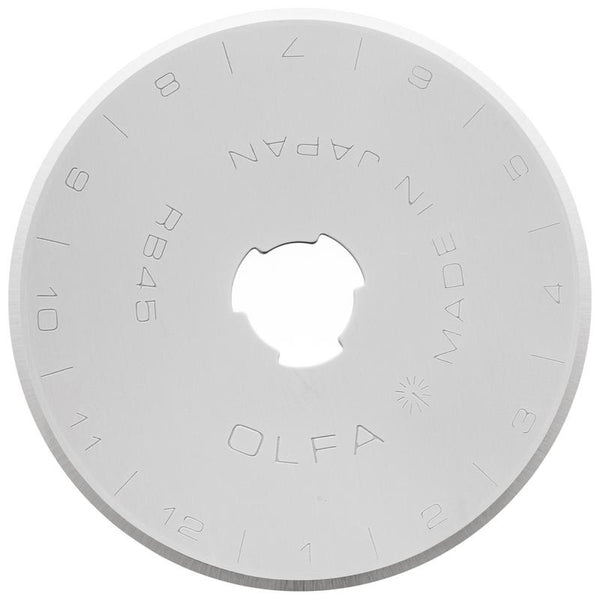
- OLFA 45mm Tungsten Steel Rotary Blade - 1, 2, 5, Or 10 Packs
- OLFA QR-6x24 6" X 24" Frosted Acrylic Ruler
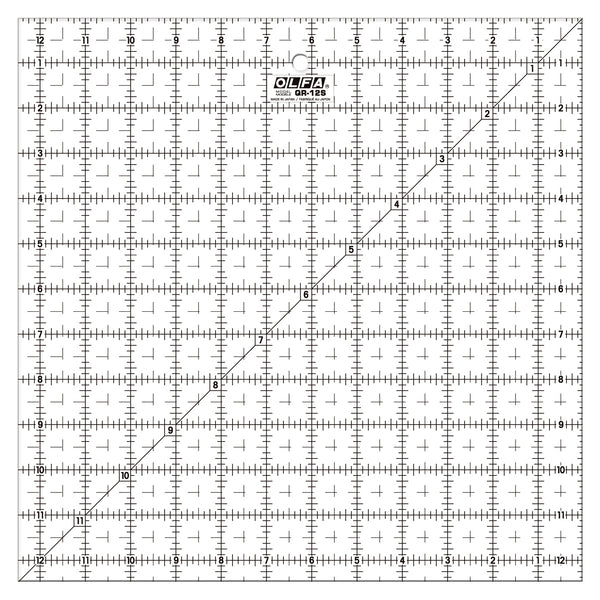
- OLFA QR-12S 12 1/2" Square Frosted Acrylic Ruler
Fabric requirements for 1 placemat:
- (7) 3in x 13in rectangles – assorted colors
- (1) 7in x 13in rectangle – use a different color from the previous rectangles
- (1) 20in x 13in batting
- (1) 18 1/2in x 12 1/2in backing
Fabric requirements for 1 napkin:
- (2) 12 1/2 in x 12 1/2in muslin fabric
- (4) 2 1/2in x 12 1/2in rectangles (matching colors to the placemat)
Make the placemat:
Using the RTY-2DX/MAG 45mm Ergonomic Rotary Cutter, cut the 3in x 13in rectangles on one of the long edges doing waves. Align the rectangle on the cutting mat and cut the wave with maximum 1in height.
On the 20in x 13in batting piece, lay the first strip on the top left, add the other strips below it to overlay on top of each other. The first strip will be trimmed, so you don’t need to cut the wave on the strip that will be the first one, I still suggest cutting it in case you decide to change the order of the colors so it’s already cut to shape even though this first one will be trimmed off.
If you’re using a fusible batting or interfacing, simply press the strips in place, if not, press the strips in place and pin baste. Sew along each wave edge using 1/8in seam allowance finishing off this part as a raw edge applique. Then sew across the top and bottom to secure these strips edges.
Next, align the 7in x 13in rectangle with right sides together on the right edge of the previous step vertically. Sew using 1/4in seam allowance to prepare for quilt-as-you-go.
Quilt the 7in x 13in area using your preferred quilting style.
Trim the entire piece to 18 1/2in x 12 1/2in. Lay the main piece right sides together with the backing fabric piece. Sew all across the edges using 1/4in seam allowance. Leave a 5in opening for turning. Don’t forget to backstitch at the beginning and ending of the seams.
Before turning the project right side out, clip the tips of the 4 corners diagonally, turn it and press. Sew across the placemat edges using 1/8in seam allowance to finish.
Make the napkin:
Using the QR-12S 12 1/2" Square Frosted Acrylic Ruler cut (2) squares of muslin fabric.
Cut the wave edges on each 2 1/2in x 12 1/2in rectangles as we’ve done for the placemat.
Pin the first strip on one muslin fabric square on one of the 4 sides. Sew across the entire edges of the strip using 1/8in seam allowance. Overlay the next piece on the adjacent side and sew in the same manner. Repeat until you’ve sewn all four sides of the muslin fabric square.
Press, and lay the other piece of muslin fabric square on top, with right side facing up.
Sew across the edges using 1/4in seam allowance and leave a 4in opening for turning. Backstitch at the beginning and ending of the seams.
Clip the corners before turning, turn the project right side out, press and topstitch around the edges using 1/8in seam allowance to finish.
And there we have it! A matching set of placemat and napkin to sew for any occasion!! You can play with colors, quilting styles, fun stitches for the raw edge applique and also combine these choices with the napkin.
Created by Daisi Toegel


