Pillowcase Repurposed to Bunny Easter Bag

Designer: Mary Stanley
Instagram: @whatmommamakesig
-------------------------------------------------
Today I am repurposing this thrifted pillowcase into this super quick Bunny themed bag, just perfect for Easter morning or an Easter Egg Hunt!
Tools Needed:
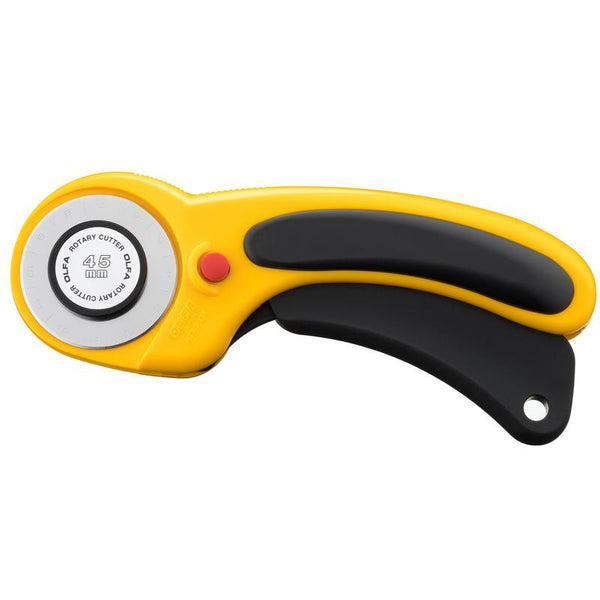
45mm RTY-2/DX Ergonomic Rotary Cutter
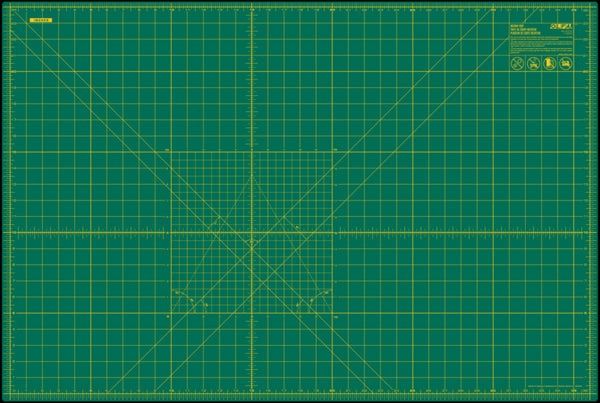
RM-MG-01/GRY 24”X36” Double-Sided Self-Healing Rotary Mat, Gray
QR-6x24 6" X 24" Frosted Acrylic Ruler
5-Inch SCS-4 Precision Appliqué Scissors
Supplies needed:
-Standard Pillowcase
-Lace, ribbon or choice of trim for front of bag
-Free Molly Hood pattern from Violette Field Threads for bunny ears:
https://violettefieldthreads.com/products/molly-hood-add-on
Directions:
We want to be able to utilize as much of this pillowcase as possible, so the first step is cutting out our pieces, and there is an order to how you want to do this. First off, we are going to use our nicely finished edge of our pillowcase (where the opening is to put your pillow) as the top of our bag – not only is this a great way to utilize this fabric, but it also saves us time in hemming, so that’s a win-win in my book!
- With your rotary mat, rotary cutter and acrylic ruler measure over from the nicely finished edge of your pillowcase by 16” and cut from one side to the other.
- Next, we will measure over 3” from each of the sewn sides and cut those strips off – which will leave us with 2 center piece rectangles (our front and back bag piece) measuring approximately 16” tall by 13.5” wide.

- Now we will take the remaining 2nd half of the pillowcase we had left over from step 1 to create our straps for our bags. To do this, simply measure over from the cut edge by 3.75” and cut straight down there. Repeat once more with your remaining fabric so that you have 2 loops of fabric, each 3.75” wide.
- Now we need to find which side of the loops have the sewn edge of the pillowcase on them. From that sewn edge we will measure up 3” and cut there – leaving us with a strap that is approximately 3.75” wide and 32” long. Repeat for 2nd

- Next we can go ahead and use the 2 bunny ear pieces from the Free Molly Hood Pattern to cut out 4 pieces of our bunny outer ear and 4 pieces of our bunny inner ear.
We should end up with a pile of pieces looking similar to this:
- Now lets create our ears! First off, we are going to place our outer ear sets and our inner ear sets together with the right sides touching. Pin together along both long side edges, leaving the bottom edges open for turning. Sew pinned edges with a ¼” seam allowance.
- After we have sewn all sets, we can trim back our seam allowance. Then we will turn both sets of the outer and inner ears right side out and iron flat. If desired, (I did) you can also now topstitch around the OUTER ears only.
- Now we can layer the inner ear on top of the outer ear. Make sure the inner ear is centered on top of the outer ear. Sew the pinned inner ear to the outer ear right along the edge of the inner ear.
- Now that we have our ears ready to go, we will create our straps! Take both of your strap pieces and fold in half width wise, creating one long raw edge and two short edges. We will go ahead and sew using a 3/8” seam allowance along one of the short edges and the long raw edge. Repeat with 2nd strap piece.
- Now we can trim back our seam allowance – using your rotary cutter with your acrylic ruler as your guide makes this quick and you don’t have to worry about accidentally cutting into your sewn seam.
- Now we can turn our straps right side out and topstitch along the 3 closed edges. Now we can take our bunny ears and layer them on top of the raw edge of our strap with the bottom of raw edge of the bunny ears matching up. Here we can serge or zigzag stitch these pieces to attach them and also to enclose the raw edges. Then we will sew up the bunny ear on both sides of it, until we get about halfway up, which will help hold these bunny ears up in place.
- Now we can fold in the two outer edges of our bunny ears to create a more 3D shape to our ears. Baste along the bottom edge to hold the folded edges in.
- Next up, we will add our straps to the front panel for our bag. To do this, measure over 3.5” from the side edge of your bag and pin your bottom of your ear along the bottom of the folded edge of the pillowcase (mine was approximately 4” down from the top of the bag). Sew along the inner ear, down to the bottom and back up the other side, being sure to backstitch at the beginning and the end. Repeat with 2nd
- Now we can take our lace, ribbon or whatever trim you would like to topstitch directly on top of our bag front to cover the bottom edge of our ear/strap piece.

- Now we can attach the back of our straps to the back bag panel. To do this, we will measure over 3.5” from the side edge, pin in place, and then topstitch right on top of the topstitched edge of the strap. Repeat with 2nd
- Now we will join our front and back panels together using French seams. If you are unsure how to create a French seam, you can reference this earlier blog with lots of details on the process: https://olfa.com/blogs/craft/the-beauty-of-french-seams-for-sewing-with-tulle?_pos=1&_sid=651d3ec79&_ss=r

- Now we are going to box the corners of our bag (once again using French seams) so that our bag has a nice flat bottom. To do this, we will place our bag right side out with one of our side seams facing up. We need to line up the side seam, with the bag bottom seam directly under it creating a 45” angle there. Using your frosted ruler, we will draw a horizontal line that is 2” from the tip of the corner.

- Next, we will sew directly on top of that line we just drew. Using your rotary cutter, cut off the triangle created, cutting close to the sewn line but being careful not to cut into it. Repeat for 2nd

- Then we will turn the bag inside out and sew along those two seams we just created with a ¼” seam allowance to enclose the edge with a French seam as well.

And VOILA!!! You now have repurposed a pillowcase into a super sweet Easter bag, big enough for lots of goodies or egg hunt fun!


