Pie Carrier

Designer: Amanda Brown
Instagram: @myfabricheart
Skill level: Beginner
----------------------------------------
Size or dimensions: Fits a 10” pie
Skill level: Beginner
Description: Summer is the time for delicious fruity harvests. This pie carrier will help transport your homemade (or not so homemade) pies in style. Makes a great gift for the host of your next bb
Materials:
- (2) 19” x WOF Quilting Cotton
- 19” square Heavy Weight Stabilizer
- 19” Quilt Batting
- 46” one inch cotton webbing
- Thread

Tools:
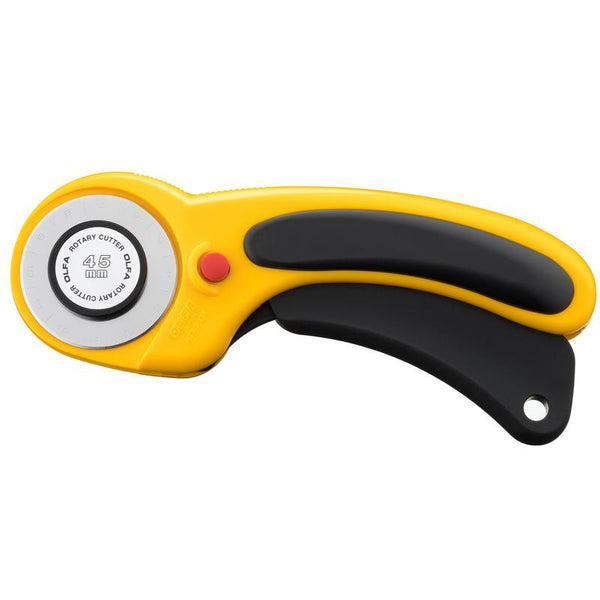
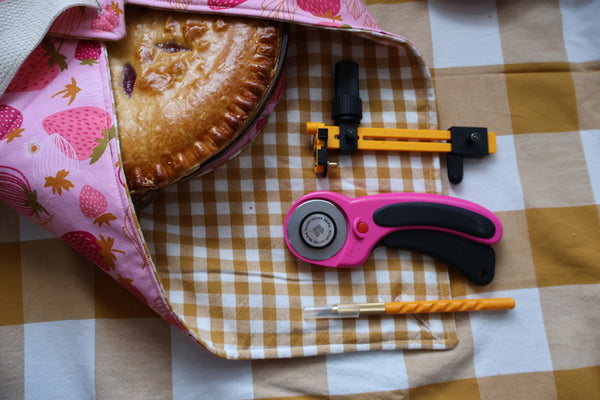
- OLFA RTY-2DX/MAG Ergo Rotary Cutter
- OLFA QR-6x12 6”x12” Frosted Acrylic Ruler
- OLFA QR-6x24” Frosted Acrylic Ruler
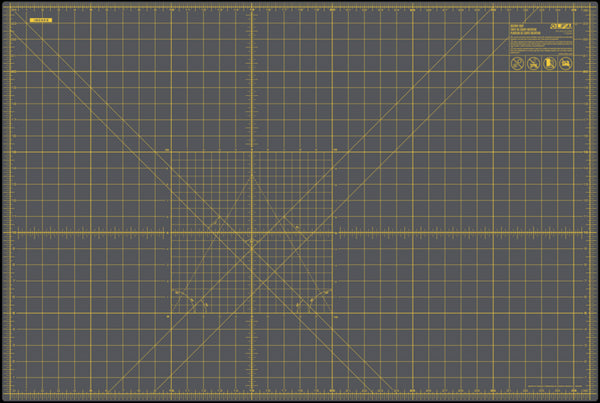
- OLFA RM-MG-01/GRY 24”x36" Double-Sided Self-Healing Rotary Mat
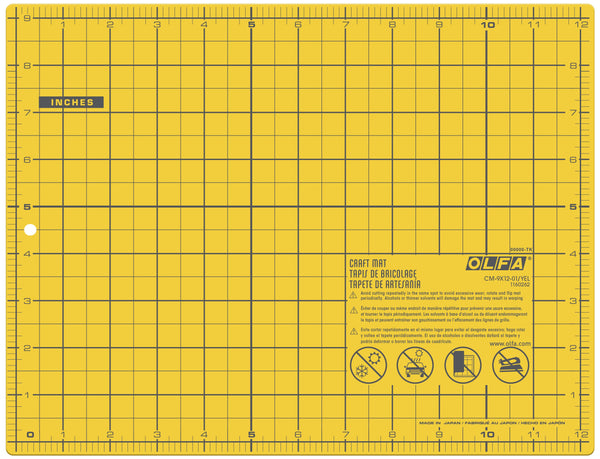
- OLFA CM-9x12-01/YEL Double-Sided Self-Healing Cutting Mat
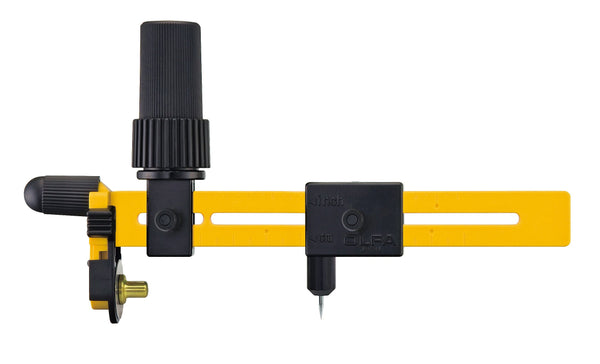
- OLFA CMP-3 Rotary Circle cutter
- OLFA 5-Inch SCS-4 Precision Appliqué Scissors
- Marking tool
- Clips/Pins
- Sewing Machine
** If you add an opening to the video the times below will need to be adjusted
Key Moments:
(0:15) Tools & Materials
(1:12) Cutting Instructions
- (2) 19” Squares from quilting cotton
- (1) 19” Square from quilt batting and heavy weight stabilizer
(1:42) Assembling Square
- Layer pieces of quilting cotton with right sides facing and add the quilt batting on top
- Stitch 1/4” around the perimeter leaving 3” open for turning
- Turn right side out and stop stitch
(2:47) Base support
- Cut out (2) circles of quilting cotton with the Rotary Circle Cutter set to the largest size
- Cut out (1) circle from heavy weight stabilizer with Rotary Circle Cutter set to 4.25”
(5:18) Attaching Handles
- Center the webbing diagonally on the square
- Fold excess under and attach this excess along the diagonal to secure the handle
(6:38 ) Attach Bottom Support
- Center support on the square covering the raw edges of the strap and stitch in place
(6:59) Add Button Holes
- Create a button hole on each corner that doesn’t have the strap attached
- Place button hole on a 45 degree angle close to the corner

