Photography Tips in the Wild
Kitty Wilkin
IG: @nightquilter
-------
Project name: Block Base for Photography in the Wild
Skill level: All levels
Description: Learn how to set yourself up for success when photographing quilt blocks out in the natural world. Taking your quilt blocks on your adventures is a fun way to document memories when quilting your life, and taking the time to prepare & protect your quilt block before you go will help keep your block clean and flat on even the wildest adventures.
Tools needed:
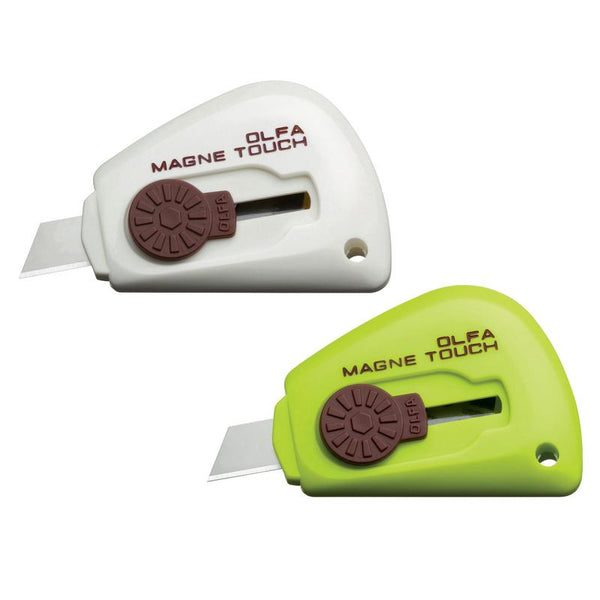
OLFA TK-3M/2P Magnetic Touch Knife, 2pk
OLFA QR-6x12 6" X 12" Frosted Acrylic Ruler
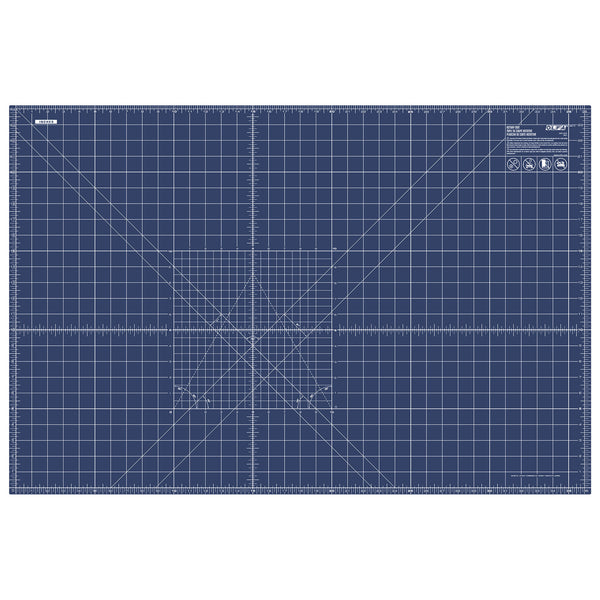
OLFA RM-MG/NBL 24"X36 Double-Sided, Self-Healing Rotary Mat, Navy
Supplies needed:
Recycled chipboard/cardboard boxes, flattened
Pencil
Painter’s tape or Gaffer tape
Plastic bag big enough to fit your quilt block
Quilt blocks to photograph
--------
I’m sure everyone would agree that stitching meaning into quilts is one of the best parts about quilting. When you’re tying life together with quilt-making, what better way to infuse meaning and memories into your quilt than to bring the blocks with you on the adventures that earn them? Be sure to read more about how combining quilting with life leads to adventure in the first post in this series, HERE, and read on for some tips for photographing your quilt blocks in the wilds of nature.

Photographing your quilt blocks in a gorgeous natural location can be a fun way to show off the beauty of your progress whether you’re quilting life or not. In today’s post, I’m going to show you how to set yourself up for success when photographing quilt blocks out in nature as we make a simple block base using materials you can find around your home.
First, gather your materials:

Tools needed:
OLFA magnetic touch-knife (TK-3M/2P)
OLFA 6” x 12” acrylic ruler non-slip, frosted
OLFA double sided, self healing rotary mat, navy (RM-MG/MBL, #1135484)
Supplies needed:
Recycled chipboard/cardboard boxes, flattened
Pencil
Painter’s tape or Gaffer tape
Plastic bag big enough to fit your quilt block
Quilt blocks to photograph

Be sure to choose chipboard or cardboard boxes that have a surface that is at least as large as your quilt block. Measure the size of the quilt block and subtract ¼” from each dimension. Draw a rectangle or square of that size on the cardboard. For example, if your quilt block is 4” x 4”, you will draw a 3 ¾” x 3 ¾” square on the cardboard. If your quilt block is 7” x 9”, you will draw a 6 ¾” x 8 ¾” rectangle on the cardboard. This will ensure that your cardboard base is large enough to fully support your quilt block, but small enough that it won’t show around the edges in your photographs.

Place the cardboard with the drawn shape on top of a protective surface, like an OLFA self healing rotary mat or other work surface, and carefully cut along each drawn line using an OLFA magnetic touch-knife & acrylic ruler.

Cut out as many cardboard bases as you need for the quilt blocks you want to bring on your adventures. Note that you can reuse these cardboard bases again and again, so if you plan to photograph blocks one at a time and your blocks are all the same size, you only need one base.

Place four small rolls of painter’s tape on the non-printed side of the cardboard base, as shown in the photo above. These tape rolls will hold your quilt block onto the base, so you want to be sure they are close to the edges of the cardboard.

Center the cardboard base on the back of the quilt block, gently pressing the tape loops onto the block to secure it. Note that the tape should be sticking to the wrong side of the quilt block, so that when you turn it around, you can see the full quilt block and none of the cardboard around the edges.

Depending on where you’re adventuring, you might want to add a loop of Gaffer tape to the back of the cardboard base, as shown above. Painter’s tape sometimes works, but gaffer tape is much stronger and can help adhere your quilt block to the side of a tree, a rock, or a fence post even on a windy day.
Now you’re ready to take your fortified quilt block on your adventures with you, out into the wild for photography! To protect the block even more, once it’s mounted on the cardboard base you can put the whole thing in a zip-top plastic bag for extra protection. Be sure to place some non-stick surface (wax paper works!) to the back of the roll of Gaffer tape before putting it in the plastic back for easy storage. I often will put my quilt blocks on their cardboard base, into a recycled plastic bag, and into my hiking backpack so that they can stay flat and dry until we reach the mountain top even on the most vigorous and sweaty hikes.
Be sure to take the block out of the plastic bag for photography, and now that it’s secured to a solid cardboard base, you can prop it up in flowers, in tree branches, against a rock on the ground, or anywhere else that helps you tell the story of the quilt block.


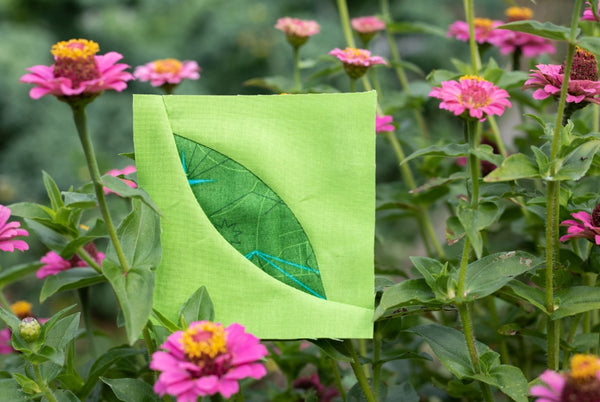
This leaf block signifies 30 minutes spent in the garden for my Summer Lovin Quilt (#SummerLovinQuilt), so I photographed it in my garden. You can see how having the block affixed to a cardboard base makes it easy to prop up for photos.


Nestled away in this giant kale plant, you can see the difference between how a quilt block sits both with a cardboard base and without. The cardboard base helps ensure you get the full quilt block in the photo, nice and square and flat to show off all of the details.


You can also put that roll of Gaffer tape on the backside of your cardboard base to use and stick the quilt block up on a post like shown here, or on any other non-painted surface.
Here are some more photos of quilt blocks on the adventures that earned them, throughout the years:

A mountain block from my 40 Peaks Quilt (#40PeaksQuilt) secured to the summit post on the second summit earned, thanks to its cardboard base and Gaffer tape loop!

A tree earned in my original Summer Adventure Quilt (#SummerAdventureQuilt) was held expertly by my then 2 year old babe thanks to the cardboard base! You can see the corner of the cardboard peeking out on that top right corner, but the story told in this photo is precious.

Here’s another tree earned in my Summer Adventure Quilt, telling the story of the hike that earned it, securely attached to a tree as the kids hike on.

Finally, here’s the quilt block that went on the most epic adventure ever with me when I climbed Mt Katahdin, the highest mountain in Maine and the end of the Appalachian Trail. It was kept nice and dry in its plastic bag despite the misty fog, and the cardboard base allowed me to photograph it along the way, securing it to trail markers, trees, and boulders.
Have a wonderful time infusing memories and adventurous moments into your quilt blocks, and delight in how flat and clean they are when you get home thanks to these tips! If you’re looking for a community of support and technique resource library designed specifically for quilting life, join my monthly membership group the Quilt Your Life Crew. We are an encouraging and affirming group of makers sharing our journeys and creative paths as we do more of what we love and create gorgeous quilts in the process.
I know not everyone can or wants to take their quilt blocks on epic adventures, but you can still help tell the story of the quilt with indoor photography, too. Join me next time as I share some tips for photographing your quilt blocks inside from the comfort of your own home.
Happy adventuring!