
Patchwork Curtains

Designer: Amanda Brown
-----------------
Category: Home Decor
Size or dimensions: Any Size
Skill level: Confident Beginner
Create patchwork curtains using flat-felled seams for a clean, finished look on both sides. This technique is ideal for curtains and other projects where both sides of the finished piece need to look finished.
-----------------------------
I was first introduced to Pojagi patchwork a few years ago. It’s beautiful way to piece fabrics together where it looks finished on both sides. Pojagi is a traditional Korean hand sewing technique used with light weight fabrics. It is very similar to the flat-felled seam which I’m more familiar with from garment sewing.

In this project I’m using flat-felled seams to make new curtains for my side door, but this technique could be used to make a summer quilt, patchwork fabric for a garment or countless other sewing projects. For the curtains, I’ve chosen a more haphazard layout but I’ve also used the technique with more linear, planned designs.

Fabric choice considerations:
A solid or yarn-dyed fabric, where the colour or pattern looks the same on both sides, is ideal.
If you choose a fabric that has a right and wrong side, just be mindful of the orientation as you sew the pieces together.
Materials:
- Co-ordinating fabrics light weight cotton
- 10”x finished width of curtain plus 2” of co-ordinating cotton
- Thread
- Curtain rod

Tools:
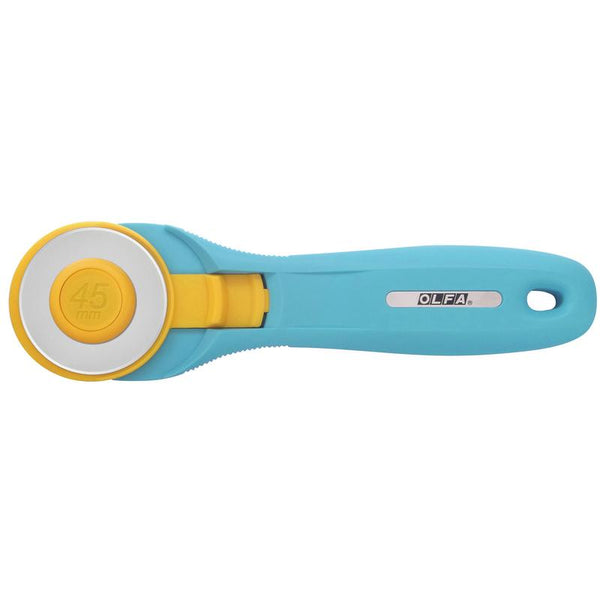
• OLFA 45mm Quick Change Rotary Cutter, Aqua RTY-2/C
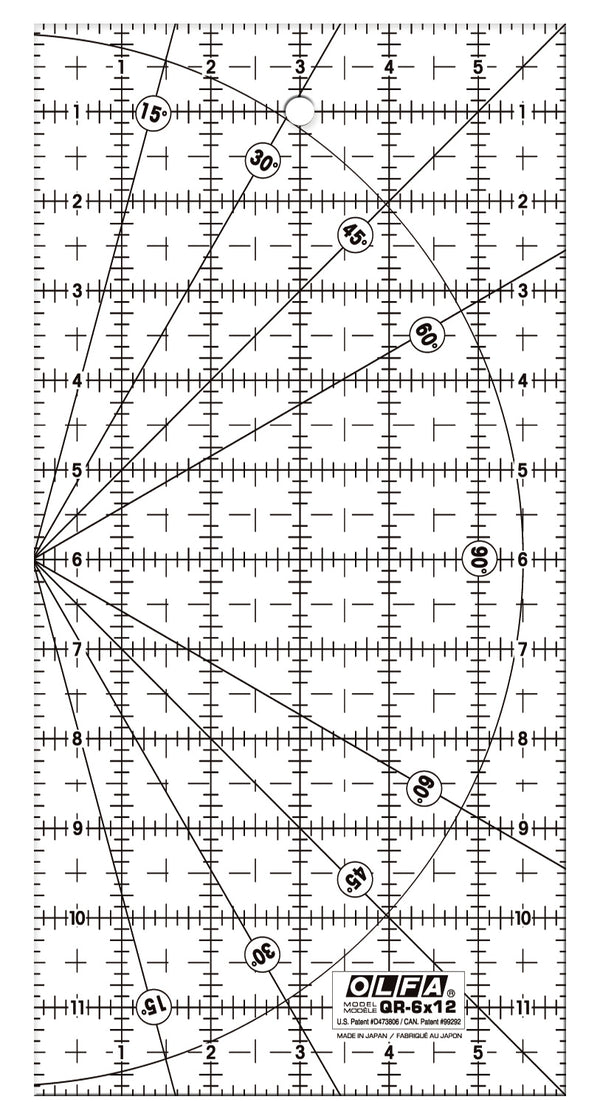
• OLFA 6" X 12" Frosted Acrylic Ruler QR-6x12
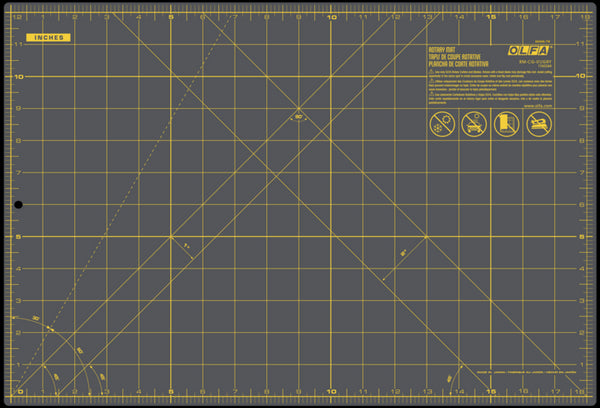
• OLFA 12" x 18" Double-Sided, Self-Healing Rotary Mat, Gray RM-CG-01/GRY
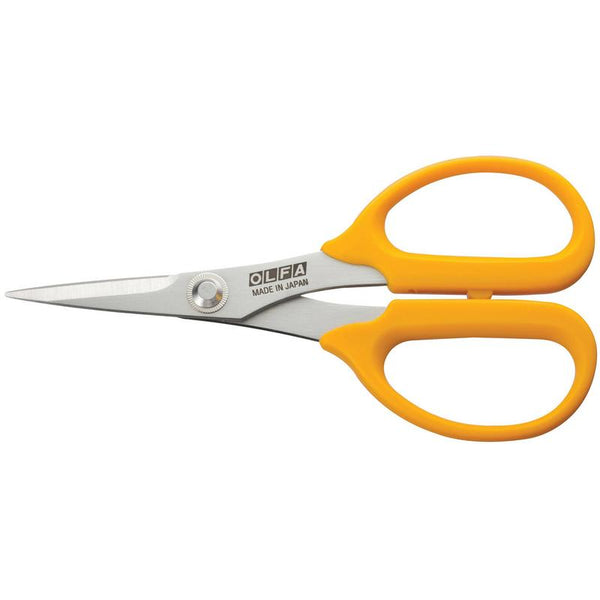
• OLFA 5-Inch Precision Applique Scissors, SCS-4
• Sewing Machine
• Clips/Pins
1. Determine the finished size
Measure the window you would like to cover.
Add 15" to the width and 4" to the length. This will be the finished size of your pieced panel before hemming and adding the curtain rod sleeve. The extra width allows for the curtain to drape nicely.
2. Plan and cut your patchwork pieces
Determine the size and arrangement of your patchwork pieces and cut your fabric accordingly.

Keep in mind that each seam will use 5/8" of fabric, so the pieces you cut will become smaller as you piece them together. Plan your cuts with these seam allowances in mind, and allow for some extra fabric so you can trim your pieced panel to the final calculated size.
For my haphazard layout, I cut 6" strips from the yardage, then subcut these into smaller pieces ranging from 6" to 18”.

When using a haphazard layout, I found it helpful to trim larger pieces to the length of the piece I was adding them to before sewing. This helps prevent stretching, gathering, or distortion while piecing.

If you are working with a more planned or linear layout, take the seam allowances into account when determining the finished size of each individual patch.
3. Create the flat-felled seams
With right sides together, sew two pieces together using a 5/8" seam allowance.

With the right sides still facing, fold back the top seam allowance and give it a light press.
Using an OLFA 6× 12" ruler and rotary cutter, trim the other seam allowance to 1/4”.

Open the pieced fabric and press the seam allowances toward the longer seam allowance.

Fold the longer seam allowance over so that its raw edge lines up with the stitch line. Press.

Fold this again toward the raw edge, completely enclosing the raw edge. Press and pin in place.

Stitch close to the folded edge to secure the flat-felled seam.

Repeat these steps for every seam as you build your curtain panel.
As you work, you can alternate the direction of your flat-felled seams to help distribute bulk, particularly where multiple seams intersect. In the photo below you will see I chose to trim away the bulk of the flat felled seam folding the yellow fabric over top.

4. Finish the sides and bottom
Once your curtain panel has reached the calculated size, give the entire panel a final press.

For each side edge, fold under 1/2” and press. Fold under another 1/2" to create a double-fold hem, then stitch close to the inner fold.

Repeat along the bottom edge, using a 1" double-fold hem.
5. Create the curtain rod sleeve
Cut a 10" × the width of the unhemmed curtain panel piece for the curtain rod sleeve. Then hem each short edge with a double hem as above.
Roll the curtain panel up from the bottom edge, keeping the right side facing inward.

Wrap the rod sleeve piece around the rolled curtain, with the right side of the sleeve facing the roll. Sandwich the raw edge of the curtain between the raw edges of the sleeve and sew using a 1/4" seam allowance.
 Pull the curtain out from one end of the roll and turn it right side out.

Press the attached sleeve carefully, making sure the fold along the top is straight and consistent.

Topstitch 1/2" from the fold where the sleeve is attached to the curtain. Then stitch 2" from the upper folded edge to create the channel for the curtain rod.

Give the finished curtain a final press and hang!

Tip: If you are working with a more planned layout, remember that the seam allowance needs to be accounted for when calculating the cut size of every piece. For a random or haphazard layout, cutting pieces a little larger and trimming as you go gives you much more flexibility.
Fabric grain: Keep the grain direction consistent where possible. With a deliberately random layout this is less important visually, but grain direction can affect how the finished panel hangs and moves.
Press as you go: Accurate pressing is especially important with flat-felled seams. Take the time to press each seam carefully before moving on to the next piece.