Paper Quilling Card Making

Designer: Danielle Webb
Email: Hello@sprinklesofzeal.com
Size or dimensions: 5x7 Greeting Card
Skill Level: Beginner
------------------------------
Check out Danielle's Interview Here.
Paper quilling is a beautiful art form that allows beginner paper crafters to not only use their imagination, but save money by utilizing only a few tools. Today I will be sharing how to create a summer-themed paper quilling card that can be sent to a loved one. If you enjoy working with paper or just want to try a new skill, I think you will enjoy this blog.
Here’s what you’ll need to get started:

Tools Needed:
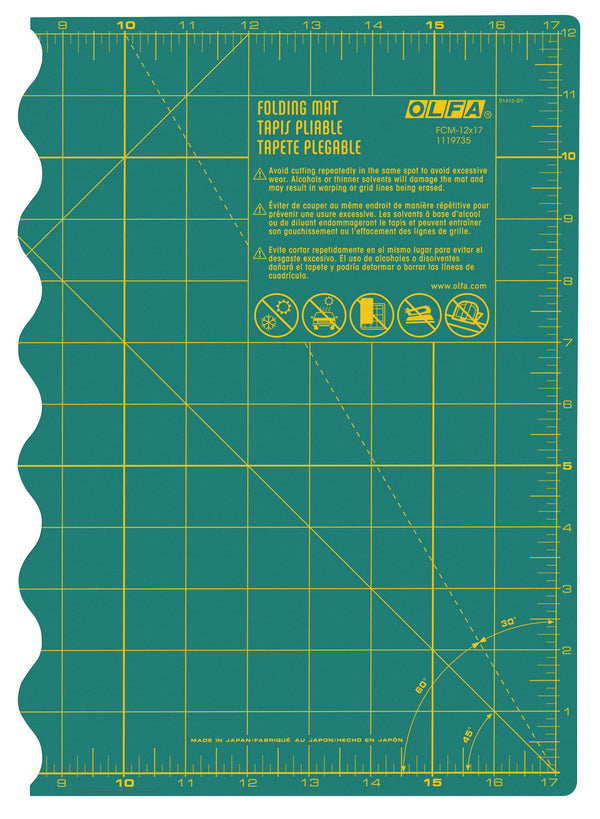
- OLFA FCM-12x17 12" X 17" Folding Cutting Mat
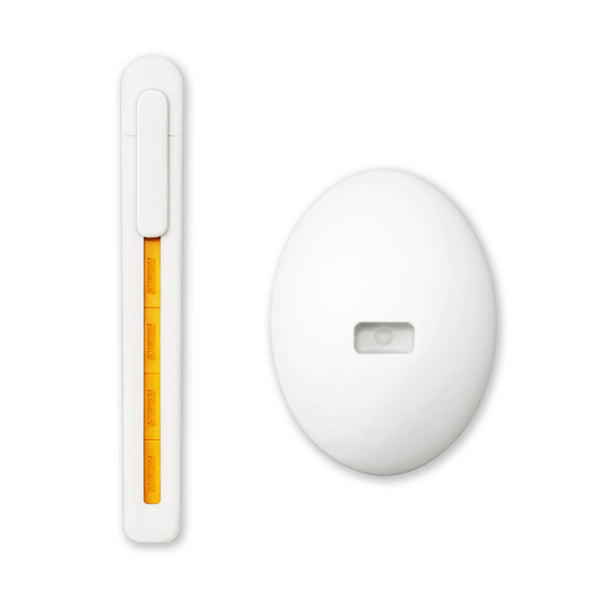
- OLFA ESK-1 Beginner Craft Knife With Stand
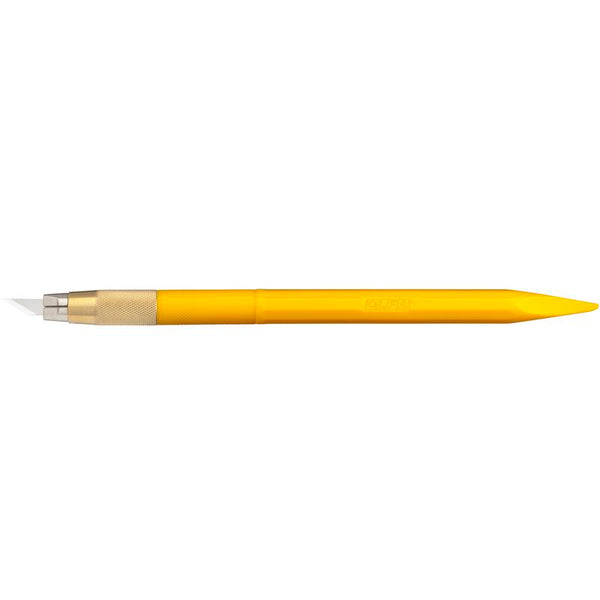
- OLFA AK-5 Designer Graphic Art Knife With 30 Replacement Blades
- OLFA AK-4 Cushion Grip Art Knife
Additional Supplies:
- Summer card and paper strips project files Download Here
- Paper quilling slit tool
- Paper Quilling Mat
- Tacky Glue
- Tooth Picks
- Tweezers
- (2) short ball pins
- Needle Nose Glue dispenser
- Colorful Cardstock Paper
- White Cardstock Paper
- 9x9 Shadowbox
- [Optional] Envelope for mailing
Finished Size: 5x7 paper quilling card housed in a shadowbox
Instructions:
Step 1. Print the project files, then use OLFA’s Beginner Craft Knife to cut the strips.


Step 2. Create a tight coil by sliding a full paper strip in between the quilling tool’s slit ,then roll the paper towards you.


Step 3. Seal the end of the coil by using clear glue and a toothpick. Allow the coil to dry before removing it from the quilling tool.


Step 4. In order to create the smaller coils for the sun rays, you will need to cut a full paper strip down to four miniature paper strips. I used OLFA’s AK-5 Designer Graphic Art Knife for this process. Follow the images below to resize your paper strip.


Step 5. Use the paper quilling mat to organize your coils.

Step 6. Choose one of the following cards to send to a friend or add to a shadowbox, then cut on the dashed lines using OLFA’s AK-4 Cushion Grip Art Knife.


To cut the dome-shaped window, switch out the precision art blade (KB4-S)
to the curved carving art blade (KB4-R).


Step 7. Use the tapered base on the AK-5 Designer Graphic Art Knife to score and fold the card.


Step 8. Now it’s time to glue the tight coils onto the card. Place the coils in different spots around the lettered design. Once you like the placement, add glue to the back, then adhere the coil to the card using tweezers.


Press the coils firmly, then allow the card to dry before adding the smaller coils.

Remove any excess glue around the coils with a paint brush.

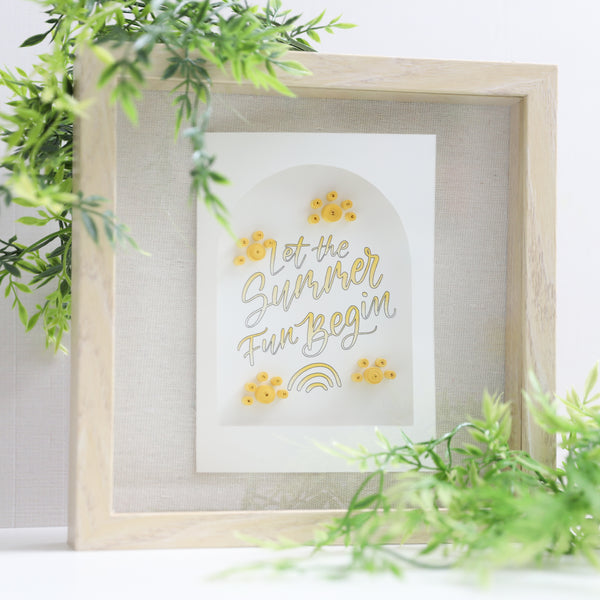
Here’s the finished card at 5x7 inches. Allow the card to dry overnight before adding you written message. This card can be mailed or added to a shadowbox for safe keeping.

Step 9. A shadowbox is a great frame to use if you want to preserve your creations. This shadowbox from my local Michaels store already included a beautiful linen backdrop, so I didn't need to add anything extra. For the final step, I used the two ball pins that came with the shadowbox to attach the card to the center and that’s it!


If you can’t find this particular frame, use OLFA’s 9mm SAC-1 Stainless-Steel Graphics Knife to cut some foamboard and linen to add inside your shadowbox.
Here’s the finished shadowbox! Isn’t it cool?


Paper quilling is an artistic hobby that can be fun for the entire family! I hope this introduction to paper quilling has helped you understand more about the craft and how you can spread joy with it through card making.
If you decide to create this card, be sure to tag @sprinklesofzeal and @olfacraft so we can see your lovely creations!
Until next time, have a craftastic day!
Danielle