PAPER 101 SERIES - Thanksgiving Pop-Up Card Tutorial

Designer: Marcia Izabel Marchiori of Minois Handmade
Instagram: @marciabel
Skill Level: Beginner
-------------------------

I consider sending handwritten cards & letters nowadays one of the most powerful ways to connect on an emotional level with somebody, as it gives you the power of slowing down and making something that requires not only your attention, but a variety of feelings, demonstrating just how important the recipient is. It’s truly an enriching experience that brings joy to both sides! Any greeting card is great, but hand making your own brings it to another level, and paper is for sure one of the most used mediums for that, as it is a very versatile material!
As Thanksgiving approaches, I’ve decided to make a tutorial that will give you the opportunity to show appreciation to someone special in your life while celebrating this beautiful season. And the best part is that you can adapt the templates for other seasons & holidays too, just changing the paper colors and some of the designs!

Tools and Supplies Needed:
I do love everything involving mixed media, but I’ve decided to simplify and use just cardstock paper for this project. Although you can go as simple as paper & scissors, the tools you choose can make the process easier and much more precise, so I do recommend the following:
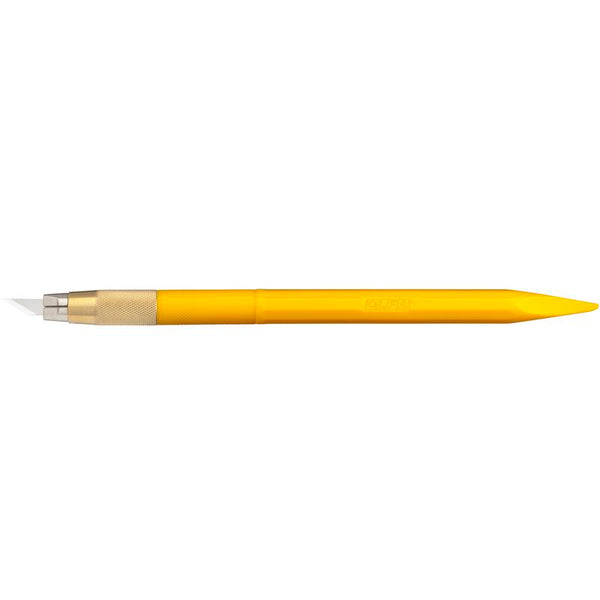
- OLFA AK-4 Cushion Grip Art Knife
- OLFA AK-5 Designer Graphic Art Knife With 30 Replacement Blades (for scoring/folding)
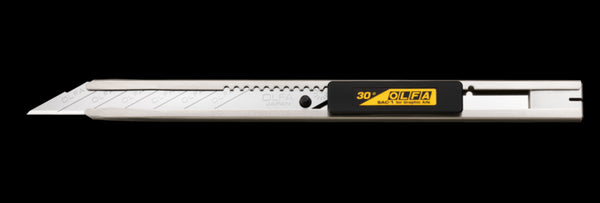
- OLFA 9mm SAC-1 Stainless-Steel Graphics Knife With 30-Degree Precision Blade
- OLFA QR-1x12 1" X 12" Frosted Acrylic Ruler
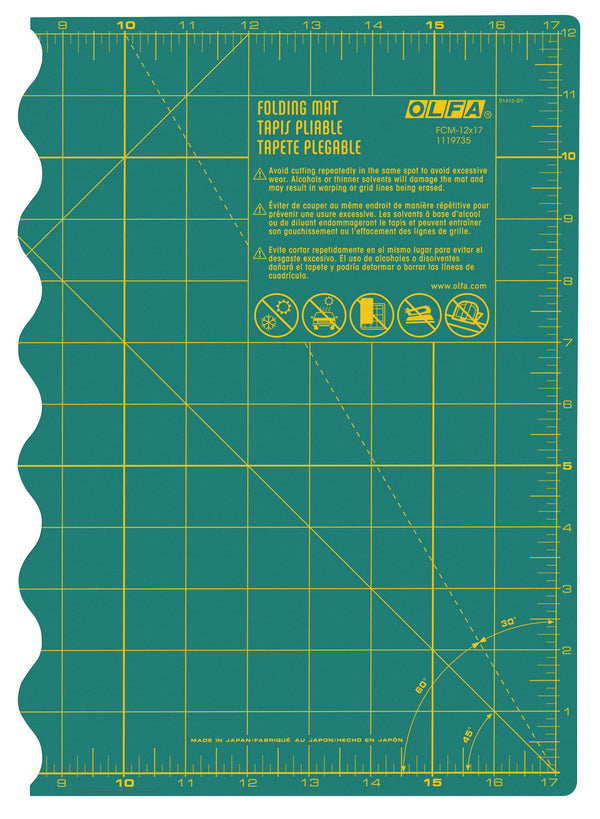
- OLFA FCM-12x17 12" X 17" Folding Cutting Mat
- 8 1/2 x 11” (letter size) cardstock papers, one sheet of each in the following colors: 3 shades of green (light, medium and light), 2 shades of brown (light and medium), light beige, orange, off-white for backing, white cardstock paper for printing.
NOTE: These are just suggested colors, you certainly can use whatever you have in hand or the colors of your preference!
- Glue / Double Sided Adhesive Tape
- Twine thread
- Pencil, Printer, Copy Paper
- OLFA 45mm RTY-2/DX Ergonomic Rotary Cutter (Optional)
- OLFA PIB45-1 Stainless Steel Pinking Blade, 1pk (Optional)
Instructions:
- Print templates to scale.
Please note that there are two options of templates available: the first one is intended to be printed in a basic white cardstock paper, cut and used (multiple times) as a pattern to outline the designs. This would be the best use of the paper sheets. In the second option the designs are MIRRORED and it’s intended to be directly printed on the back (if textured) of the colored cardstock paper, and cut directly. I’ve mixed and matched the templates according to my needs, as you can see below :-)

- Gather all tools and materials.
- Using the patterns, cut out all the paper pieces, according to templates and chosen colors. I used OLFA SAC-1 to cut all the straight edges and OLFA AK-4 Art knife for curved and more detailed shapes (leaves, heart shape, mountains and trees).

TIP: when cutting and assembling the trees, apply double sided adhesive tape to the ends of the tree trunks before cutting them. It’ll make it easier to attach them to the card later.

After this step, and before starting to assembling the card, it is very important to fold all pieces (according to the templates), using the tapered base of the handle of OLFA AK-5 Designer Graphic Art Knife for an accurate scoring.

- Using glue and/or double sided adhesive tape, start attaching the pieces together to the back of the card in the following order:

B. Brown mountain, second layer;


E. Vegetation and trees.


-----
- Start making the card cover by cutting a square of green cardstock paper the same size as the front, and cut the edges with OLFA Ergonomic Rotary Cutter + Pinking Blade. This step is optional, but it will surely give some flair to the cover! Print design, cut to size, attach twine and leaves (cut previously) and attach everything already assembled to the cover.

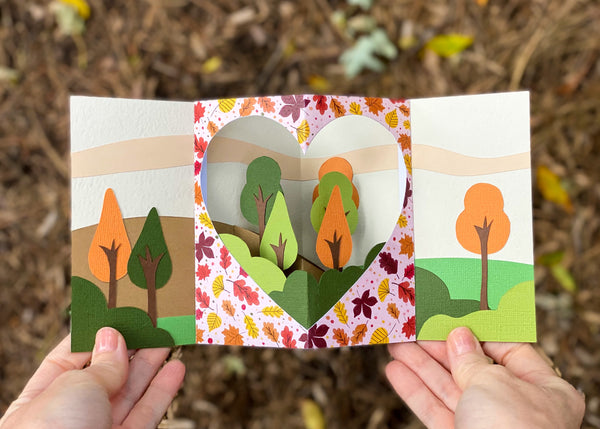
That’s it! Just add a square envelope to the project and your card is ready to be sent and bring happiness to someone this Thanksgiving!

Oh, and I totally recommend you to make one for yourself too, as this card, when open, can be beautifully displayed as a Fall décor in your home!

I hope you have lots of fun making this and don’t forget to tag me @marciabel and @OLFA_craft in your finished projects, I would love to see your creations.
Happy Crafting!
Marcia