PAPER 101 SERIES - Paper Village Advent Calendar Tutorial

Designer: Marcia Izabel Marchiori of Minois Handmade
Instagram: @marciabel
Skill Level: Beginner
----------------------

It is that time of the year again and it’s never too early to start thinking about holidays décor! Although there are plenty of ready to buy advent calendars available in the stores, there’s nothing more gratifying for us crafters than having something proudly handmade by us. Besides that, some other great advantages of making your own Advent Calendar are:
- You get to choose the colors and the content inside each house, and that’s why I love to make a different one every year, as they help me to set the correct vibe of my current holiday décor!
- It’s very therapeutic! When cutting all of the 24 houses, you will just have to focus on them, not much more to do or think about. I’ve listened to an entire audiobook while making them this year :-)
- You can adapt the size of the houses depending on where you are going to use your decoration. One idea is to make them bigger and hang the village on the stairs handrail, together with a green garland or making a table centerpiece.
- This project is SO cost effective, as all you need is paper, some sort of craft glue or adhesive tape and the right tools.

Tools and Supplies Needed:
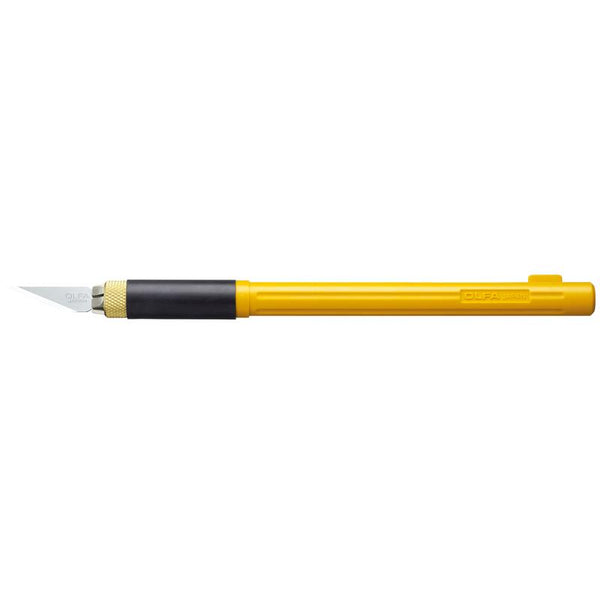
- OLFA AK-4 Cushion Grip Art Knife
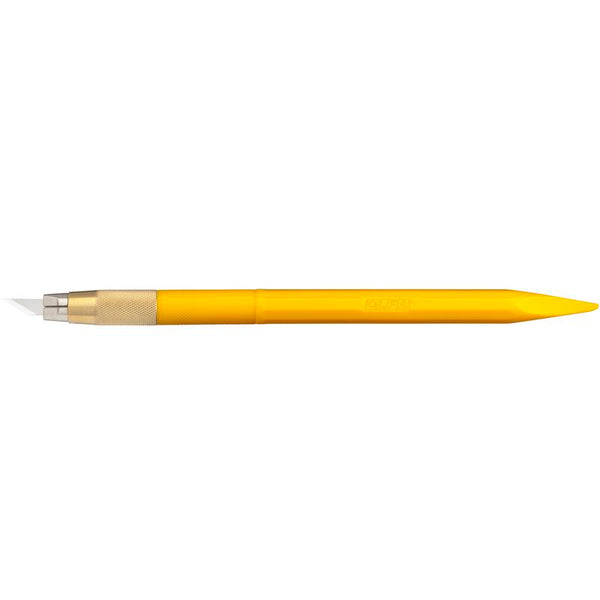
- OLFA AK-5 Designer Graphic Art Knife With 30 Replacement Blades (for scoring/folding)
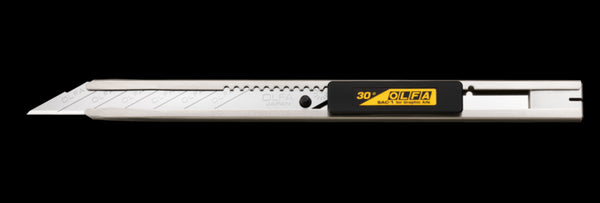
- OLFA 9mm SAC-1 Stainless-Steel Graphics Knife With 30-Degree Precision Blade
- OLFA 45mm RTY-2/DX Ergonomic Rotary Cutter (Optional)
- OLFA SCB45-1 Stainless Steel Scallop Blade, 1pk (Optional)
- OLFA QR-1x12 1" X 12" Frosted Acrylic Ruler
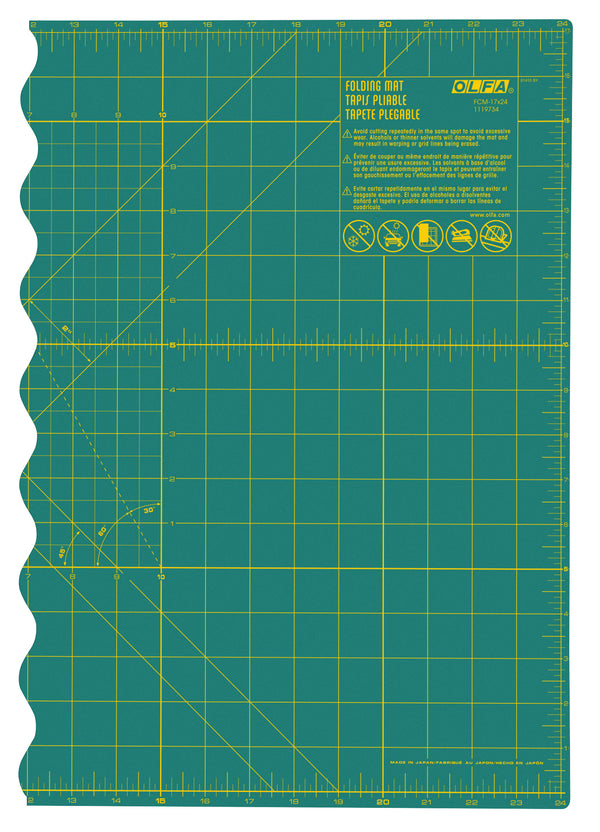
- OLFA FCM-17x24 17" X 24" Folding Cutting Mat or OLFA TCM-L 24" X 36" 3mm Translucent Double-Sided, Self-Healing Cutting Mat
- Craft glue or double sided adhesive tape (1/8”and 1/4”)
- Translucent paper, such as vellum, tracing paper, glassine or even the ones you use for baking, such as parchment or waxed paper (I’ve used the last one this time)
- 8 1/2 x 11” (letter size) 100lb (or higher, but suitable for printing) white card stock
- 8 1/2 x 11” (letter size) 100lb (or higher, but suitable for printing) red card stock
- 8 1/2 x 11” (letter size) kraft paper, suitable for printing.
NOTE: These are just suggested colors, you certainly can use whatever you have in hand or the colors of your preference!
TEMPLATES TO DOWNLOAD WHITE CARDSTOCK
TEMPLATES TO DOWNLOAD KRAFT PAPER
TEMPLATES TO DOWNLOAD RED CARDSTOCK
Instructions:
- Print templates to scale.
NOTES: Please note that each PDF is divided by paper color. When there is no roof template to cut, consider the instructions to build the roof with scalloped layers (see instruction 8).

- Gather all tools and materials.
- Using the patterns, cut out all the paper pieces, according to templates and chosen colors. I used the OLFA SAC-1 to cut all the straight edges and the OLFA Art knife for the doors and windows (any of the types mentioned above works, but my favorite for this step is the AK-4).


After this step, and before starting to attach the translucent paper to the windows and doors, it is very important to fold all pieces (according to templates, all the dotted lines), using the tapered base of the handle of OLFA AK-5 Designer Graphic Art Knife for an accurate scoring, towards the back side.

- Cut scraps of the translucent paper, according to each door/window size (it doesn’t have to be precise, just leave a margin for the adhesive). Using double sided adhesive tape or glue, start attaching the scraps to the back of each house. Be sure to get all of the windows and doors, as it helps mute the light (if using a LED tea light inside) or hide the gift inside.

- Apply glue or double sided adhesive tape (I use the last one) to all tabs (excluding the bottom), and start assembling each house. Start by adhering the two ends of the house together in order to keep things straight and square and then apply glue or peel the tape from the top to attach the roof.

- After structured, apply the roof (already cut and scored in the middle) to the house.
- To add visual variety to the roofs, and according to the templates, cut some of the their edges with OLFA Ergonomic Rotary Cutter + Scallop Blade, if desired.


- For some of the roofs, make some 3/4” stripes of paper cutting one of their edges with OLFA Ergonomic Rotary Cutter + Scallop Blade, and juxtapose one on top of the other, creating layers. Glue each side to the house and finish with a scrap of folded paper matching the roof color, as pictured below:


- Assemble the village at the desired location, use a garland or some fresh greenery from the garden, add some string lights and/or LED tea lights to decorate and voilà!

I hope you have lots of fun making this and don’t forget to tag me @marciabel and @OLFA_craft in your finished projects, I would love to see your creations.
Happy Holidays!
Marcia

