PAPER 101 SERIES - How I Plan Projects

Designer: Marcia Izabel Marchiori of Minois Handmade
Instagram: @marciabel
----------------------
To us makers, a new project is always incredibly fascinating! Yet, as in almost all creative processes, paper crafts require at least a few basic steps of planning for a successful result!

Today I’m going to show you how I plan my creations from scratch, step-by-step, and nothing better than talking about it while demonstrating with a real example! ;-)
The very first thing to do is to define the theme or concept of your craft. As an example in this post, I’ve picked one for the Holidays, which is approaching so fast, right? And it’s been a while since I wanted to create some seasonal decoration for my windows, so I thought of making some oversized handmade paper snowflakes! This will be the final result:

After choosing a subject, I start by doing some research and a digital inspiration board. My two favorite apps are Pinterest, where I create a board specially for it, and Instagram, with the saved folders option. I always start by creating these two boards, working on some sort of creative brainstorm with all the visual references and all the useful technical details I can find.

With that, you’ll also need to know the main purpose for your craft. I know that it seems obvious, but there a few things you should take in consideration when working on this step:
- Does it have to be functional or merely decorative?
When functional, we will have to ask ourselves important details like: does it have to be food grade paper? Does it stay in contact with water and needs to be made out of a waterproof medium? Do I need to consider the paper thickness for the durability of this project? If so, how durable do I want it to be? And so on…
If it’s a decoration, where it can be displayed? Does it need a string, frame, base or mounting? If so, we have to consider margins for the paper sheets and the technical specifications of these parts. If it’s seasonal, and I want to keep it for another year, how do I storage it?
In my example, it’s for decoration purposes only, but my intention is to keep it for later, so I’ve looked for better quality paper bags and had to think about storage when gluing the final pieces!

- Supplies and Color Choices:
Before buying the supplies, you’ll need to assess your budget, where your craft will be displayed/stored and which colors would work best. In this case I’ve decided to go with neutral colors for two reasons: first, because it’d be very versatile no matter which décor I choose for the next couple of years and, second, white and brown are the easiest kinds of paper bags to find (although I’m really tempted to try a rainbow palette 🌈 someday!)

- Considering the Tools to use:
As I’ve mentioned before in this series, paper crafting doesn’t require much: a variety of paper is widely available and you won’t need many tools, BUT that’s the reason why it is essential to have good ones, and choosing the good quality & correct tools will also decrease the amount of effort required to get the project done right without causing damage to the surface being worked on! For this project, it was essential for me to have great pairs of scissors, otherwise it’d be impossible to cut well so many layers of paper.
These were the tools I used for these snowflakes:
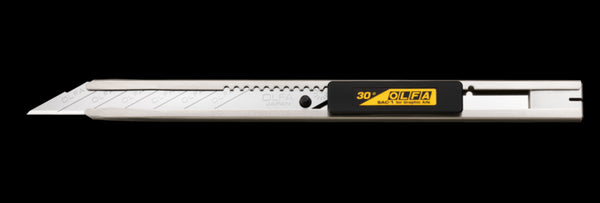
- OLFA 9mm SAC-1 Stainless-Steel Graphics Knife With 30-Degree Precision Blade
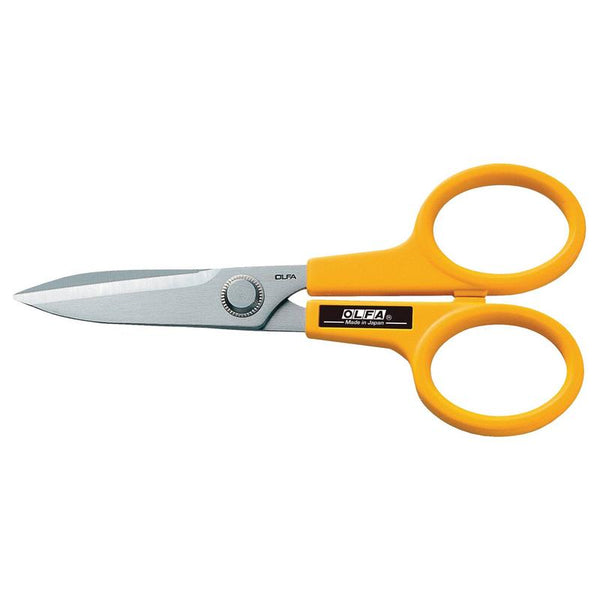
- OLFA 7-Inch SCS-2 Serrated-Edge Stainless Steel Scissors
- OLFA 5-Inch SCS-4 Precision Appliqué Scissors
- OLFA QR-1x12 1" X 12" Frosted Acrylic Ruler
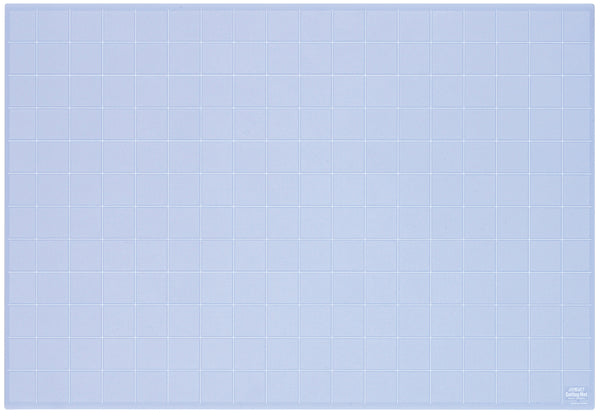
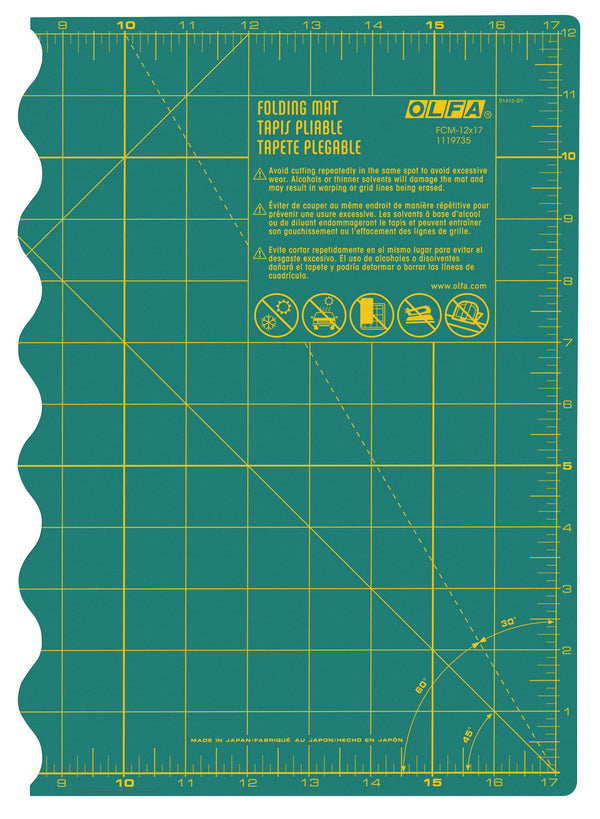
- OLFA TCM-L 24" X 36" 3mm Translucent Double-Sided, Self-Healing Cutting Mat (alternative: OLFA FCM-12x17 12" X 17" Folding Cutting Mat)

- Time Management
It’s very important to consider the amount of time needed to create & make each project versus your deadline (if it’s for an occasion, birthday, as a commission, etc.).
Years ago I remember creating the cutest invitation for the first birthday of a client’s baby, and presented her a prototype of a hand sewn invite, and this was the detail she loved the most! But just after being approved and starting making them I realized how long it took to pinpoint puncture the paper and hand sew each one of them (think about a 100 of them!), and how little time I had for it! After some sleepless nights, I’ve learned my lesson and now I don’t consider only the aesthetics of the design, but the time management too!
Another tip is to separate your seasonal projects into groups for each month of the year, considering that, when a project is made from scratch, you’ll need to plan one to two months in advance. And, if you are a business, think as early as summer for the Holidays products!
Another good example is deciding when to cut some important steps, like instead of handwriting each tag for a celebration event, you can beautifully hand write once (giving your personal touch) and making digital reproductions for larger quantities, as I did for this project:

With all this information in mind, start designing your project! For this step you have some choices:
- You can create your own: by hand, and I generally sketch my designs with pencil and tracing paper, or a digital version to print later (I generally use Adobe Fresco and Illustrator). In my snowflake example, I’ve freehanded the patterns directly on the paper bags, with some tips I found on the internet. Think about everything that is relevant: which fabric or medium, sizes, colors/types of paper, thread, etc.
- You can buy PDF patterns/kits on the internet! And two great places to browse options are Instagram (the designers almost always have links to their online stores) and Etsy.
- Another alternative is to get free patterns to use on your creations: there are tons of them available too, generally for personal use only.
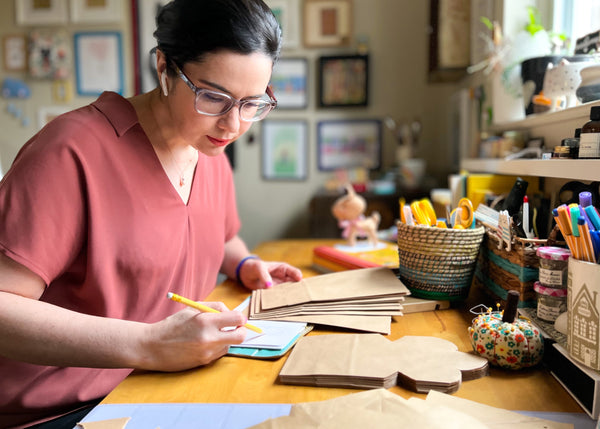
After the project is ready, gather tools and all of the materials needed beforehand (this step is very important as well) and start crafting! 🥰
TIP: If it is a new or original project, and while making it for the first time, use a notebook to take notes of all the changes needed along the way, measurements, adjustments and possible alternative options for next time you use it again! Break the project into a to-do list with small steps and enjoy ticking off those boxes ;-)

I hope you liked these ideas and don’t forget to take pictures when you finish your next project (and if you publish please tag us so we can see it, with @olfa_craft and @marciabel)!
Happy crafting!
Marcia