PAPER 101 SERIES - Easy Bookmark Tutorial

Designer: Marcia Izabel Marchiori of Minois Handmade
Instagram: @marciabel
------------------------
Hello again and, first of all, happy new year!
I don’t know about you, but I am part of the team who loves to make all kinds of resolutions in January, including classics like "reading more". And I’m always chasing my bookmarks around the house, as I don’t like to use a simple scrap of paper to do the job (just because it wouldn’t bring me the joy I need when opening my book), but they frequently get lost inside previously read books, so I almost never have one in hand!
In order to quick fix that kind of issue, today I’m going to teach you how to make a very easy paper bookmark that I love! I’ve first learned about it from a dear friend in my calligraphy class and, since then, I’ve made so many for myself and to give to friends & family! It’s a great way to complement a gift package as a card (you can write down a special message on its back!) for that book you are going to give to your loved one.

Tools & Supplies Needed
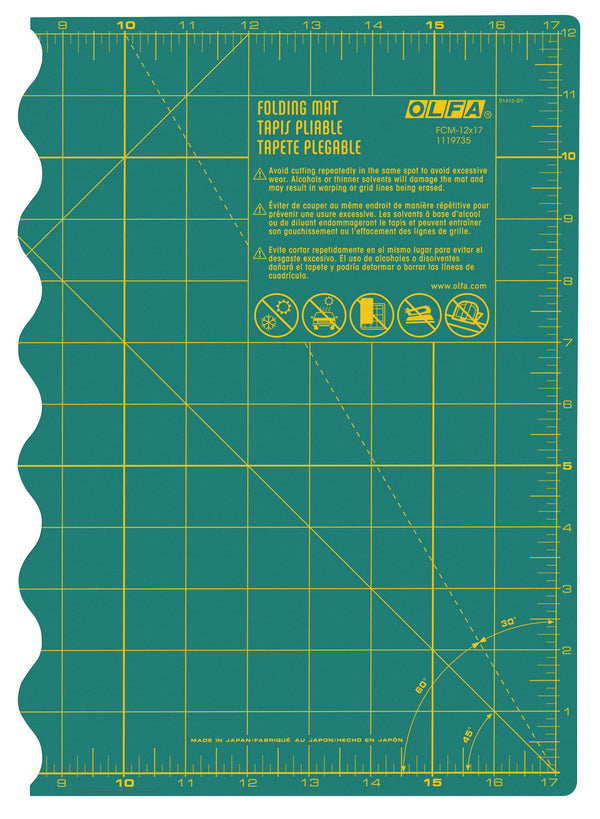
- OLFA FCM-12x17 12" X 17" Folding Cutting Mat
- OLFA QR-1x12 1" X 12" Frosted Acrylic Ruler
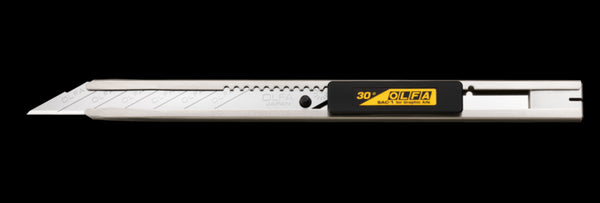
- OLFA 9mm SAC-1 Stainless-Steel Graphics Knife With 30-Degree Precision Blade
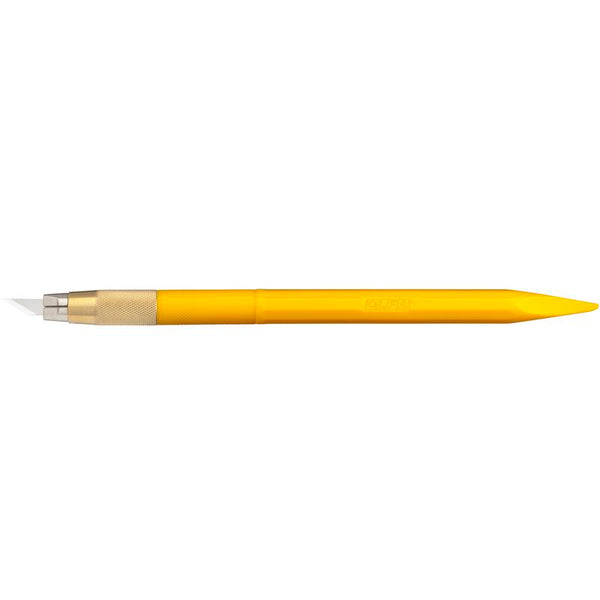
- OLFA AK-5 Designer Graphic Art Knife With 30 Replacement Blades
- Card stock (assorted colors and patterns), or any thicker paper scraps you have around;
- Glue or adhesive tape;
- Paper clips or washi tape (optional);
- Printed templates;
- OPTIONAL: ribbon and paper/felt scraps.
Print the template HERE.

Instructions
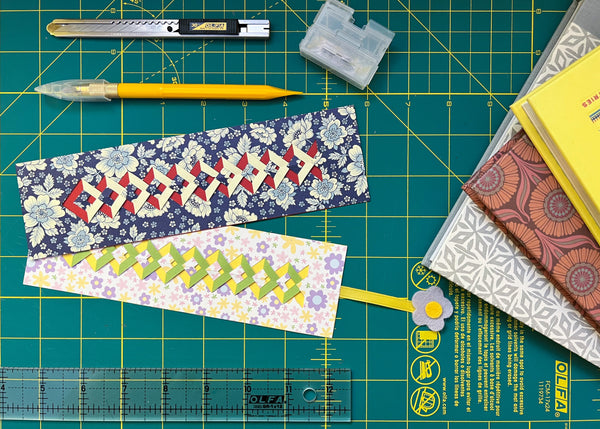
- Print the pattern. As I usually make a couple of them at a time, I’ve prepared three templates in the same sheet. Just cut loosely each one and follow the next step.
- Attach the pattern on top of the paper you chose for the top with paper clips or repositionable tape (such as washi tape). For the top it’s better to use a patterned paper and, if it has different color in both sides, the more visually interesting the bookmark will be. You can also transfer the pattern to the paper with a pencil, personally I prefer the first method as I don’t have to erase anything later, but both work just fine.

- Fold the template and card stock together in half, following the folding guide, and start cutting the details (the “V” shaped lines) using the OLFA AK-5 with the mat and ruler, aiming for clean and precise cuts according to the template. For the edges I like to use OLFA SAC-1.


- Make the folds according to the pictures below.


- Adhere the front to the card stock you’ll use as the background with glue or adhesive tape.
TIP: As an option, you can use ribbon and felt or paper scraps to make a hanging accent!

And that’s it, it’s that simple and yet, it looks so impressive, right?

I hope you have lots of fun making this and don’t forget to tag me @marciabel and @OLFA_craft in your finished projects, we would love to see your bookmarks!
Have a fun & creative year!
Marcia