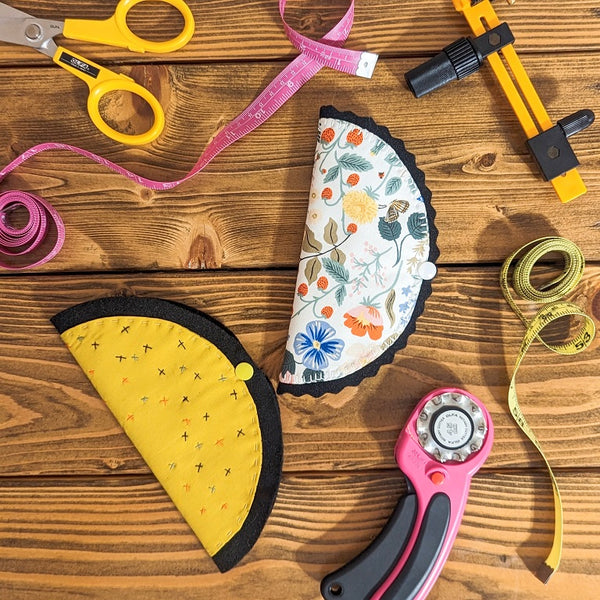
Needle Keeper

Designer:Daisi Toegel
Instagram: @daisitoegel
Website: www.flowersew.com
Shop: www.etsy.com/shop/daisiflowersew
Size: 8in diameter
Skill level: Confident Beginner
-------------------------------------------------

We all have too many needles, and if you enjoy different crafts, you definitely have an assortment of needles for different types of projects. Today you’ll learn how to make a simple but very handy needle keeper with sheets to organize your needles.
Let’s get started.
Tools Needed:
- OLFA RM-SG 18" X 24" Green Double-Sided, Self-Healing Rotary Mat
- OLFA RTY-2DX/MAG 45mm Ergonomic Rotary Cutter
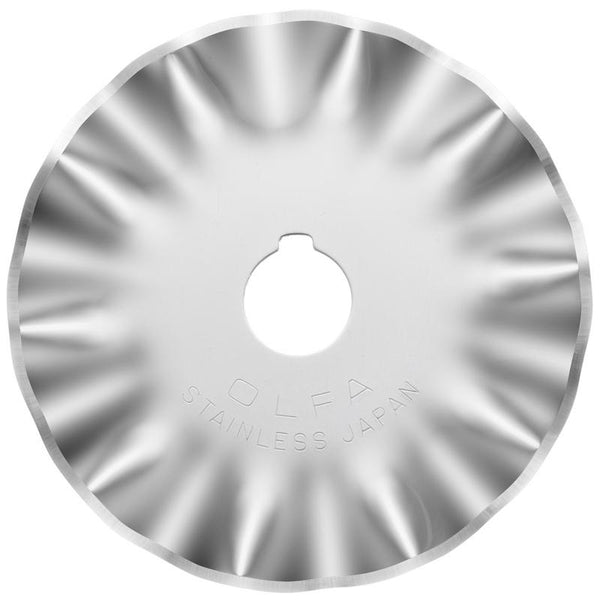
- OLFA WAB45-1 Stainless Steel Wave Blade, 1pk
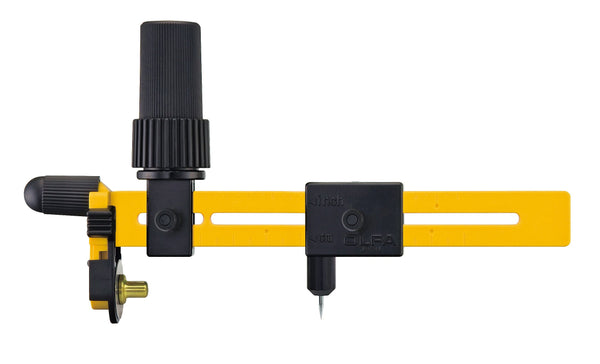
- OLFA CMP-3 Rotary Circle Cutter
Fabric Requirements:
- (2) 6in circles of batting or felt
- (2) 7 1/2in circles of fabric (one of the circles won’t show, so you can use a neutral fabric if preferred)
- (1) 8in circle of felt
- (1) set of snap buttons

Cut out all circles using the Rotary Circle Cutter. To learn how to use this tool check out this video.

First, sew the fabric circles. With right sides together, sew along the edges using 1/4in seam allowance. Do not leave any opening.

Trim the edges of the circle using the wave blade, this way when we turn this unit right side out the edges will be flat. You can also make small cuts along the edge instead, if you prefer.
Pull the fabric that will be your backing fabric (that will be hidden), cut a small X just on this fabric, be careful for not cutting the main fabric (front). Turn the project right side out through this hole.
Press the circle and the small X opening as closed as you can.

Sew the fabric circle on the felt. Secure it with pins and use any stitch you prefer. I used blanket stitch and white thread, so it’s visible on the other side. You can also sew it by hand if you prefer.

For a fun finish, I used the wave blade to trim around the felt circle, this is totally optional.

Centralize the inner circles on the inner side of the main felt circle. You can use batting or felt to make these sheets. Sew a straight line down the center. Make sure to check the orientation of the main fabric before you sew the sheets so when the needle keeper is closed (opens from right to left), it shows the print you planned to be showing. If you’re not using directional fabrics this won’t matter.

Install the snap buttons on the center edge of the felt. If the felt you’re using is too thin, I recommend adding a small circle of felt under each snap button to thicken the surface.

Insert your needles, and it’s done!!!

There’s a few suggestions I want to point out on how to make your needle keeper unique:
- You can play with the colors of the sheets, if you’re using felt.
- You can leave the main felt circle uncut for a flat round edge.
- You can use a solid fabric and hand quilt or embroider it.

I hope you enjoy making these!!! They’re an awesome add to your sewing space and to gift to your sewing friends!

Created by Daisi Toegel