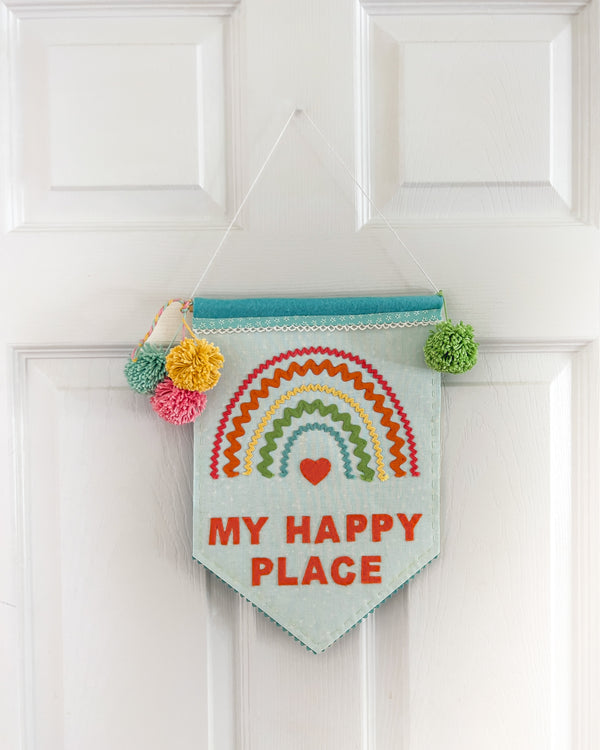
"My Happy Place" Nursery Wall Art

Designer: Marcia Izabel Marchiori
YouTube: MarciaBel Vlog
Instagram: @marciabel
--------------------------------------
While handmade hanging wall art can work in any room of your home, it's especially charming in a nursery.
Adding a touch of rainbow-themed decor to a baby's room can create a cheerful and playful atmosphere that's perfect for a little one. This handmade banner can be a lovely addition to the space, and can be customized to match the colors of the room.
In this tutorial, you’ll be able to create a handmade artwork that's both adorable and unique. Whether you're decorating a nursery or simply looking to add some color and charm to your home, this is sure to inspire your creativity.
So let’s make a colorful one!
Tools & Supplies Needed:
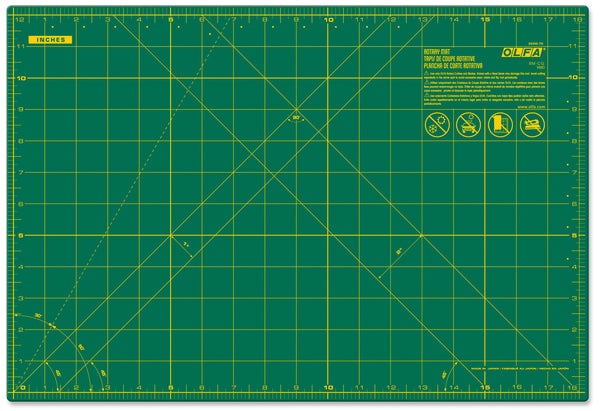
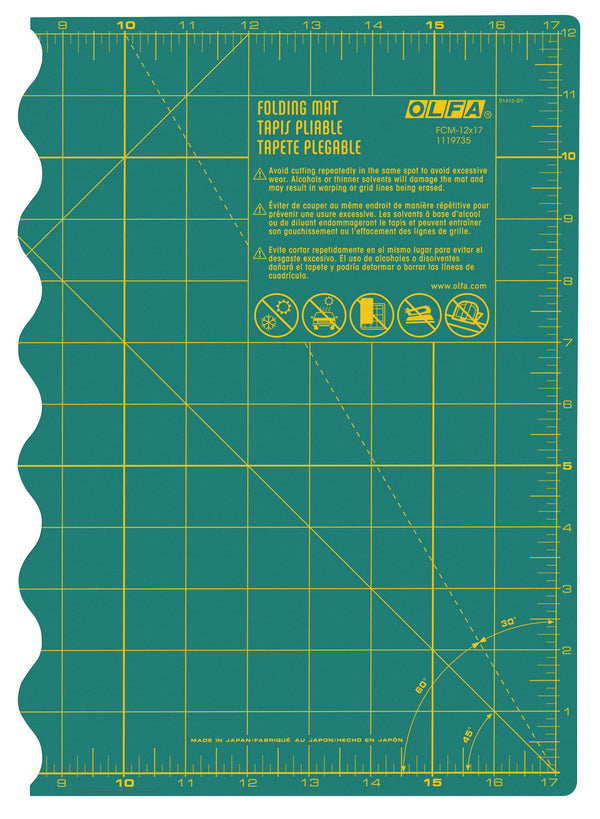
- OLFA RM-CG 12" X 18" Green Double-Sided, Self-Healing Rotary Mat (used with rotary cutter) and FCM-12x17 12" X 17" Folding Cutting Mat (used with Ak-4 knife)
- OLFA QR-1x12 1" X 12" Frosted Acrylic Ruler
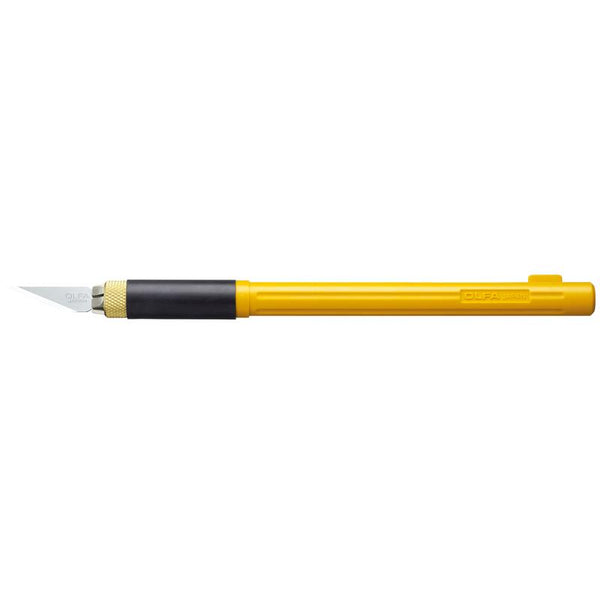
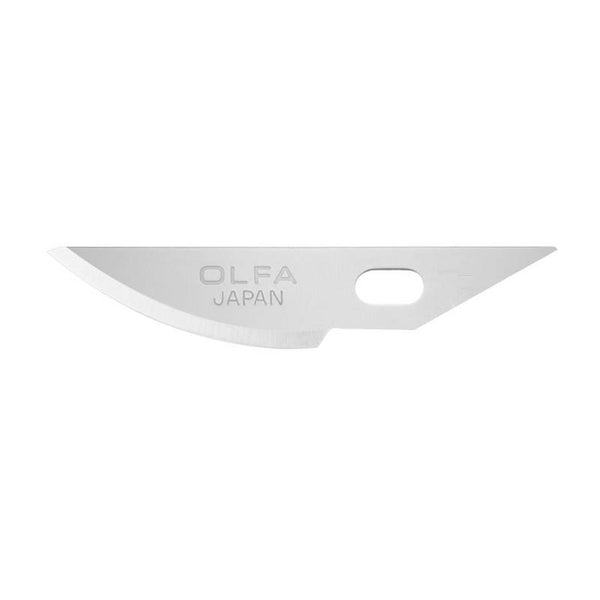
- OLFA AK-4 Cushion Grip Art Knife, paired with OLFA KB4-R/5 Curved Carving Art Blade, 5pk
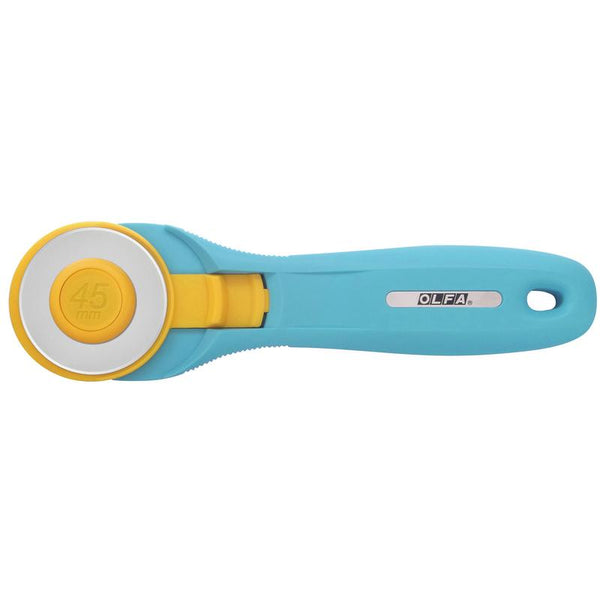
- OLFA RTY-2C-RED Quick-Change 45mm Red Rotary Cutter Bee in my Bonet by Lori Holt
- OLFA 5-Inch SCS-4 Precision Appliqué Scissors
- Thermo O Web HeatnBond Lite Iron-On Adhesive (about 4” x 9”)
- One (about 4” x 9”) piece of orange felt
- Two (10x14”) pieces of light blue wool blend or acrylic felt
- 10x14” Thermo O Web HeatnBond Fusible Fleece
- 10x14” light blue fabric - Riley Blake Designs Blossoms by Christopher Thompson 100% cotton - Bleached Denim (C715-BLEACHEDDENIM)
- Riley Blake Designs Bias Tape with Crochet Edge: Cottage Tiny Daisy ST-17317
- 9” bamboo straw or wooden dowel
- White hemp cord
- Fabric glue (used in this project: Therm O Web Heatnbond fabric fuse liquid adhesive)
- Pencil, eraser, erasable fabric pen (such as Pilot FriXion), measuring tape, pins (used: Riley Blake Designs Pretty Pins)
- Print Template, Here!
- Optional: embroidery floss (same colors as felt) and embroidery needles, pompom maker
Ric Rac List, from Riley Blake Designs:
- Ric Rac Vintage Trim Cottage 1/4” STVT-14761
- Ric Rac Vintage Trim Riley Green 3/8” STVT-8535
- Ric Rac Vintage Trim Beehive 1/4” STVT-8545
- Ric Rac Vintage Trim Pumpkin 3/8” STVT-14768
- Ric Rac Vintage Trim Jazzberry Jam 1/4” STVT-14773
Handmade Pompoms - 100% Cotton Chunky Thread by Lori Holt of Bee in my Bonnet, from Riley Blake Designs in the following colors:
- Aqua STCT-8522
- Peony STCT-8524
- Beehive STCT-8520
- Spring Green STCT-2669
Instructions
- Gather all tools and materials. Print templates to scale.
- The first step is to assemble the banner front fabric with one of the blue felt sheets. This way you will have a well-structured front piece: place interface sheet on top of blue felt (paper liner should face up), Then, place and hold iron on the paper liner for 2 seconds. Repeat until entire surface is bonded. Allow to cool, then peel off paper liner and place fabric (right side up) on top of it. Press and hold iron for around 6 seconds on each section until entire piece is bonded.
- Cut these assembled layers to size using the first template (“Parts 1/2”), with OLFA rotary mat, ruler and rotary cutter.
In this step, you can already cut the second sheet of blue felt to size as well (using assembled template "Parts 3/4")
- Using a light source (tracing light box or even the light from a window would do it) and an erasable fabric pen, position template under the assembled banner front, then roughly trace the rainbow lines, heart and letters to place on the fabric side.
- Cut fusible fleece according to the banner template (red lines in the template).
- Now it’s time to cut the letters and heart out of the orange felt. For this step, I prefer to use a piece of interface bonded to the back of felt, as felt is a very delicate material and small pieces tend to shred. After bonded, use the template directly or, with a pencil or pen, draw on the interface paper side the letters mirrored. Then, with the AK-4 knife and curved blade, cut out each mirrored letter and heart (free hand for the curved parts and with the help of a ruler for the straight lines).
This is what we have made so far:
- Using a permanent fabric glue, start to adhere ric rac to rainbow lines, felt letters and heart to the banner front.
- Optional: When ironing the banner, the felt letters will be well secured in place because of the interface layer. But as an extra step, I like to finish these letters embroidering them to the fabric. It’s not essential, but it looks beautiful and well finished with this detail:
The final result will look like this:
- Using the fabric glue, attach a piece of Ric Rac (RBD Vintage Trim Cottage) on the back of front banner, adhering it on the entire edge of the “V" shaped part, like this:
- Stitch all layers of the banner (blue felt back, fleece and banner front) together with running stitches (two-strand light blue floss, matching fabric/felt color). TIP: for a straighter seam, draw a line with the erasable fabric pen all over the edges before stitching the banner layers together.
- Lay the bamboo straw (or wooden dowel) about 1” below the top edge (back), run a line of fabric glue, not touching the dowel. Fold the top edge down and over it. Press the edge to the back of the banner to create a channel for the dowel to sit in.
- Place Riley Blake Designs Bias Tape with Crochet Edge on top of the edge, hold layers together with pins, then stitch all the layers with running stitches (two-strand light blue floss).
- Insert white cord inside the bamboo straw, and tie a knot, hiding it inside the straw (if you are using a wooden dowel, tie a knot on each side of it). Using a pompom maker, make four pompoms (matching the colors of the rainbow), then decorate both sides of dowel with them.
The cutest banner ever is ready to hang on the wall! :-)
I hope you have lots of fun making this and don’t forget to tag me @marciabel, @OLFA_craft and @rileyblakedesigns in your finished projects, we would love to see your colorful piece of art!
Marcia


