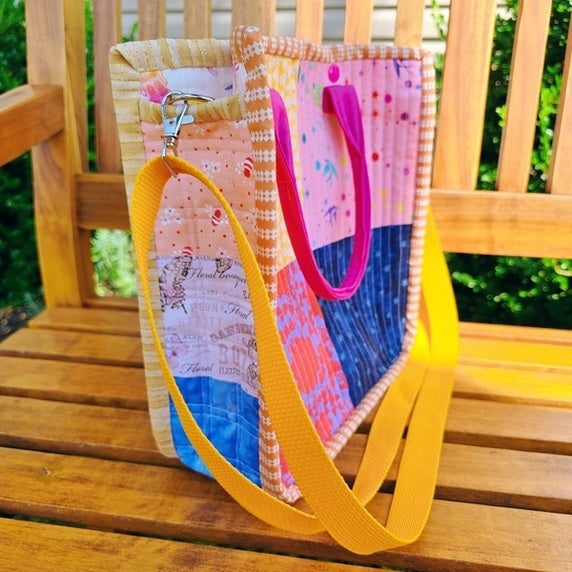
Mini Patchwork Tote Bag

Designer: Daisi Toegel
Website: www.flowersew.com
----------------------------------------------
Size or dimensions: 10 1/2in x 10 1/2in
Skill level: Intermediate-Advanced
Description: Tote bag is a popular item these days, but what about a mini tote bag as a cute accessory add to your look? In this tutorial we’ll make a patchwork scrappy mini tote bag that goes with everything!! Gather all your materials and let’s get started.

Tools needed:
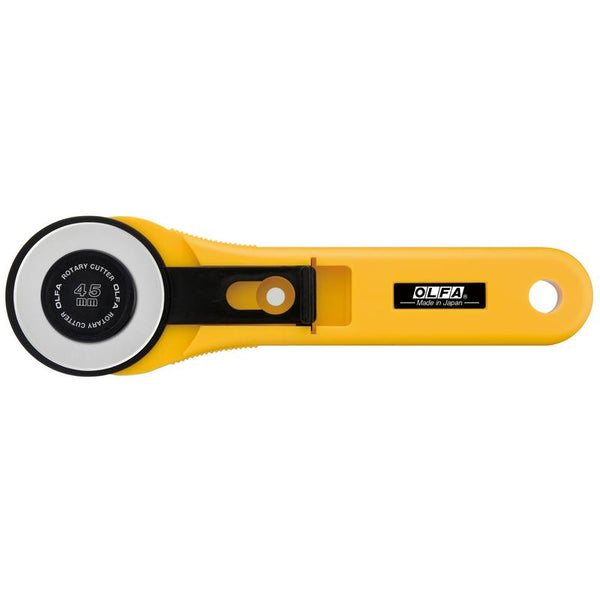
RTY-2/G Straight Handle Rotary Cutter
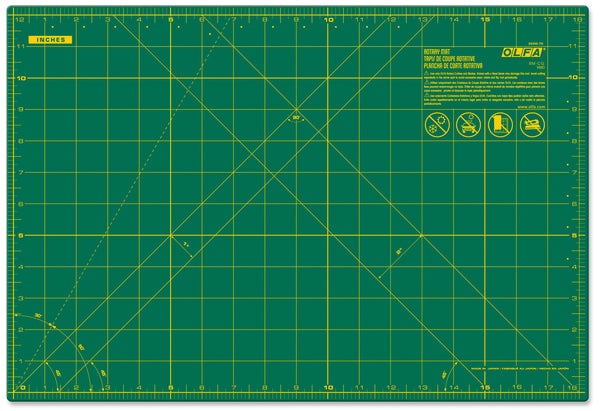
RM-CG-01 12" x 18" Green Double-Sided, Self-Healing Rotary Mat
RTY-2DX/MAG 45mm Ergonomic Rotary Cutter
QR-6x24 6" x 24" Frosted Acrylic Ruler
QR-6S 6 1/2" Square Frosted Acrylic Ruler

Fabric requirements:
From fabric scraps (or piece together to reach the required piece sizes) cut,
*(8) 5 ½” squares (front and back of the 4-patch patchwork)
*(2) 10 ½” squares (front and back lining)
*(9) 3 ½” squares (side/bottom strip patchwork)
*(1) 28” x 3 ½” rectangle strip (side/bottom lining)
*(2) 4” squares (strap tabs, if made with fabric)
*(2) 16” x 4” (short handles)
*(1) 60” x 4” (long strap)
*(2) 3 ½” x 2 ½” (side strip short edges binding)
*(1) 80” x 2 ½” approx. binding length (overall binding)
From batting (or the stabilizer of your preference) cut,
*(2) 10 ½” squares (front and back parts)
*(1) 28” x 3 ½” rectangle strip (side/bottom part)
*(2) 1” x 2” rectangles (handle tabs, if made with fabric)
*(2) 1” x 15” strips (short handle, if made with fabric)
*(1) 1” x 58” strip (long strap, if made with fabric)
If using webbing instead of batting and fabric for tabs, short handle and long strap, cut:
*(2) 1” x 2” webbing (handle tabs)
*(2) 1” x 16” (short handles)
*(1) 1” x 60” (long strap)
Hardware:
(2) 1” lobster clasps
(2) 1” D rings
(1) 1” webbing slider
***follow this Youtube video tutorial to install the strap adjuster (webbing slider) by Gabrielle Clarke:
1) Prepare the short handles and long strap:
If made with fabric, the short handle and long strap are prepared and sewn in the same manner. For the long strap, keep it flat. Follow the video link above to install and sew the strap adjuster hardware piece.
If making the short handle and long strap using webbing, read through the fabric version instructions to decide if you’ll keep the short handle flat as well, or sew it in half lengthwise.
If making the short handle with fabric, follow steps 1 through 4 on the photo below. Press the (2) 16” x 4” fabric rectangles flat (1), then press in half lengthwise, open and insert the 1” x 15” batting pieces (2). Press the long edges towards the center, one side will overlap the batting (3), finally join both long edges together and secure it closed with clips or pins (4).
Sew each handle strip on both long sides.

On each handle strip, mark a line 3 ½” far from each short edge using a heat erasable pen or hera marker.

Fold the handle strip in half lengthwise and secure with clips. Sew backstitching at the beginning and end along the space INSIDE the 3 ½” marks.

Set aside all the handle and strap pieces as shown below.
(If you prefer to wait and sew the long strap at the end so you have how to adjust the length to your body height, I’d recommend it).
The D rings go with the tab pieces, the lobster clasps go with the long strap at the end of each side of the prepared strap, and the adjusters goes on the long strap as in the video link above.
No hardware is attached to the short handle pieces.

2) Prepare the body:
Each side of the body is made of a 4-patch block.
Sew (2) 4-patch blocks and press seams open. Baste and quilt using the design of your preference. The finished quilted parts should measure 10 ½” square.

For the side/bottom strip, sew a long patchwork strip of (9) 3 ½” squares side by side. Baste and quilt using the design of your preference. The finished quilted strip should measure 27 ½” x 3 ½” long.
Sew the side strip top edges binding on the MAIN side of each short edge (Fold each 2 ½” x 3 ½” rectangles on the shorter side just as you do for making binding and press). DO NOT fold back and topstitch the binding yet.

On the LINING side of the side/bottom quilted parts, mark the center of each short edge and sew the tab pieces on each side as shown below, using ¼” seam allowance.

Fold the binding sewn on the front towards the back, and topstitch it in place to finish. Repeat it on both short sides of the strip.

On each MAIN sides of the body pieces, mark on the TOP part from each corner 2 ½” length x 1 ½” height as shown in the photo below. Fold each end of the handle up towards the sewn edge by half inch. Sew the handle AFTER the mark. The smooth curved side of the handle should face out. Repeat the process for both sides of the handle, on both parts of the main body pieces.

Optionally, for making the process of sewing the side/bottom strip easier, use any circle to round the bottom corners of each of the main parts of the bag.

Mark the center of each of the main parts on the bottom and also the center of each long sides of the side/bottom bag strip. With lining sides touching, clip or pin the long strip to one of the main sides and sew backstitching at the beginning and end to secure, using ¼” seam allowance.

Repeat the previous process to sew the other side.
To make the process a bit easier, lay the bag with the previous sewn side facing up on the sewing machine, and sew.

After both sides are sewn, sew the binding on each side separately along the raw edges. I recommend hand sewing the binding to finish, but you can definitely topstitch on the sewing machine according to your preference.

***OPTIONAL: install 2 pairs of snap buttons aligned to the bag handles to close.

You’re all done!!! Congrats!


Created by Daisi Toegel
Website: www.flowersew.com