Mat Carrier Bag

Designer: Daisi Toegel
Instagram: @daisitoegel
Website: www.flowersew.com
------------------------------------------------------------

In this tutorial you’ll learn how to make a sturdy, perfect fitting mat carrier for your 18in x 12in cutting mat.
Gather all your materials and let’s get started.
Tools needed:
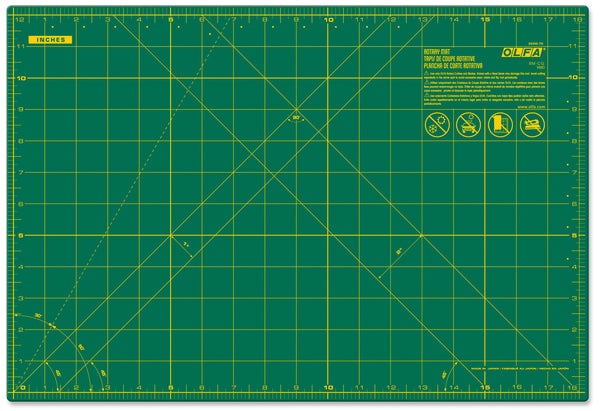
- OLFA RM-SG 18" X 24" Green Double-Sided, Self-Healing Rotary Mat
- OLFA RM-CG 12" X 18" Green Double-Sided, Self-Healing Rotary Mat
- OLFA RTY-2DX/MAG 45mm Ergonomic Rotary Cutter
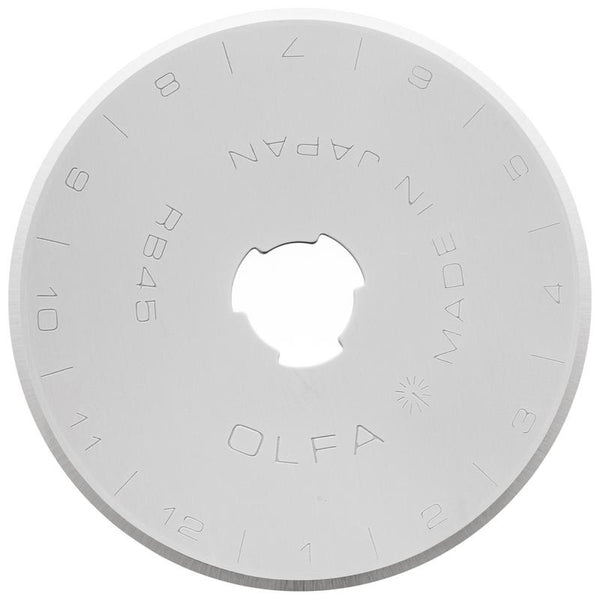
- OLFA 45mm Tungsten Steel Rotary Blade - 1, 2, 5, Or 10 Packs
- OLFA QR-6x24 6" X 24" Frosted Acrylic Ruler
The seam allowance is 1/4in otherwise noted.

Fabric requirements for the BODY:
- (2) 14in x 20in stabilizer – I am using ThermoWeb Non-woven Craft Sew-in FIRM
- (2) 14in x 20in lining fabric (1/2yd)
- (2) 14in x 20in main fabric (1/2yd)
- (2) 2 1/2in x 20in top binding
- (2) 3in x WOF strip from yardage for bag external binding - will need 50in of binding. (1/6yd)
Fabric requirements for the POCKET:
- (1) 10in x 15in stabilizer (same used for the body)
- (1) 10in x 15in lining fabric (1 FQ)
- (1) 10in x 15in main fabric (1 FQ)
- (1) 2 1/2in x 16in top binding
Fabric requirements for the HANDLES:
- (2) 20in x 1in strip of batting or nylon webbing strap
- (2) 3in x 22in fabric to enclose the batting or strap
1) Prepare the main body and pocket parts:
First, prepare all binding strips. Set them aside.
Make the quilt sandwich for the bag front and back (14in x 20in pieces) and quilt using your favorite method.
After quilting, bind each part on one of the long edge sides, if you’re using directional fabrics be cautious to bind the correct edge.

For the pocket piece, place the stabilizer with the main fabric facing up and lining facing down, so right sides are touching. Sew a U shape leaving the top open (also be cautious to place the fabric in the right direction if using directional prints). Clip the tips of the two bottom corners after sewing, before turning.

Turn the pocket piece right side out and bind the opening. When binding this piece, fold 1/4in of the binding on each side towards the back, so when you finish binding the edges will be enclosed as well.


Next, align the finished pocket piece on top of the main side of the bag body following the measurements on the photo below.

Sew a U shape to secure the pocket in place. Backstitch the top edges to ensure the seams will be secure for the extended use of the pocket.

2) Prepare the handles:
To make the handles, if you’re enclosing the strap or using batting, first fold the 3in x 22in pieces in half on the longer edges, press and open. Fold again each long edge 1/2in towards the center crease previously done. Insert the strap or batting 1in below the short edge.
Clip or pin the folded edges together to close the strap and sew along both sides using 1/8in seam allowance to finish. Repeat the process for the other handle.

Fold each end of the handle in, the raw edge will be hidden when attaching to the bag body, so there will be no raw edges showing .
To sew the handles on the front part, place each end of the handle 1/2in below the bag top binding, and 1/2in above the pocket binding, and 5in far from each side.
To sew the handles on the back part, place each end of the handle 1/2in below the bag top binding, and 5in far from each side.


Clip both sides of the bag together with lining fabrics touching, and sew all along the side edges and bottom using 1/8in seam allowance. This will help on the next step.
Bind the bag, make sure to fold 1/2in of the binding towards the back when you start in order to enclose the end tips, repeat this 1/2in folding part when finishing the binding so both sides are enclosed.


And you’re all done!!! The front pocket can be used to store your rulers, and you can also customize the inside and add pockets.

Created by Daisi Toegel