Making a Twist front T-Shirt

Designer: Marcia Spencer
Instagram: @keechiibstyle
--------------------------------------

Everyone loves a good t-shirt but what’s even better is a t-shirt with a little flare. Check out my tutorial below on how to make a t-shirt with a twist detail at the front. This is a comfortable everyday piece to wear with jeans, leggins and even skirts. Look stylish while you go for a jog, do yoga, run errands or just lounging.
I used Unfettered Patterns Free T-shirt pattern as the base pattern for my T-shirt.


Tool & Supplies needed:
Fabric 1 .5 yards
Clips/Pins
Clear elastic tape
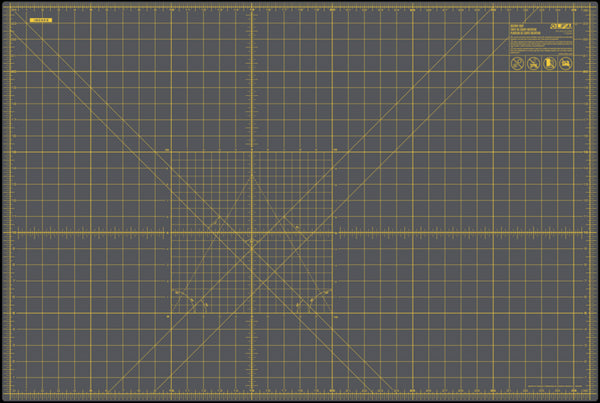
Olfa 24 X 36 Self Healing Rotary Mat
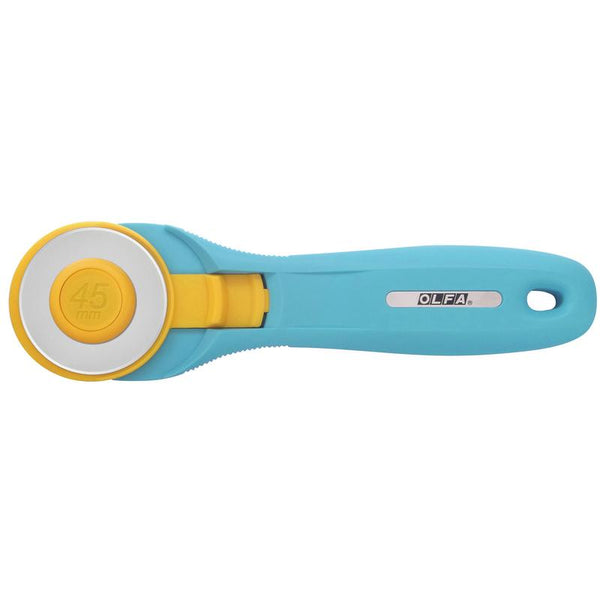
Olfa 45mm Quick Change Rotary Cutter
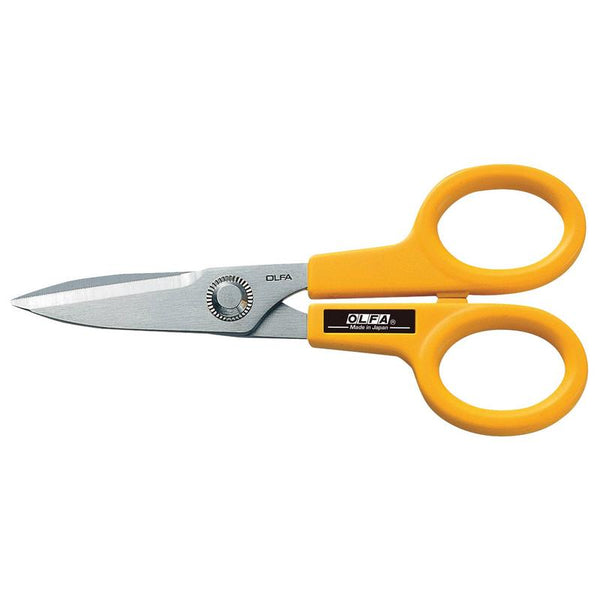
Olfa 5 Inch Serrated Edge Scissors
Olfa 1 x 12 Frosted Acrylic Ruler
Cutting & Prep
Cut all your fabric pieces to the pattern using your Olfa rotary cutter.
T-shirt Construction

- First, with right sides together pin front shoulders and back shoulders matching raw edges.


- Using your clear elastic tape, apply to the seam and stitch through tape and fabric securing the shoulder seam.

- With right sides together, fold neckband in half matching short raw edges.
- Pin to secure and stitch.

- Ironing the seams open.

- With the wrong sides together, fold the neckband in half lengthwise matching raw edges.

- Line up the raw edge of the neck band to the neckline raw edges, matching neckband seam to middle back of neckline and stretching to fit. Pin to secure.

- Stitch the neckband, finish the seam and press seam down.

- Open up shirt with right side up,lay shirt flat on Olfa mat. Find the middle of the shirt front and measure a vertical line about eight inches up the middle of the shirt and mark it.

- Then measure out horizontally from that middle mark four inches on both sides.

- Using your Olfa rotary cutter cut the middle line stopping at the eight inch mark.

- Then cut lines horizontally starting from the sides of the shirt stopping at the four inch mark.

- Bring bottom right side over, crossing the left bottom,


- Repeat this by bringing the left bottom under the right side bringing it back to the left, creating a twist.


- With right sides together, fold the left over the right matching the inner raw edge.

- Stitch.

- Turn bottom half up and over top half of front with right sides together. Pin and stitch the raw edges together and finish
- Press seams.


- With right sides together sew front to back at the sides. Finish.


- With right sides together, match raw edges and notches of the sleeve. Pin.Stitch.

- With right sides together, attach sleeves to the armhole matching raw edges and notches.

- Stitch.

- Finish all edges with either serger or zig zag stitch.
- Hem the sleeve and the bottom of the shirt by turning under ½ inch and stitching close to the hem edge.

- Press the hem and seams.

Voila! You’re done.
P.S If you enjoy cropped tops you can even roll the hem under for a cool cropped vibe!


