Make a Wrap Top with Me

Designer: Marcia Spencer
Instagram: @keechiibstyle
--------------------------------------

A classic wrap top never goes out of style and it's a great piece to have year round. Make a quick woven wrap top with me using Peppermint FREE Wrap top pattern
Tool & Supplies needed:

Woven Fabric- *yardage based on size, see pattern*
⅛ yard or scrap interfacing
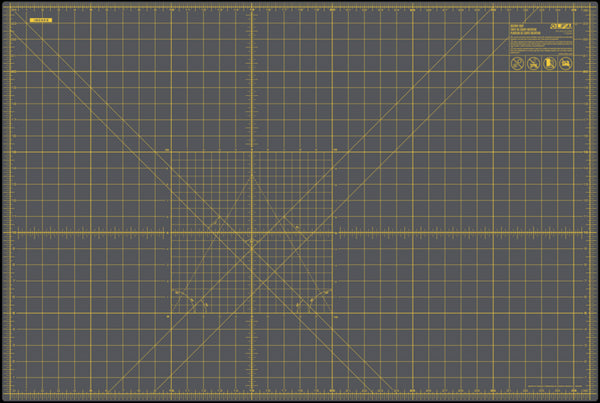
OLFA 24 X 36 Self Healing Rotary Mat
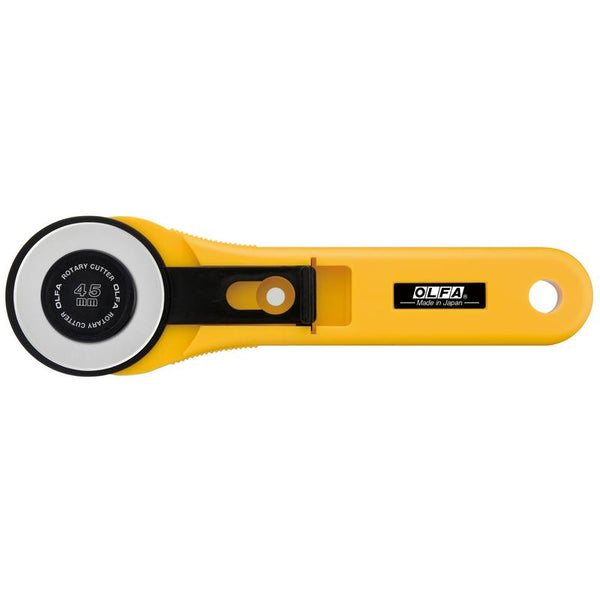
OLFA 45mm RTY-2/G Straight Handle Rotary Cutter (Limited Edition Blooming Garden)
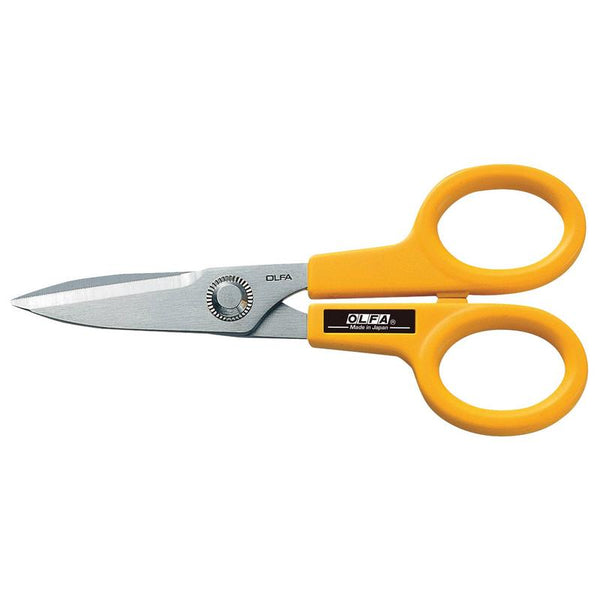
OLFA 5 Inch Serrated Edge Scissors
OLFA 5-Inch SCS-4 Precision Appliqué Scissors
Cutting & Prep

- First, print, assemble and cut out your FREE pattern.
- Cut all the pieces out for the pattern using your OLFA cutting tools.
- Make sure to transfer any dots, notches or markings from your pattern to your fabric, and cut out interfacing for your back neck facing.
Sewing Instructions

- Pin darts to front sections.
- Stitch and press darts down..


- To create a french seam, pin wrong sides together and pin short end of ties to bottom of front pieces.

- Stitch 1/8 inch seam allowance. Trim

- With right sides together, press seam and pin.
- Stitch seam encasing first seam using a ⅜ inch seam allowance.
- Repeat for other front section.

- Finish front bodice neckline with a rolled hem. Turn under edges ¼ inch. Pin.

- Turn under again ¼ inch. Pin.

- Stitch close to in side edge, all the way from the shoulder seam to end of tie.


- Create a rolled hem to the curved edge of your interfaced back facing.

- With right sides together, outside edges lined up and notches matching, pin front shoulder to back bodice shoulder.

- Stitch.

- Clip into back neck seam allowance that extends past the front neck shoulder seam. Clip right along the edge of the front neck shoulder seam to the stitching but not through the stitching.

- With right sides facing pin back neck facing to the back bodice neckline sandwiching front bodice seams in between.

- Stitch facing to the shoulder seams and the back neckline following seam stitching on the shoulder and pivoting at the clipped corners where shoulder seam and back neckline meet, using a ⅜ inch seam allowance.


- Trim neck seam allowance and understitch seam to back facing,

- With right sides together pin side seams of wrap top.
- Stitch right side seams stopping at the first dot and starting at the second dot and sewing to bottom edge. This should leave an opening for your tie.

- Press right seam open.

- Top stitch ¼ inch frontier opening and press.
- Pin and Stitch left side from top to bottom edge.

- Press.

- With right sides together, fold sleeve over matching raw edges and notches. Pin.

- Stitch.

- Apply ease stitching at the top of your sleeves from the front notch to the back notch.


- With right sides together ease the sleeve into the armwhole. Pin.

- Stitch.

- Hem the bottom of your garment using the same roll hem method used for the front neckline.


- Hem your sleeves with a 1” seam allowance.

Voila Your Done!


