Make a Vest with me!

Designer: Marcia Spencer
Instagram: @keechiibstyle
--------------------------------------
Vests are not new to the fashion scene but they have been trending lately and I've been wanting to create one for a while now. It's such a great piece to add to your wardrobe to spice up your look. For this tutorial I will be using New look Pattern 6914 View D to create a easy yet stylish vest to add to my wardrobe.
Materials and Tools Needed:
- Fabric 1 yard
- Interfacing 1 ¾ yard
- One ⅞” button
- One 1 ¼ buckle
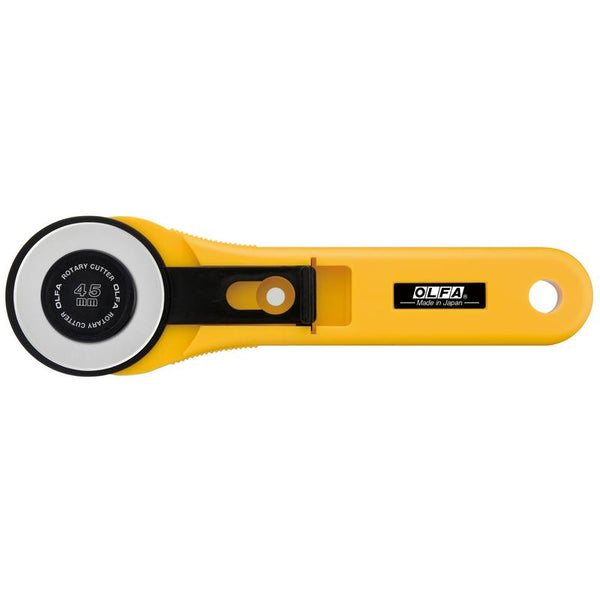
- OLFA 45mm RTY-2/G Straight Handle Rotary Cutter
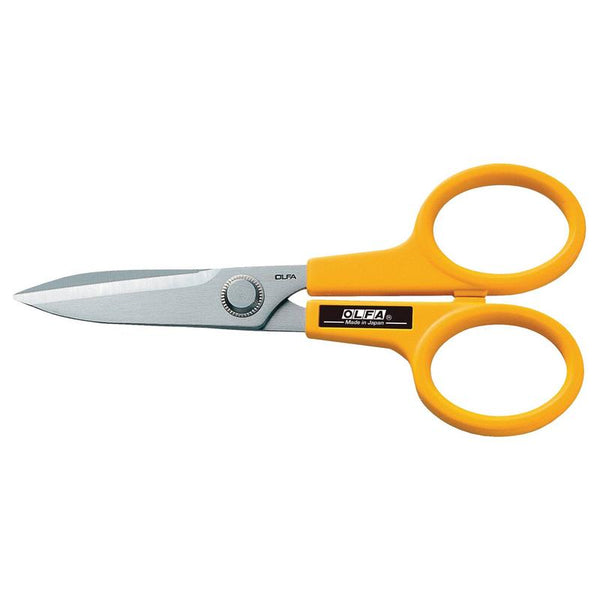
- OLFA 7-Inch SCS-2 Serrated-Edge Stainless Steel Scissors
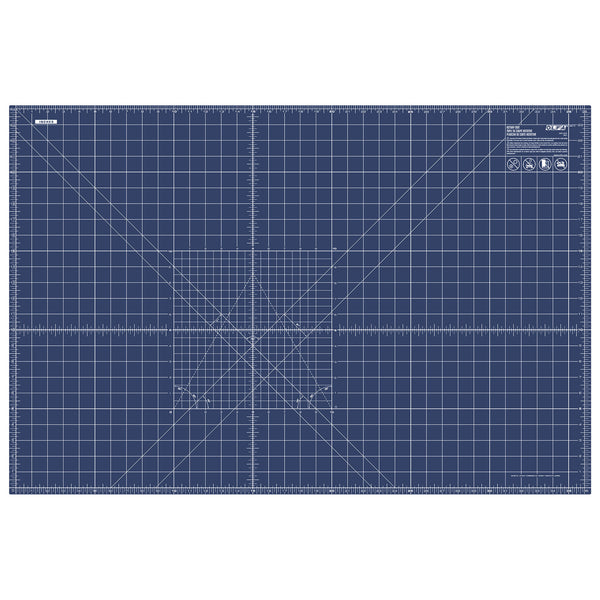
- OLFA RM-MG/NBL 24"X36 Double-Sided, Self-Healing Rotary Mat, Navy
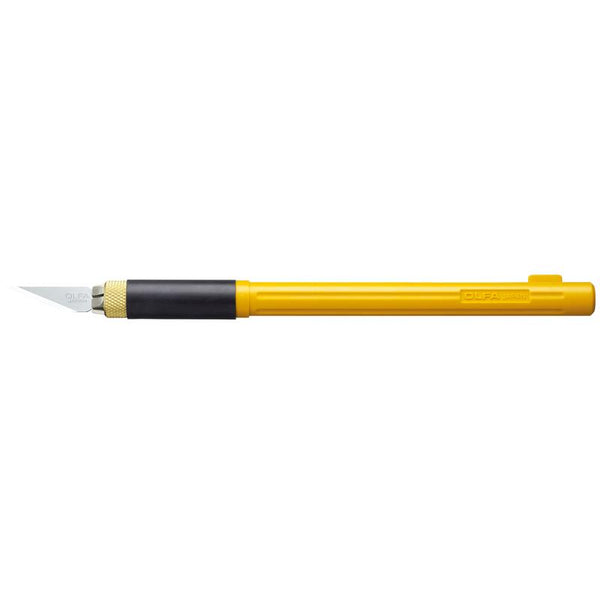
- OLFA AK-4 Cushion Grip Art Knife
*Cut all pieces needed for view D and Apply interfacing before sewing.
Sew A Vest
- Stay stitch the front & back neck edges.
- Ease stitch between the notches of the front sections.
- Right sides together pin front to side front matching the notches and pulling the ease stitches to fit.
- Stitch.
- Press seam towards center.
Mock Welt Pocket
- Right sides together, fold welt in half lengthwise matching dots.
- Stitch ends. Trim
- Turn welts right side out. Press
- Baste raw edge.
- On right side of vest, pin welt in place between dots & welt line.
- Stitch welt to vest along basting line. Trim raw edges of welt.
- Press welt up. Topstitch the ends to the vest.
Belt
- Right sides together fold belt in half lengthwise.
- Stitch ⅜ “ seam allowance around belt leaving end with dots open.
- Trim the belt seams.
- Turn right side out. Press.
- Topstitch belt close to finished edge.
- Feed finished end of belt through center of belt buckle leaving 1” of finished end on the underside of the buckle.
- Stitch finished end close to the edge to secure in place.
- On the right side of the back of vest, match raw edges of belts to the small and large dots with raw edges even.
- Stitch across the ends of the belts.
Continue Sewing Vest
- Right side together pin back to sides and shoulders ends matching notches. Pin. Stitch.
- Stitch lining together the same as main vest.
- Right sides together, pin lining to vest matching centers and shoulder seams.
- Stitch. Trim seams and clip curves.
- Understitch armhole edge of lining.
- Right sides together, pin the lining to the vest again matching notches and seams and raw edges even. Pin.
- Stitch the lining to the vest around the edges leaving the side seams open.Trim seams and corners.
- Turn vest right side out through side seams. Press seams and edges flat.
- Right side together and raw edges even, pin the sides of vest and the lining sides at the opening.
- Stitch the sides as far as you can go.
- Slip stitch the remaining lining opening.
- Repeat on other side.
- Topstitch the front neck, front edges and lower front edges only.
- Create your button hole on the right front of vest and sew your button on the left front of your vest.
Voila Your Done!


