Make a Tiered Skirt with Me

Designer: Marcia Spencer
Instagram: @keechiibstyle
--------------------------------------

Tiered skirts are beginner friendly projects that are comfortable, stylish and seem to never really go out of style. You can add ruffled tiers to just about any hem. For this project I am making a tiered skirt using Tiana’s Closet Kyra Mini Skirt pattern.
This is a mini skirt and I will be adding an extra tier to the hem for this project to created a two-tiered ruffled skirt.

Tool & Supplies needed:
2 3/4 yards or of woven fabric
½ yard interfacing
1-10 inch invisible zipper
Kyra Mini Skirt - Tiana’s closet FREE Pattern
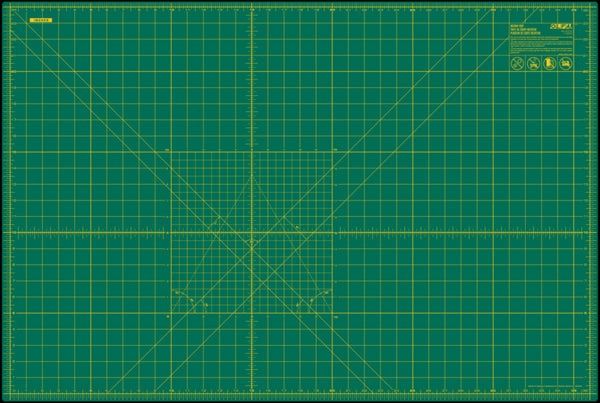
OLFA RM-MG-01 24" x 36" Green Double-Sided, Self-Healing Rotary Mat
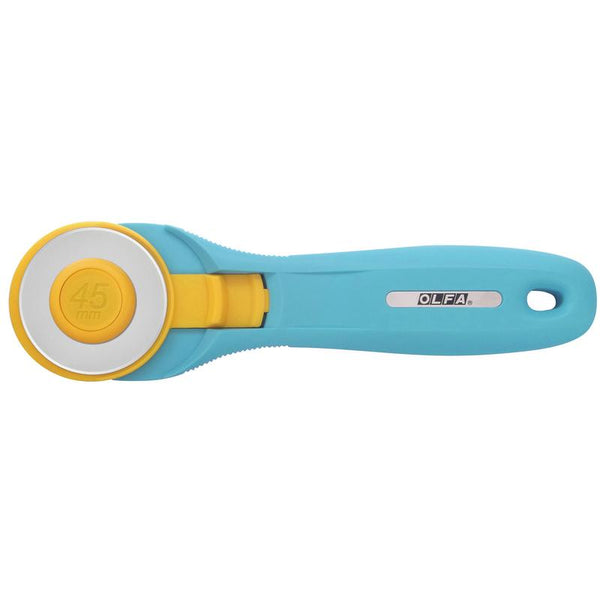
OLFA 45mm RTY-2/C Quick-Change Rotary Cutter, Aqua
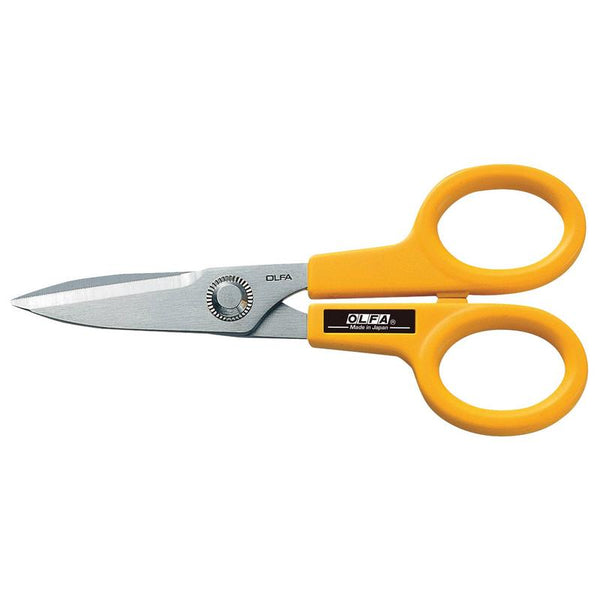
OLFA 5-Inch SCS-1 Serrated-Edge Stainless Steel Scissors
OLFA QR-6x24 6" x 24" Frosted Acrylic Ruler
Cutting & Prep

- First, print, assemble and cut out your FREE pattern.
Note: For the waist facing I cut out the main front and main back yoke to replace the shorter facing pieces provided with the pattern.

- Cut all the pieces out for the pattern using your OLFA cutting tools, including your lining and apply your interfacing to lining yoke pieces.


- Measure 15 x 26.5 strip of fabric on the fold and cut three at this size on the fold for your additional tier.
Sewing Instructions


- Make your gathering stitches on your front skirt piece, leaving excess thread at the end to gather.


- With right sides together pin the bottom edge of front yoke to the upper edge of the front skirt, by pining the corners first and pulling the gathers of the skirt to fit the yoke.


- Stitch, finish seam.
- Press seam up toward yoke.

- Repeat steps 4-6 for back skirt and yoke pieces.

- Create gathering stitches on top edge of back skirt pieces
- Pin back yoke corners to top of skirt with right sides together and gather stitches to fit.

- Stitch, finish seams.


- Press seam up toward the yoke.


- With right sides together pin front to back matching seams at yoke and raw edges.
- Finish seams.

- Serge or finish the raw edge of the back opening.

- With right sides facing, place the right side of your invisible zipper to the left side of your skirt matching the zipper tape up close to the serged edge. (If your zipper is longer than10 inches, stitch the zipper across at about 10 inches down and cut the excess
- Top of zipper tape should be lined up to the top edge of skirt.
- Pin zipper in place.

- Using an invisible zipper foot, stitch your zipper close to the zipper teeth backstitching at the end.
- Repeat on the left side of zipper, stitching remaining zipper tape to the left side of back skirt.

- Pin the remaining opening to back skirt together below the attached zipper.
- Stitch opening closed.

- If you haven’t already don’t forget to stitch and trim excess zipper tape.

- With right sides facing, pin your front and back yoke facings together at the sides, matching raw edges.

- Trim.
- Press side seams open.

- With right sides together pin yoke to yoke lining at the top edge matching raw edges. Stitch.


- Understitch by sewing the seam to the lining about ¼ inch from the seam.

- Press, raw edge of lining under about ⅜ of an inch.
- Fold lining over with right sides together, covering zipper.
- Pin raw edges over zipper tape.
- Stitch lining down close to zipper teeth, through all layers making sure to backstitch.

- Trim corners. Turn and press.

- Pin the short ends of your three remaining fabric pieces together completely, to create a closed circle.

- Create gathering stitches at the top of each piece.


- Gather the remaining tier to fit the bottom edge of the skirt. Pin
- Trim and finish seam.

- Press seam up.
- Finish the skirt with a hem. Stitching it under ½ inch and again. Press.

Voila Your Done!


