Maintaining your OLFA Rotary Mat
Your rotary mat is often one of the unsung heroes of your quilting/sewing projects. You may not give it much thought until something goes wrong. Your mat not only protects your work surface but also helps to extend the life of your rotary blades. So let's dig into how to best care for your OLFA rotary mat so it can continue to support your crafting for years to come:
- Always use an OLFA® cutting mat when using rotary cutting tools to help protect your work surface.
- Clean & Clear - Keep all cutting surfaces free from pins, needles, fabric, and other items you don’t want to cut.
- Cleaning - Occasionally clean your cutting tools with light detergent and a soft, damp cloth. Avoid spraying cleaning products on to the surfaces but spray into a cloth instead. Keep your tools germ free, especially when sharing them or during cold and flu season.
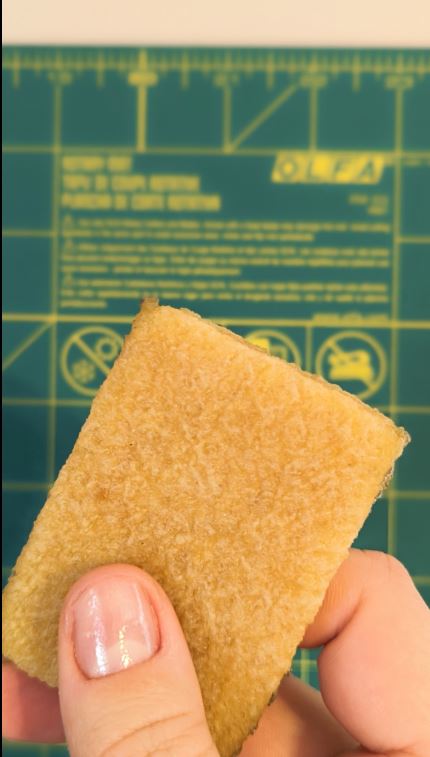
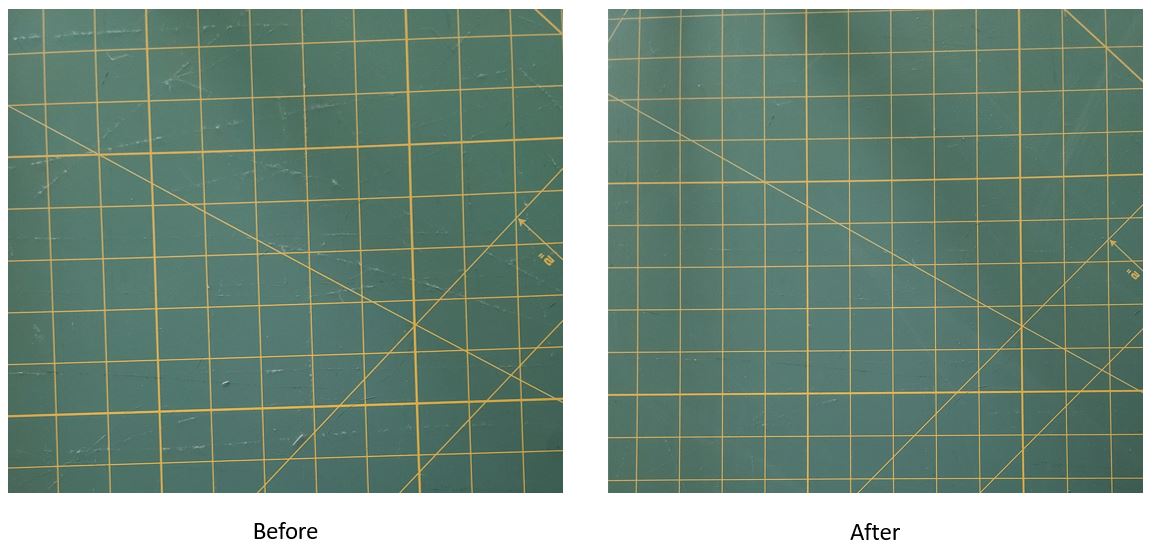
- Fibers - If fibers have become imbedded into your cutting mat, use a lint roller or heavy tape to remove them. An adhesive eraser found at art supply stores will help pull out fibers, too. For plush fabric or cotton batting, turn the mat over and use the back, ungridded side. See below for a great eraser option!
- Store mats flat – under a bed, couch or a table works best. Don’t leave in a warm or cold vehicle. Also, do not leave them in direct sunlight. Don’t use it as an ironing surface. A warped mat cannot be made flat again.
- Hang Mats - Not to contradict the above 'Store Mats Flat' but in 2023 we added hang holes to several of our smaller mats. This makes it easy to store your mats and keeps them flat. For the larger mats 18"x24" or 24"x36" mats can be hung using a pants hanger to secure the short end of the mat to hang in a closet. You'll want pants hangers like this here with a clamp vs one with 2 clips. The goal is to keep the mat flat either vertically or horizontally so no warping occurs.

- Move your cuts around - Resist cutting over and over in the same place on your mat. It inhibits the self-healing properties in the mat, causing a groove that will make your cuts less accurate and dulling your blade.
Fibers be gone!
We've all tried quite a few types of erasers to find the perfect one for getting rid of those pesky fibers that get stuck in our mats. We'd found a random one at a quilt shop somewhere and it worked perfectly! However, trying to find it at retail to share with all of you has been a bit more challenging until our we found this over at therm-o-web here.

The Adhesive Eraser is the perfect hardness and texture to pull those fibers right out of your cuts on the rotary mats.
And just a quick video for you of the eraser at work!
