Magnolia Star Mini Quilt

Designer: Amanda Brown
-----------------

Hi! I’m Amanda from Fabric Heart. Way back in 2021, OLFA invited me to take over their Instagram feed for a weekend. I was beyond honoured and felt like I needed to create something new for the takeover. So, of course, I jumped in and designed an entirely new foundation paper-pieced block and made a mini quilt with it.
At the time, I said I would turn it into a pattern, but life happened and it just never got done. I still LOVE that mini quilt, and five years later I’m finally getting around to creating the pattern. It feels especially fitting to be making it for OLFA.


The original block was drafted on graph paper using my OLFA 1.25" × 12.5" ruler and some pencil crayons (that’s Canadian for coloured pencils… I mean colored pencils). Creating new patterns doesn’t need to be fancy, it just needs to work.
Once I was happy with the graph paper version, I moved it to the computer and gave it a more polished, professional look. I’ve included two block sizes for you and when pieced into a quilt, these blocks finish at 4" × 4" and 6" × 6".

When it came time to test the larger version, I was travelling for work. One of my favourite parts of travelling is sewing in my hotel room. Whenever I’m on the road, I bring my travel sewing kit, which includes:
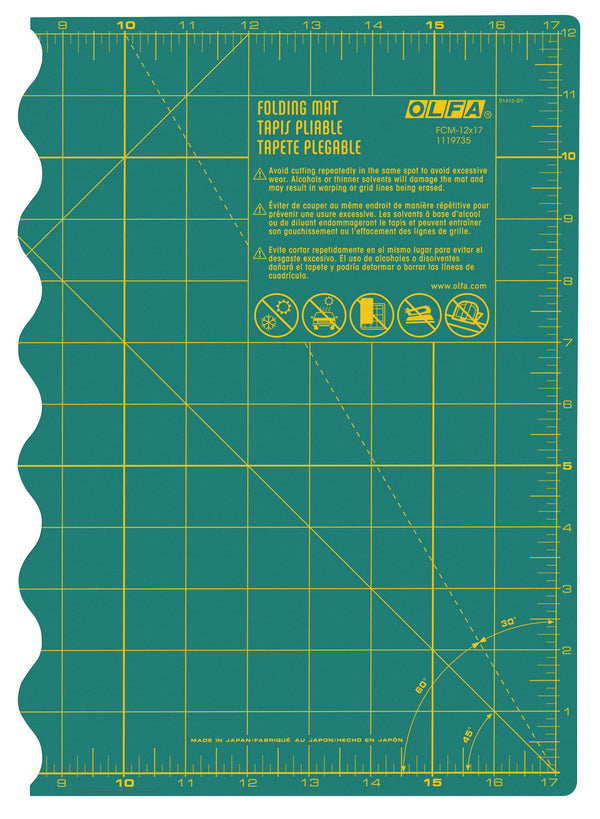
* 12" × 17" Folding Cutting Mat
* 6" × 12" Frosted Acrylic Ruler
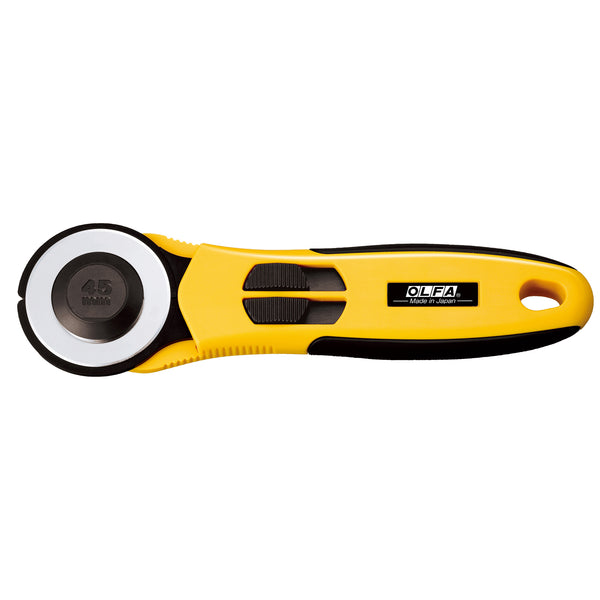
* 28mm Quick Change Rotary Cutter
* 45mm Quick Change Rotary Cutter
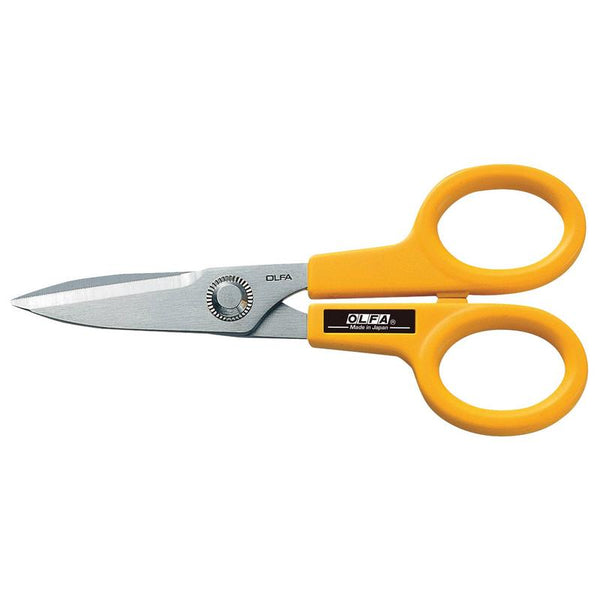
* 5" Precision Appliqué Scissors
* 5" Serrated Scissors
With this collection, I’m ready for almost any project.

I typically have access to a sewing machine when I travel, but I know most people aren’t that lucky. If you’re driving, it’s easy to pack one in the car. If you’re flying, many sewing machines can be carried on and stored in the cabin. Be sure to check with your airline beforehand.
And don’t be afraid to use the hotel iron! Just inspect the soleplate before using it and maybe test it on something non-essential first. I’ve heard stories of hotel ironing boards being used to make grilled cheese sandwiches…
The mini quilt shown uses nine Magnolia Star blocks arranged in a 3 × 3 layout.
Materials
* (7) coordinating quarter-yards
* Printer paper
Tools
• FCM-12x17 12x17” folding cutting mat
• QR-6x12 6x12” frosted acrylic ruler
• RTY-1/C 25mm Quick Change Rotary Cutter
RTY-2/NS 45mm Quick Change Rotary Cutter
• SCS-4 5” precision appliqué scissors
Files
4x4” Magnolia Star
Instructions
Tip: Set your sewing machine stitch length to approximately 1.8 mm before beginning. The shorter stitch length perforates the paper, making it much easier to remove once your block is complete.
1. Print copies of the Magnolia Star block templates and roughly cut out each unit using your OLFA Serrated Scissors. 
2. Cut fabric strips for each colour. To determine the strip width, find the widest section you will need for that colour, measure it, and add approximately 3/4". Using your OLFA 45mm Rotary Cutter and 6" × 12" ruler, cut strips to the calculated width.
3. The first few sections are always the trickiest. Cut a piece of fabric large enough to cover Section #1 and extend at least 1/4" beyond all edges.
4. Take a strip of fabric for Section #2 and place it right sides together with the Section #1 fabric, aligning the edge approximately 1/4" beyond the line separating Sections #1 and #2.

5. Carefully hold everything in place and sew directly on the line between Sections #1 and #2.

6. Fold the paper back along the sewn line and use your ruler and rotary cutter to trim the seam allowance to 1/4”.

7. Unfold the paper and press the newly attached fabric open and flat.

8. Continue adding sections in numerical order, repeating the same process until the entire unit is covered. Be sure to follow the numbering sequence.
9. Once a unit is complete, use your ruler and 28mm Rotary Cutter to trim along the outer cutting line. I keep one rotary cutter dedicated to cutting paper so I don’t worry about dulling the blade.
10. Repeat the process for all four units.
11. Assemble the units in the following order:
* Sew C to D
* Sew B to the C/D unit
* Sew A to the bottom of the assembled unit
Use the printed block layout as a guide.
Tip: When putting the units together focus on lining up the intersecting points.
12. Make as many blocks as needed to create your desired quilt size, then piece the blocks together.
13. Carefully remove the paper before quilting and finish your quilt as desired.