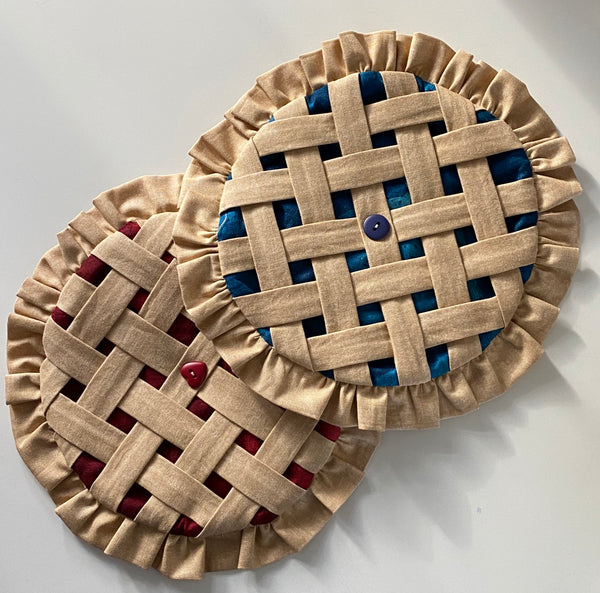
Let Us Have Pie Potholder

Designer: Cindy Staub of Quilt Doodle Designs
Supply List
¼ yard tan fabric for lattice and ruffle
10” square tan fabric for backing
10” square fabric for pie filling, red- cherry, blue- blueberry, pink- raspberry etc.
Batting 1-2 10” squares or 10” square Insul-Brite
1- ½” button to match pie filling fabric
OLFA 45mm RTY-2DX/PBL Ergonomic Rotary Cutter, Pacific Blue
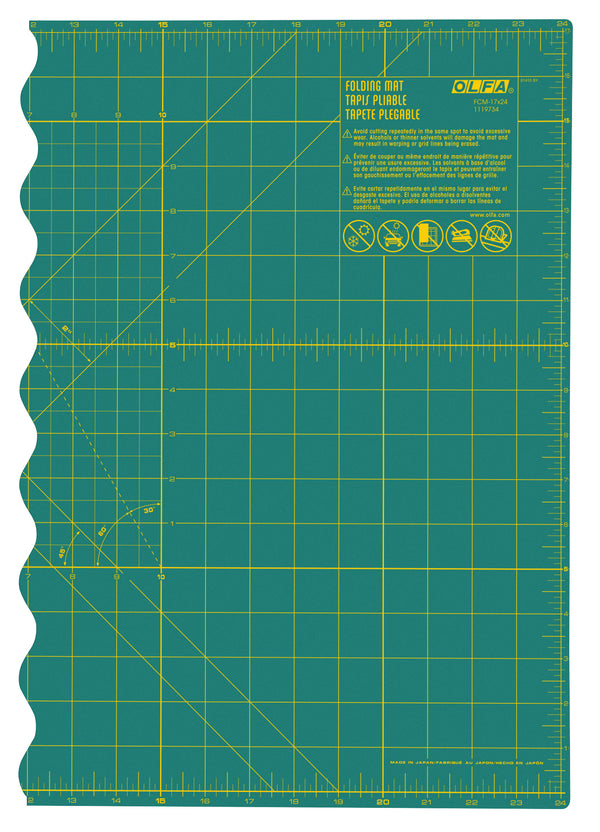
OLFA FCM-17x24 17" X 24" Folding Cutting Mat
OLFA 5-Inch SCS-4 Straight-Edge Stainless Steel Precision Scissors
OLFA QR-6x12 6" X 12" Frosted Acrylic Ruler
*Fabric used Semi Solid and Scrap Heap by Laura Berringer from Marcus Fabrics
Finished Size 8 ½”
Pie Template to download
Let’s begin!
From ¼ yard tan fabric cut;
You'll use a ¼” seam thru out.
Pie lattice- Fold 2” strips in half lengthwise right sides together. Sew along raw edge a ¼” seam. Turn right side out to form a long WOF tube. Iron. Make 2.
From WOF tube cut:
2- 8” strips
4- 7 ½” strips
4- 6 ½” strips


Lay the 8” strips on top of the right side of the pie filling circle in a ‘plus sign’. Then add the 7 ½” strips to each side of the 8” strips weaving as you go.

Continue to weave the strips onto the top of the pie filling adding the 6 ½” strips to each side of the 7 ½” strips.


Pin the lattice in place along the edge.

Sew a scant ¼” seam along the pie filling/lattice edge.

Then trim away the excess fabric.

Ruffle Crust- Fold the 2 ½” x WOF strips in half lengthwise wrong side together to form a long WOF strip. Iron. Sew a scant ¼” basting thread along the raw edge of the strip, pull the threads to form a ruffle the length of the outside of the pie circle. Pin in place match the raw edge of the circle and the raw edge of the ruffle.

Sew along the edge a scant ¼” seam.
Layer batting, backing square right side up and then pie lattice circle right side down.

Sew along the raw edge a ¼” seam leaving a 2” gap for turning.

Trim away the excess fabric and clip curves being careful not to cut the stitching.
Turn right side out. Iron. Using a whip stitch and matching thread, stitch the opening closed.
Sew a button to the center of your pie. Enjoy!


You can follow more of Cindy's creations on the web and social media:
Website: Quilt Doodle Designs
Instagram: @quiltdoodledesigns
Facebook: Quilt Doodle Designs
![]()