Leather Jackets Part 5: Inside pockets

Designer: Randa Roberts
IG: So Comfy Designs--------------------------------
Hello again! Welcome back to this blog series showing you my process for upcycling a leather jacket into a crossbody bag. In the previous post we selected, took apart, salvaged, and designed. Now, it’s time to sew! This post is all about the inside, because the old saying is absolutely true: it’s the inside that counts. For this bag, inside will have one zippered pocket and one flat pocket.
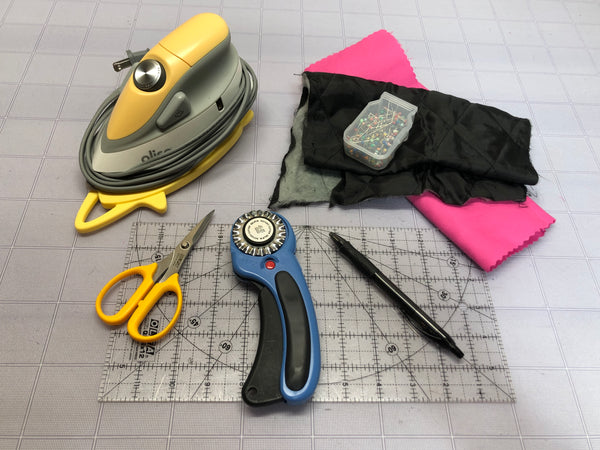
I’ve learned from years of bag-making that the lining needs to be well-fitted and functional. All of my bags include inside pockets, and I’ve learned how to use my OLFA tools to save time. The lining we’re upcycling from the leather jacket is polyester with a batting quilted to it. For this post, I dug through my scraps and found a bright pink twill to use for the zippered pocket. Both materials are cut with a pinking blade to eliminate any frayed edges.
For this post, I also got to use my brand-new, bright yellow Mini Project Iron by Oliso. Its size and features make it ideal for pressing pockets, and it’s just the cutest addition to my sewing studio! Thank you Oliso and OLFA for this special gift. Learn more about Oliso here.
Here are the tools/materials I’ll be using:
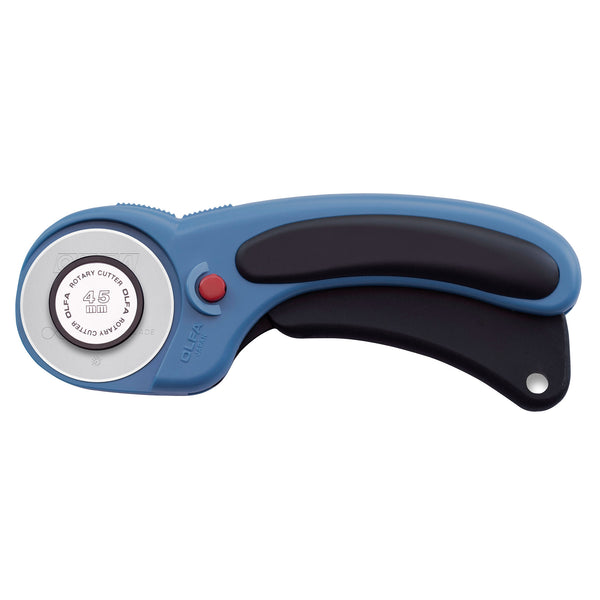
- OLFA 45mm RTY-2DX/PBL Ergonomic Rotary Cutter, Pacific Blue
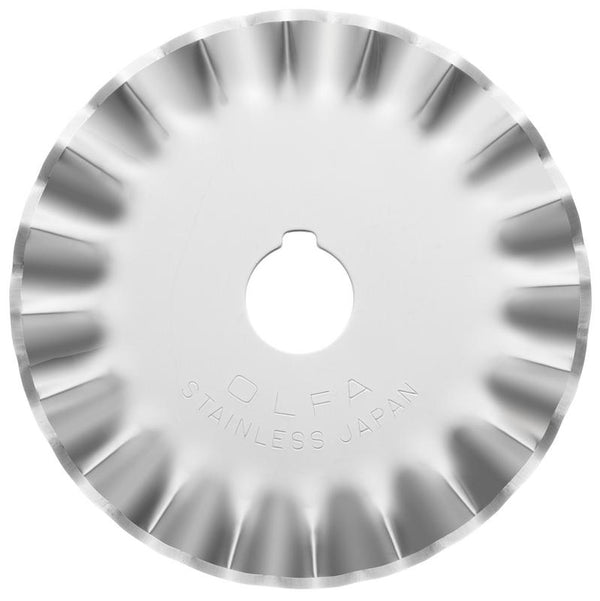
- OLFA PIB45-1 Stainless Steel Pinking Blade, 1pk
- OLFA QR-6x12 6" x 12" Frosted Acrylic Ruler
- OLFA 5-Inch SCS-4 Precision Appliqué Scissors
- OLFA TCM-L 24" X 36" 3mm Translucent Double-Sided, Self-Healing Cutting Mat (discontinued)
- Oliso Mini Project Iron
- Ironing board
- Pretty Pins by Lori Hold of Bee in my Bonnet
- 5x8” scrap of twill
- Pen
You probably know by now that I work primarily with leather of all types, and I love sewing it. A few years back I purchased an industrial sewing machine that has a few special features. Firstly, a walking foot, which is the true secret to sewing leather. Secondly, a cylinder arm. This rounded column allows me to sew in the tightest of spaces, giving me so many more options as a maker! Curious about cylinder arm machines? Learn more about them here. You might also notice that I have a zipper foot on my machine. True confession: I am lazy and leave it on all the time!
Zipper Pocket
Here’s my easy method for making a custom sized zipper pocket. I came up with it a few years ago, and it’s a fail-proof way for me to get the right size in one try.
Take your lining, measure it against your zipper and cut it to size using your pinking rotary blade to keep a clean, fray-free edge.
Fold it down, about 2” from the top and press with your iron.
Place your zipper in the center of the fold and mark with a pen where the zipper begins and ends. Connect the lines using a ruler and pen.
Place your pocket back on the lining where you want it, and secure with a few pins
Sew around the line.
Use your pinking blade and a ruler to cut along the line, leaving ¼" on each end. Use your precision applique scissors to cut a small diagonal line at each corner, making sure to avoid cutting into a stitch.
Time to flip it and press it.
Take your zipper and pin it to the opening. Carefully stitch around the zipper.
Give it another press. Flip it around and match the top and bottom of the rectangle together to form the pocket. Stitch all the way around. All done!
Flat pocket
Now for the easy one! I used some of the jacket lining scrap to cut a custom rectangle.
Simply sew around the rectangle, leaving a portion open to pull right side out.
Pull it right side out, press it, leave the opening at the bottom. Pin it to your lining, then sew down one side, the bottom and up the other side. Use your backstitch to reinforce the top of the pocket.
The inside of our bag is now done! Next post we’re going to sew the bag together, add the strap tabs, and something really fun to the front of it. Thank you for joining me again, and be sure to check out the first four posts in this series if you’re just joining. See you soon!


