Leather Jackets Part 4: Cutting the Shell and Lining

Designer: Randa Roberts
IG: So Comfy Designs---------------------------------
Welcome to blog post four of this series I’m working on with OLFA about how I upcycle a leather jacket into a custom crossbody bag. If you’ve been following along, you’ve seen me select a jacket, take it apart, and turn the zipper into two zippers.
For this post, I’m sharing how I use the materials I have salvaged to determine the size and style of the bag, as well as using my favorite tools to cut the lining and shell. At the end of my last post, I wrote that I’d be sewing a pocket into the lining, but I need to show you how I cut out the bag first.

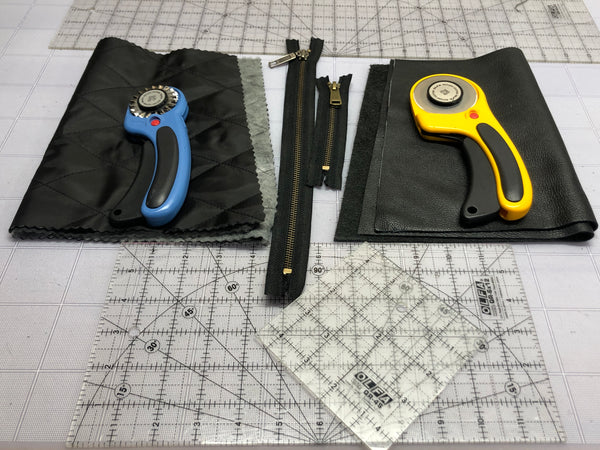
Here are the tools I’ll be using for this post:
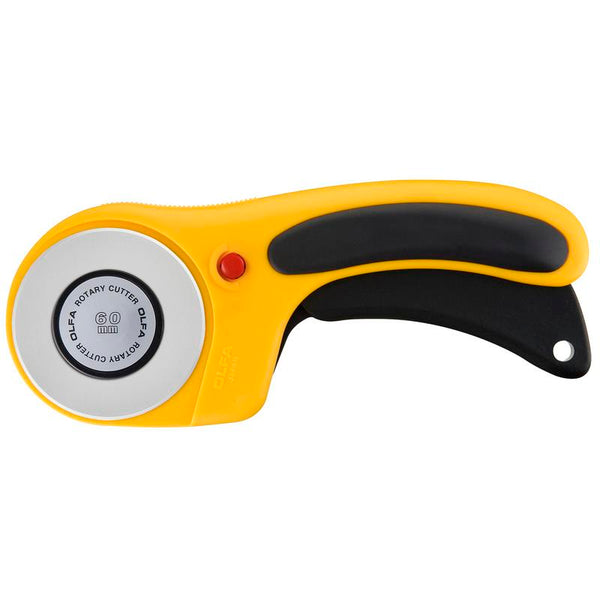
- OLFA 60mm RTY-3/DX Ergonomic Rotary Cutter
- OLFA 45mm RTY-2DX/PBL Ergonomic Rotary Cutter, Pacific Blue
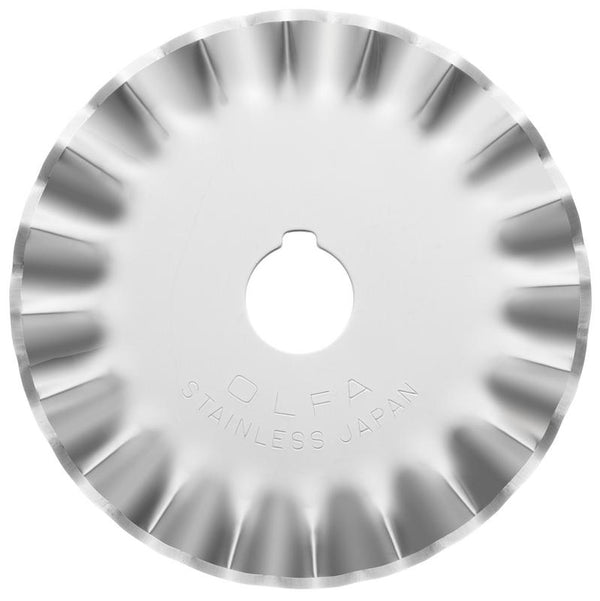
- OLFA PIB45-1 Stainless Steel Pinking Blade, 1pk
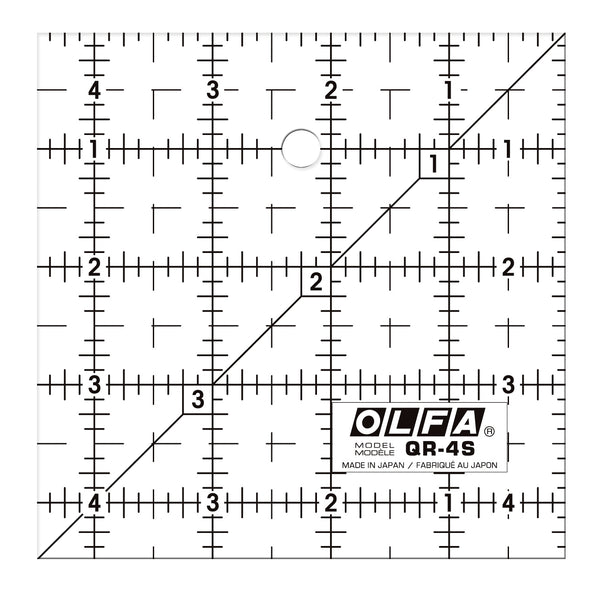
- OLFA QR-4S 4 1/2" Square Frosted Acrylic Ruler
- OLFA QR-6x12 6" x 12" Frosted Acrylic Ruler
- OLFA QR-6x24 6" x 24" Frosted Acrylic Ruler
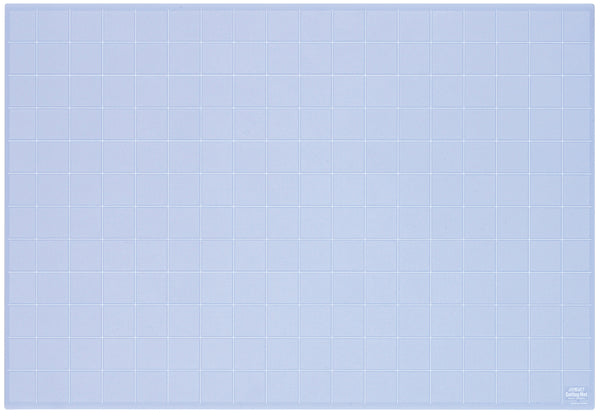
- OLFA TCM-L 24" X 36" 3mm Translucent Double-Sided, Self-Healing Cutting Mat

Whenever upcycling something, you have to work with, AND think outside the constructs of the item, and use your imagination to envision what it could look like in the end. Here, my construct is a zipper with an 11.5” opening, and leather pieces from a sleeve.
When I cut into leather to make the shell of a bag, I always start at the longest point, and work down from there. I’ve decided to use the sleeves to make the front and the back of the bag. Why? Because I love a clean look, and those are the two largest pieces without any seams. And, do I ever love this leather grain and want to show it off.
I’m going to cut out a trapezoid shape for this bag, which means the bottom length will be longer than the top length. When I box the bottom corners later, the bag will have the shape of a rectangle with a square bottom. Here’s a rough sketch of my idea.

TIP: to get an even shape, fold the panel in half, line up, and cut a diagonal line. Once you have one, you can use it as a template for the rest of the bag.

Remember the lining we pulled out of the arms of the jacket? Beautiful, diamond quilted polyester with a batting backing. Jackpot! This will give the bag a durable and soft shape. This was something I took note of when I selected the jacket, but one of my favorite materials to line a leather bag with is a cotton twill or canvas. I’ve learned over the years that the lining is what takes the brunt of wear in a bag, so it needs to be strong.
There are all sorts of interfacing, batting, foam, boards, and fleece products made for structuring bags, depending on the style you’d like to achieve. That’s a post on its own, but what you line your bag with makes a difference in the finished product. I’m happy to work with what I’ve got.

First up, I use my iron and hit it with a bit of steam which makes it flat and prepared for cutting.

Here’s where your OLFA Pinking Blade will come in handy again. It’s a must-use for me when cutting fabric for lining because it completely prevents any fraying which always gets caught in stitches. Always. A fresh blade feels so good! Since I only use it for materials, I find that specialty blades such as the pinking blade last a longer time for me.
Using a leather shell panel as a template, and my ergonomic handled rotary cutter with a pinking blade, and my trusty Frosted Advantage 24 x 6 ruler, I cut out the lining.

Now we have a zipper, a leather shell, a quilted lining, and a zipper for a pocket ready to go. There’s only sewing left!

Join me next post when I most definitely will be sewing. I’ll share a little about my industrial sewing machine (my business partner) and get on that lining that’s going to give the bag its soft and durable shape. Until then, materials are back in their bin. See you soon!